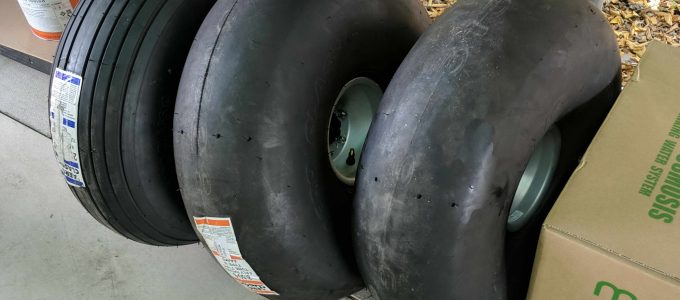
I’ve never installed a tubeless tire on an airplane wheel before… The main wheel hubs come with brakes attached already. We started by removing the brakes Then we unbolt the two halves of the hub. We slip the O-ring that seals the gap between the two hub halves over one half of the hub. We…
S21: Assembling the fuselage… Part 2
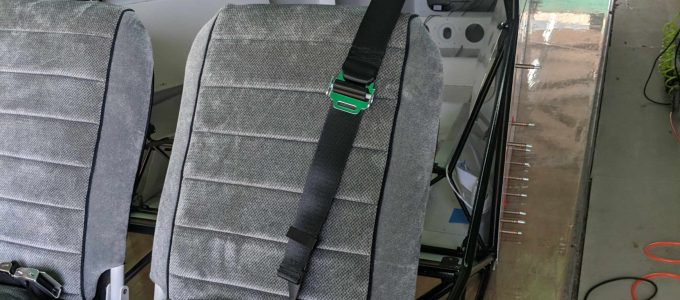
After (mostly) finishing the tailcone and skins, much of the work now moves forward to the cage… We assembled the rudder pedals The flight control sticks The seats We carefully placed the sliding seat plates onto the cage at the right locations. And even installed (hand tightened) the seat belts After that we flipped the…
S21: Assembling the fuselage… Part 1
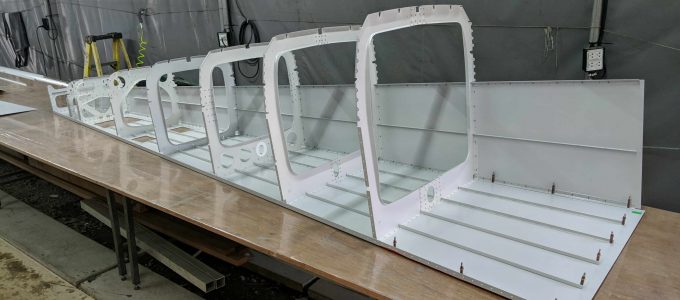
And now we get to start assembling the fuselage… First we layout the various fuselage bulkheads and assemble the necessary doublers We clear the wings off the long work table to make space for the fuselage build. Then we layout the fuselage tailcone skins We start assembling the tailcone by attaching the fuselage bulkheads to…
S21: Building a stand to keep the wings
The wings took up a lot of space on the tables so we went ahead and built a rolling stand to keep them At first we whipped up this stand to hold the wings vertically, suspended from straps with other straps to hold the wings in place. Unfortunately, the Permatex sealant we used around the…
S21: Aileron build
First step is to Cleco and rivet the inspection support rings Then Cleco the top skins to the rivets. (We decided to do both at the same time. The one with the blue tape in the near left corner is the left aileron, the one with the red is the right aileron.) Flip them over…
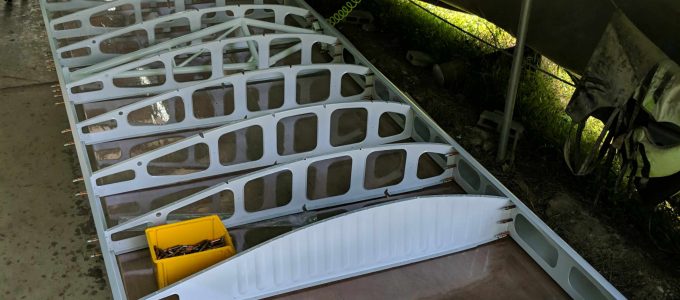
S21: Flaps build
Before building the flaps and ailerons, the skin needs to be bent in the front similar to the rudder and horizontal stabilizer. Then we installed the ribs inside Insert the forward spar and Cleco the hinges on Full view of temporary Cleco just to get a sense of the part Then we rivet the hinges…
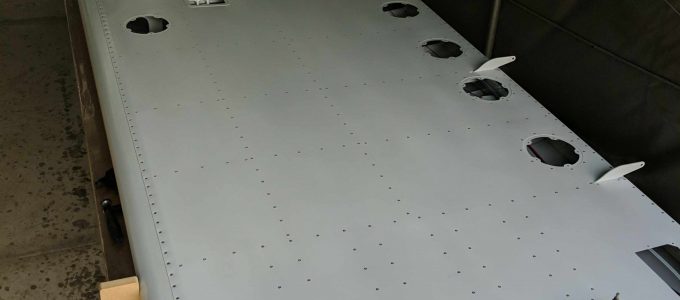
S21: Installing the fuel tanks in the wing
First step is to pressure test the tank, which means we need to seal all the holes, including the big one up top for the fuel cap. For the sight gauge holes, we slip on the sight gauge tube partway just to seal them The pressure test will be very low pressure. Less than 1PSI….
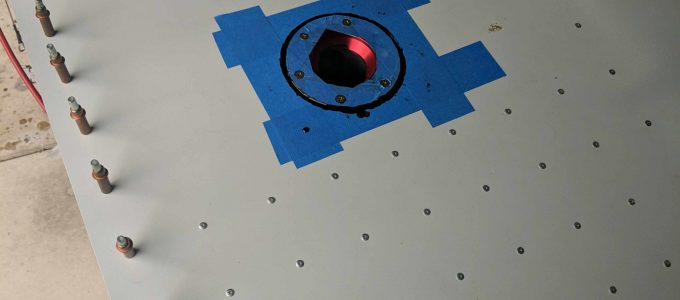
S21: Preparing the fuel tanks for install

First step is to cut a 3″ hole after tracing the opening in the skin Hole is cut but there is some debris inside that will need to be vacuumed out with the shopvac Then we drill the holes for the site gauges and aft fuel withdrawal line Then we install the fittings in the…
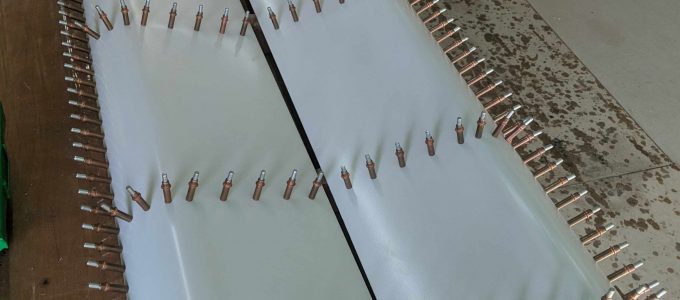
S21: Skinning the wings
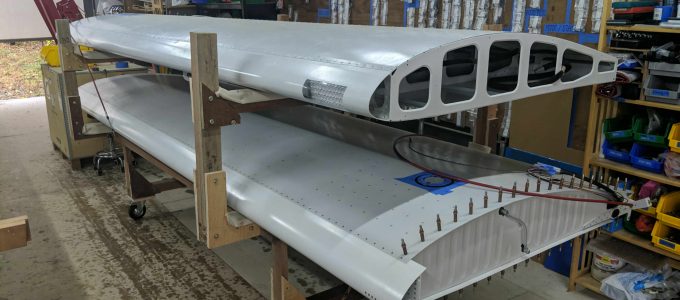
Having finished the wing frames, it is time to put the skins on… First we Cleco the upper skin and stringers in place (making sure the wing is level and true and there is no twist) After double checking that the wing is leveled and true, then we transfer drill and Cleco the skin to…
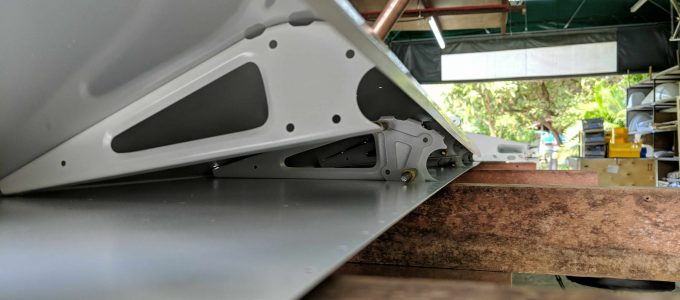
S21: Wing frame assembly
For building the wing, we are start with the frame assembly and make sure everything is good before skinning. First we Cleco everything together (fuel tank added just for getting a sense of placement) Assembled the flap and aileron bellcranks We built these wooden frames for supporting the skin pieces for primer. Currently has only…