Having finished the wing frames, it is time to put the skins on…
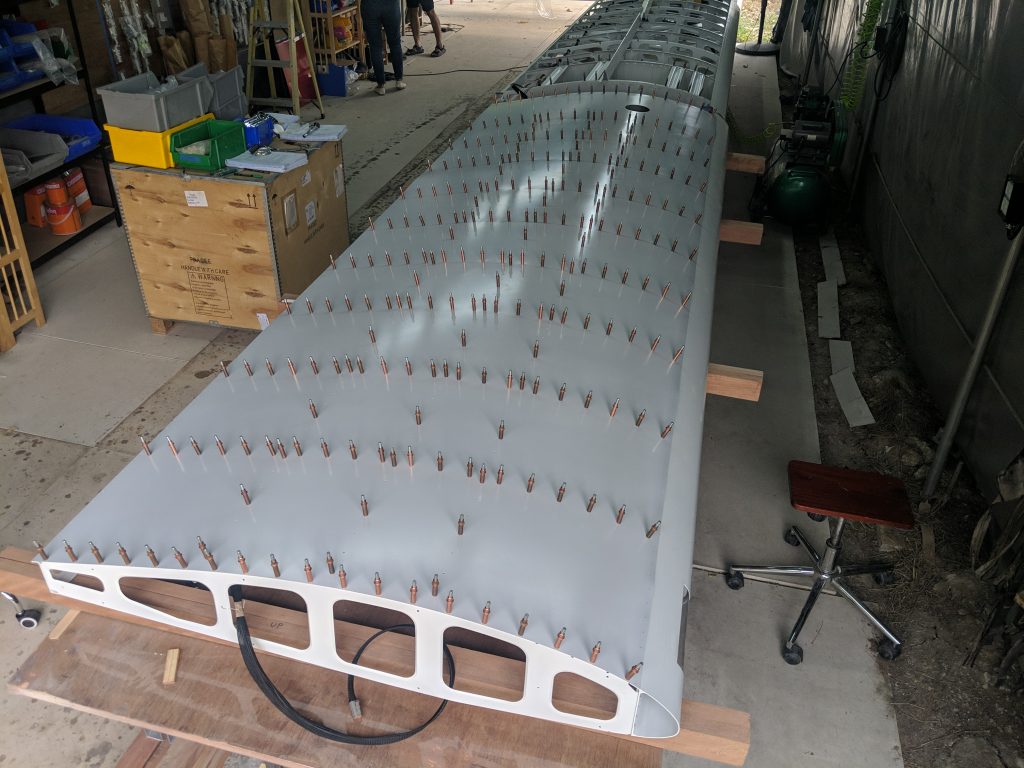
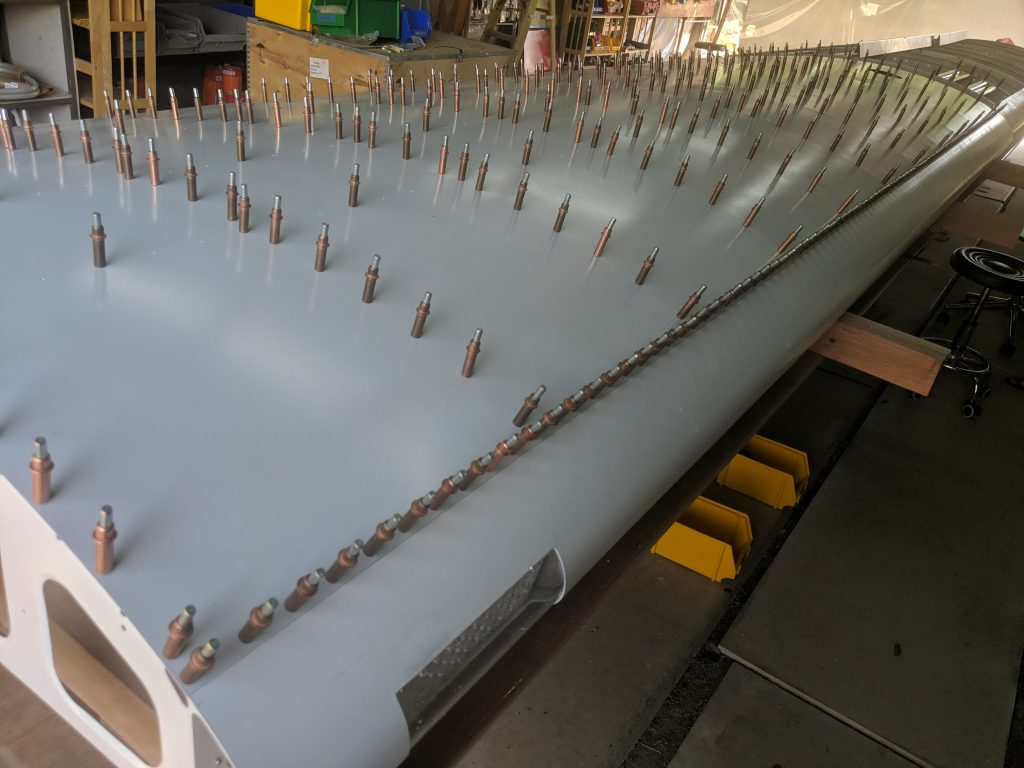
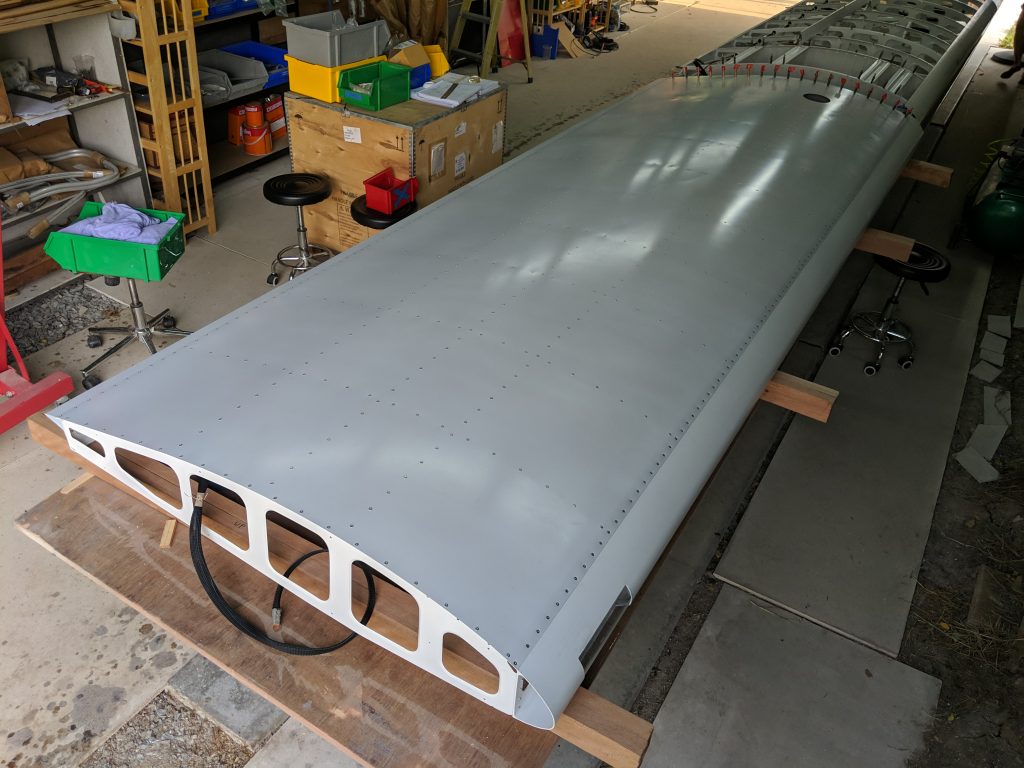
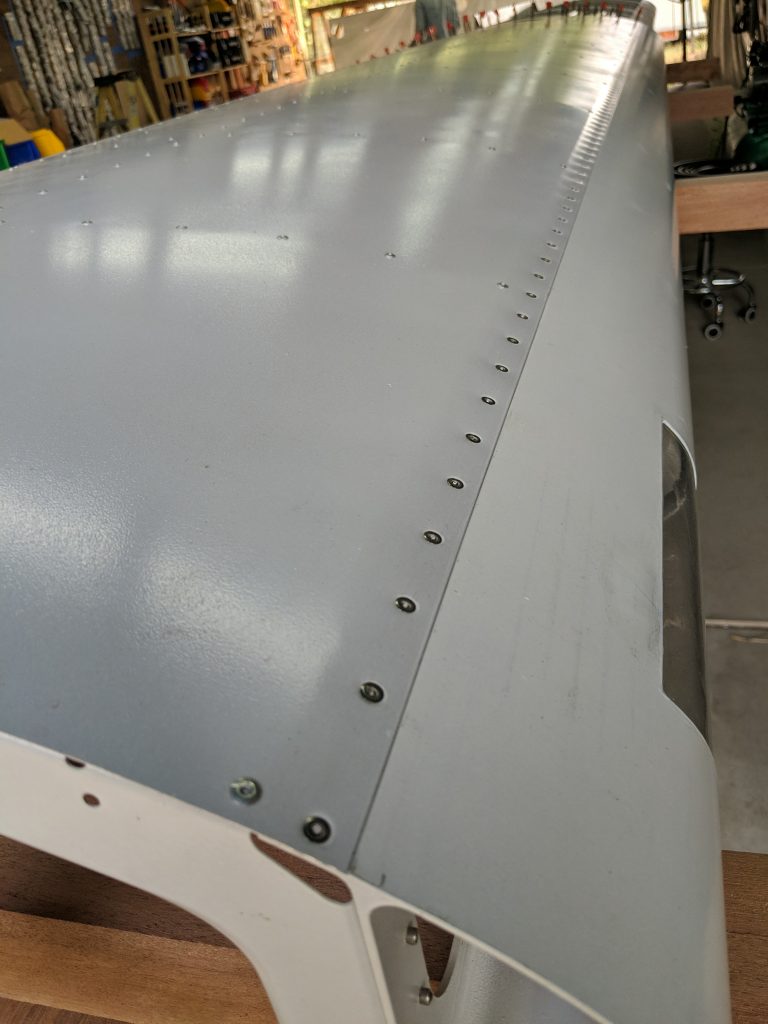
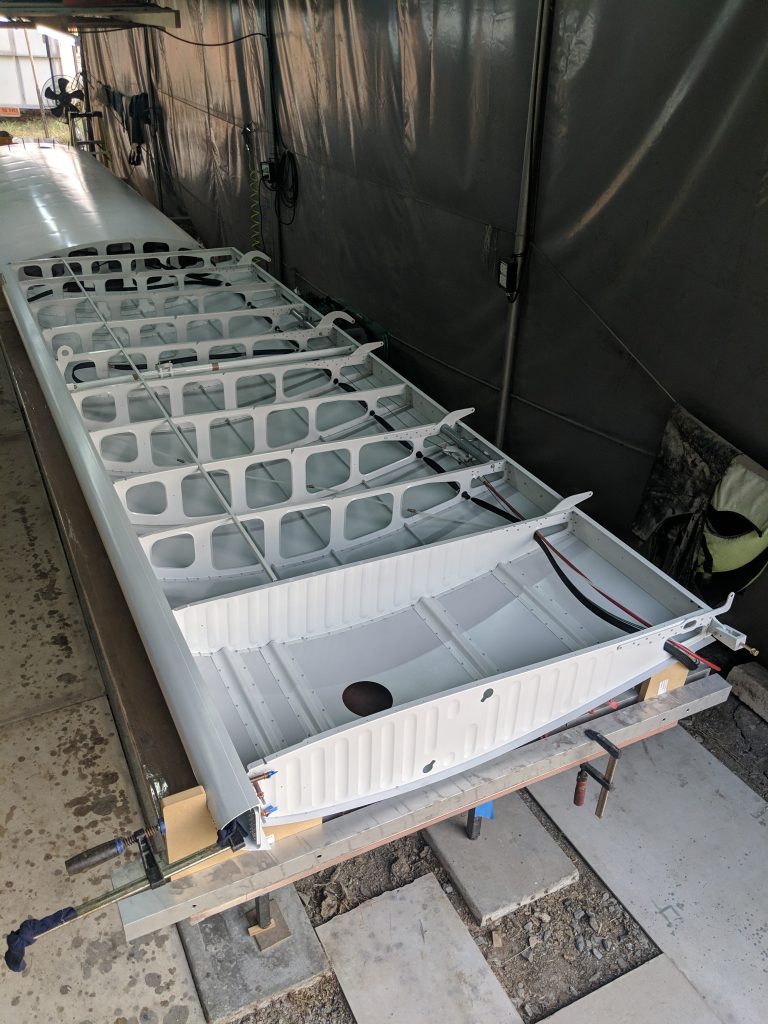
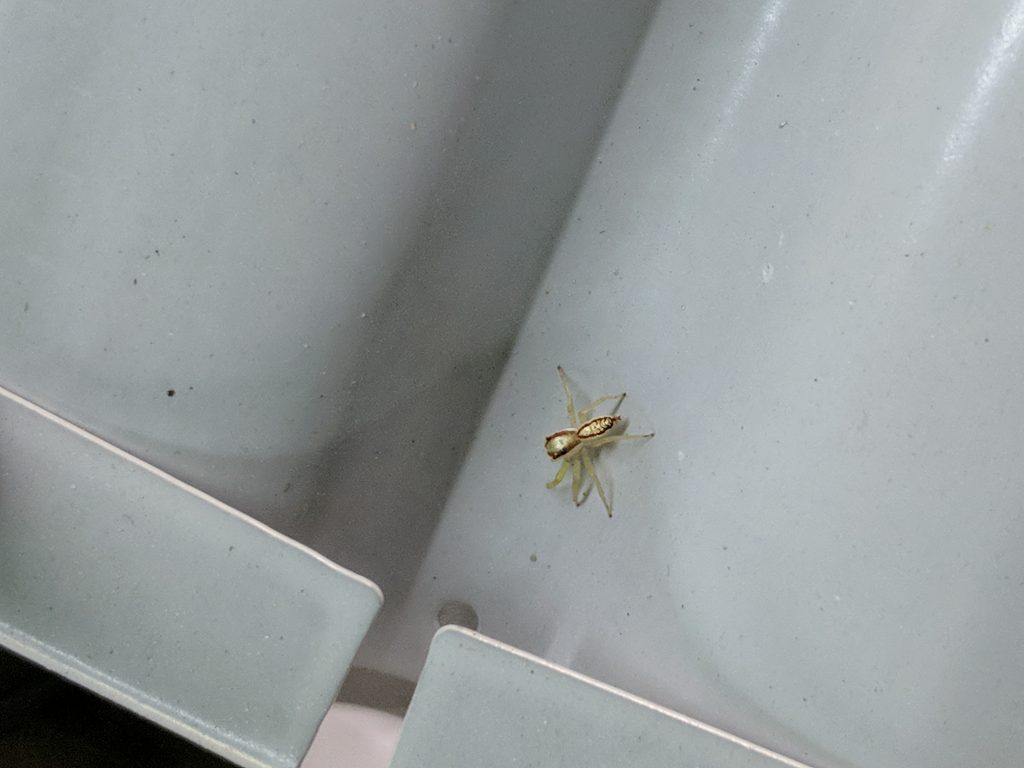
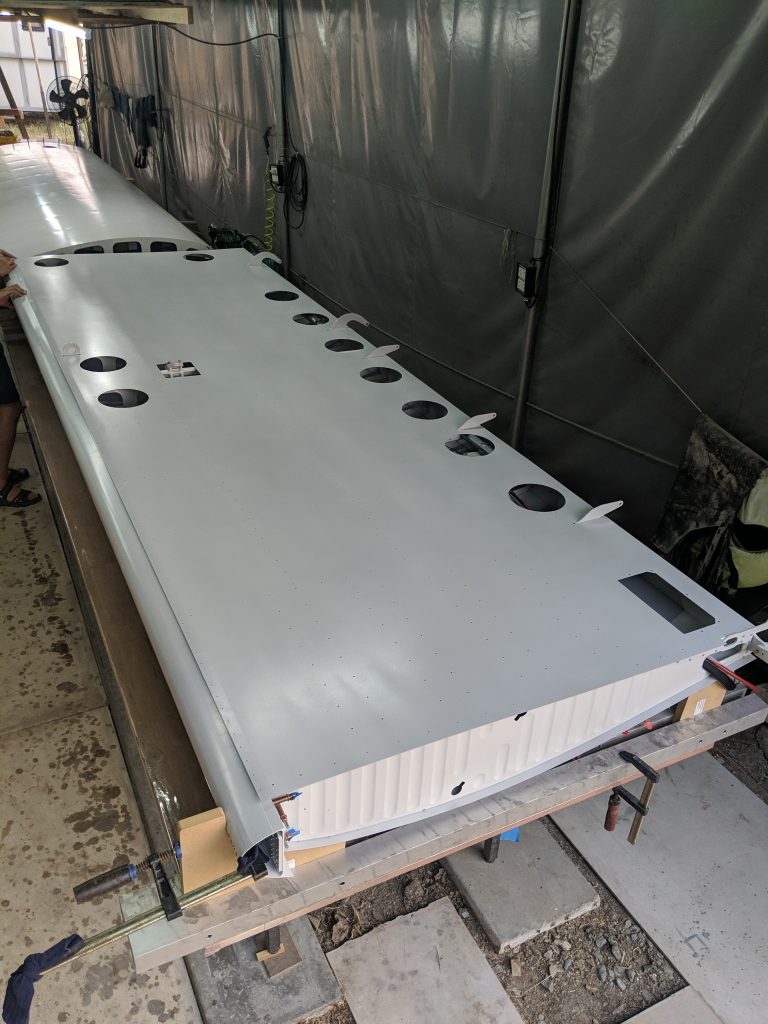
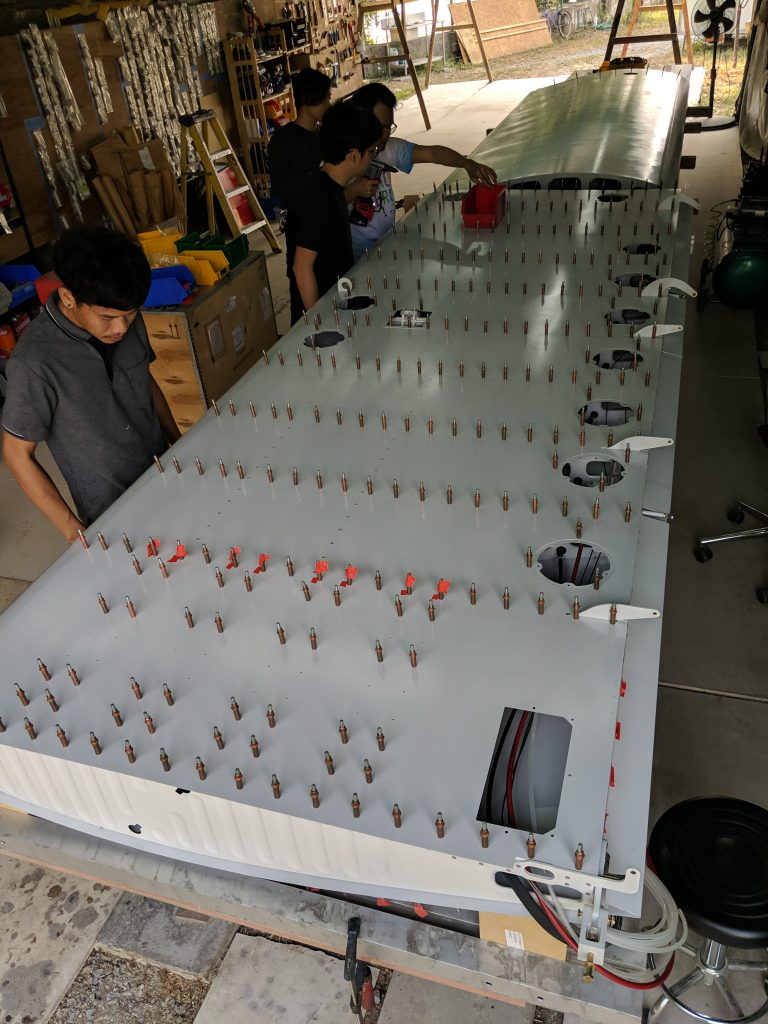
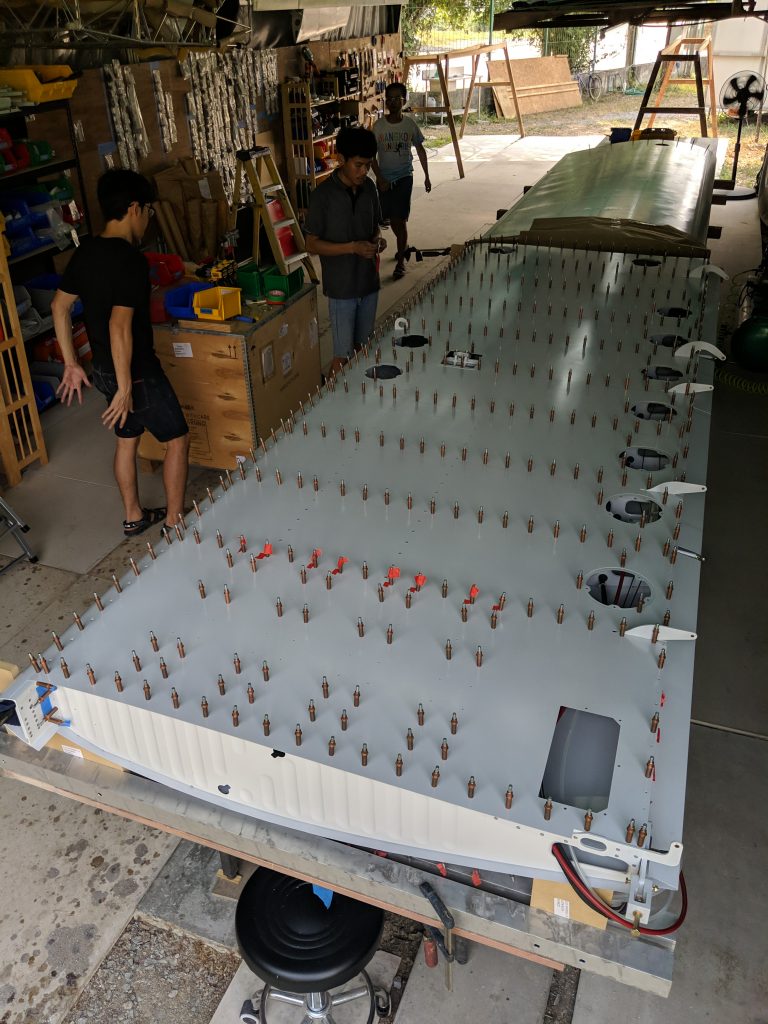
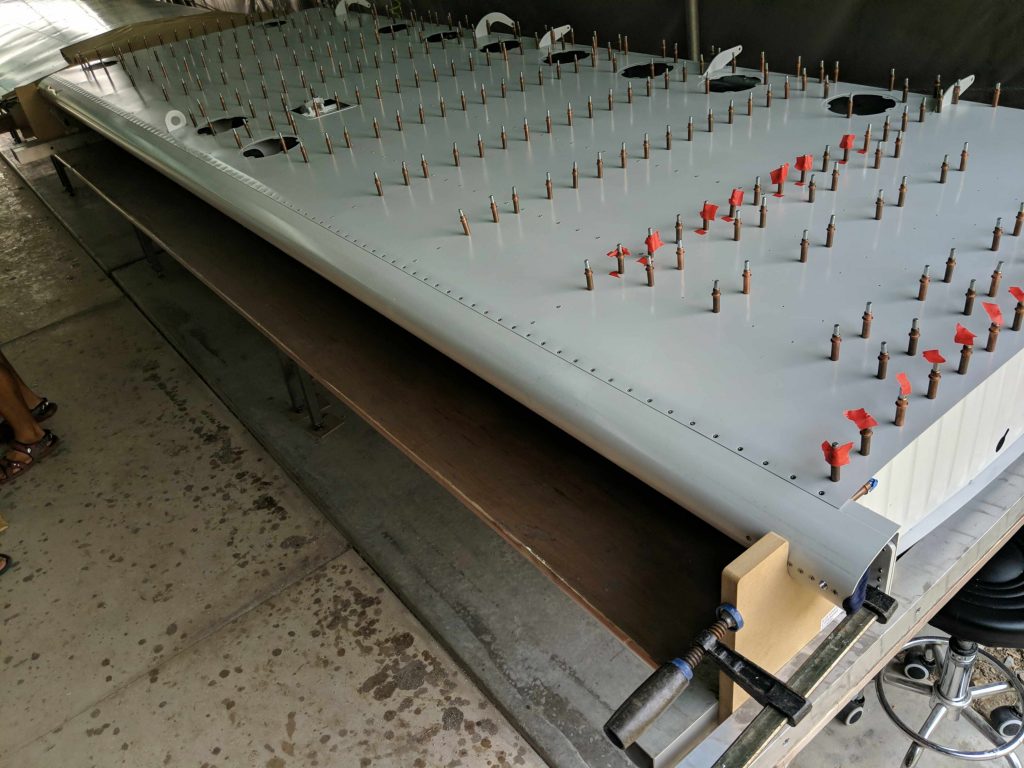
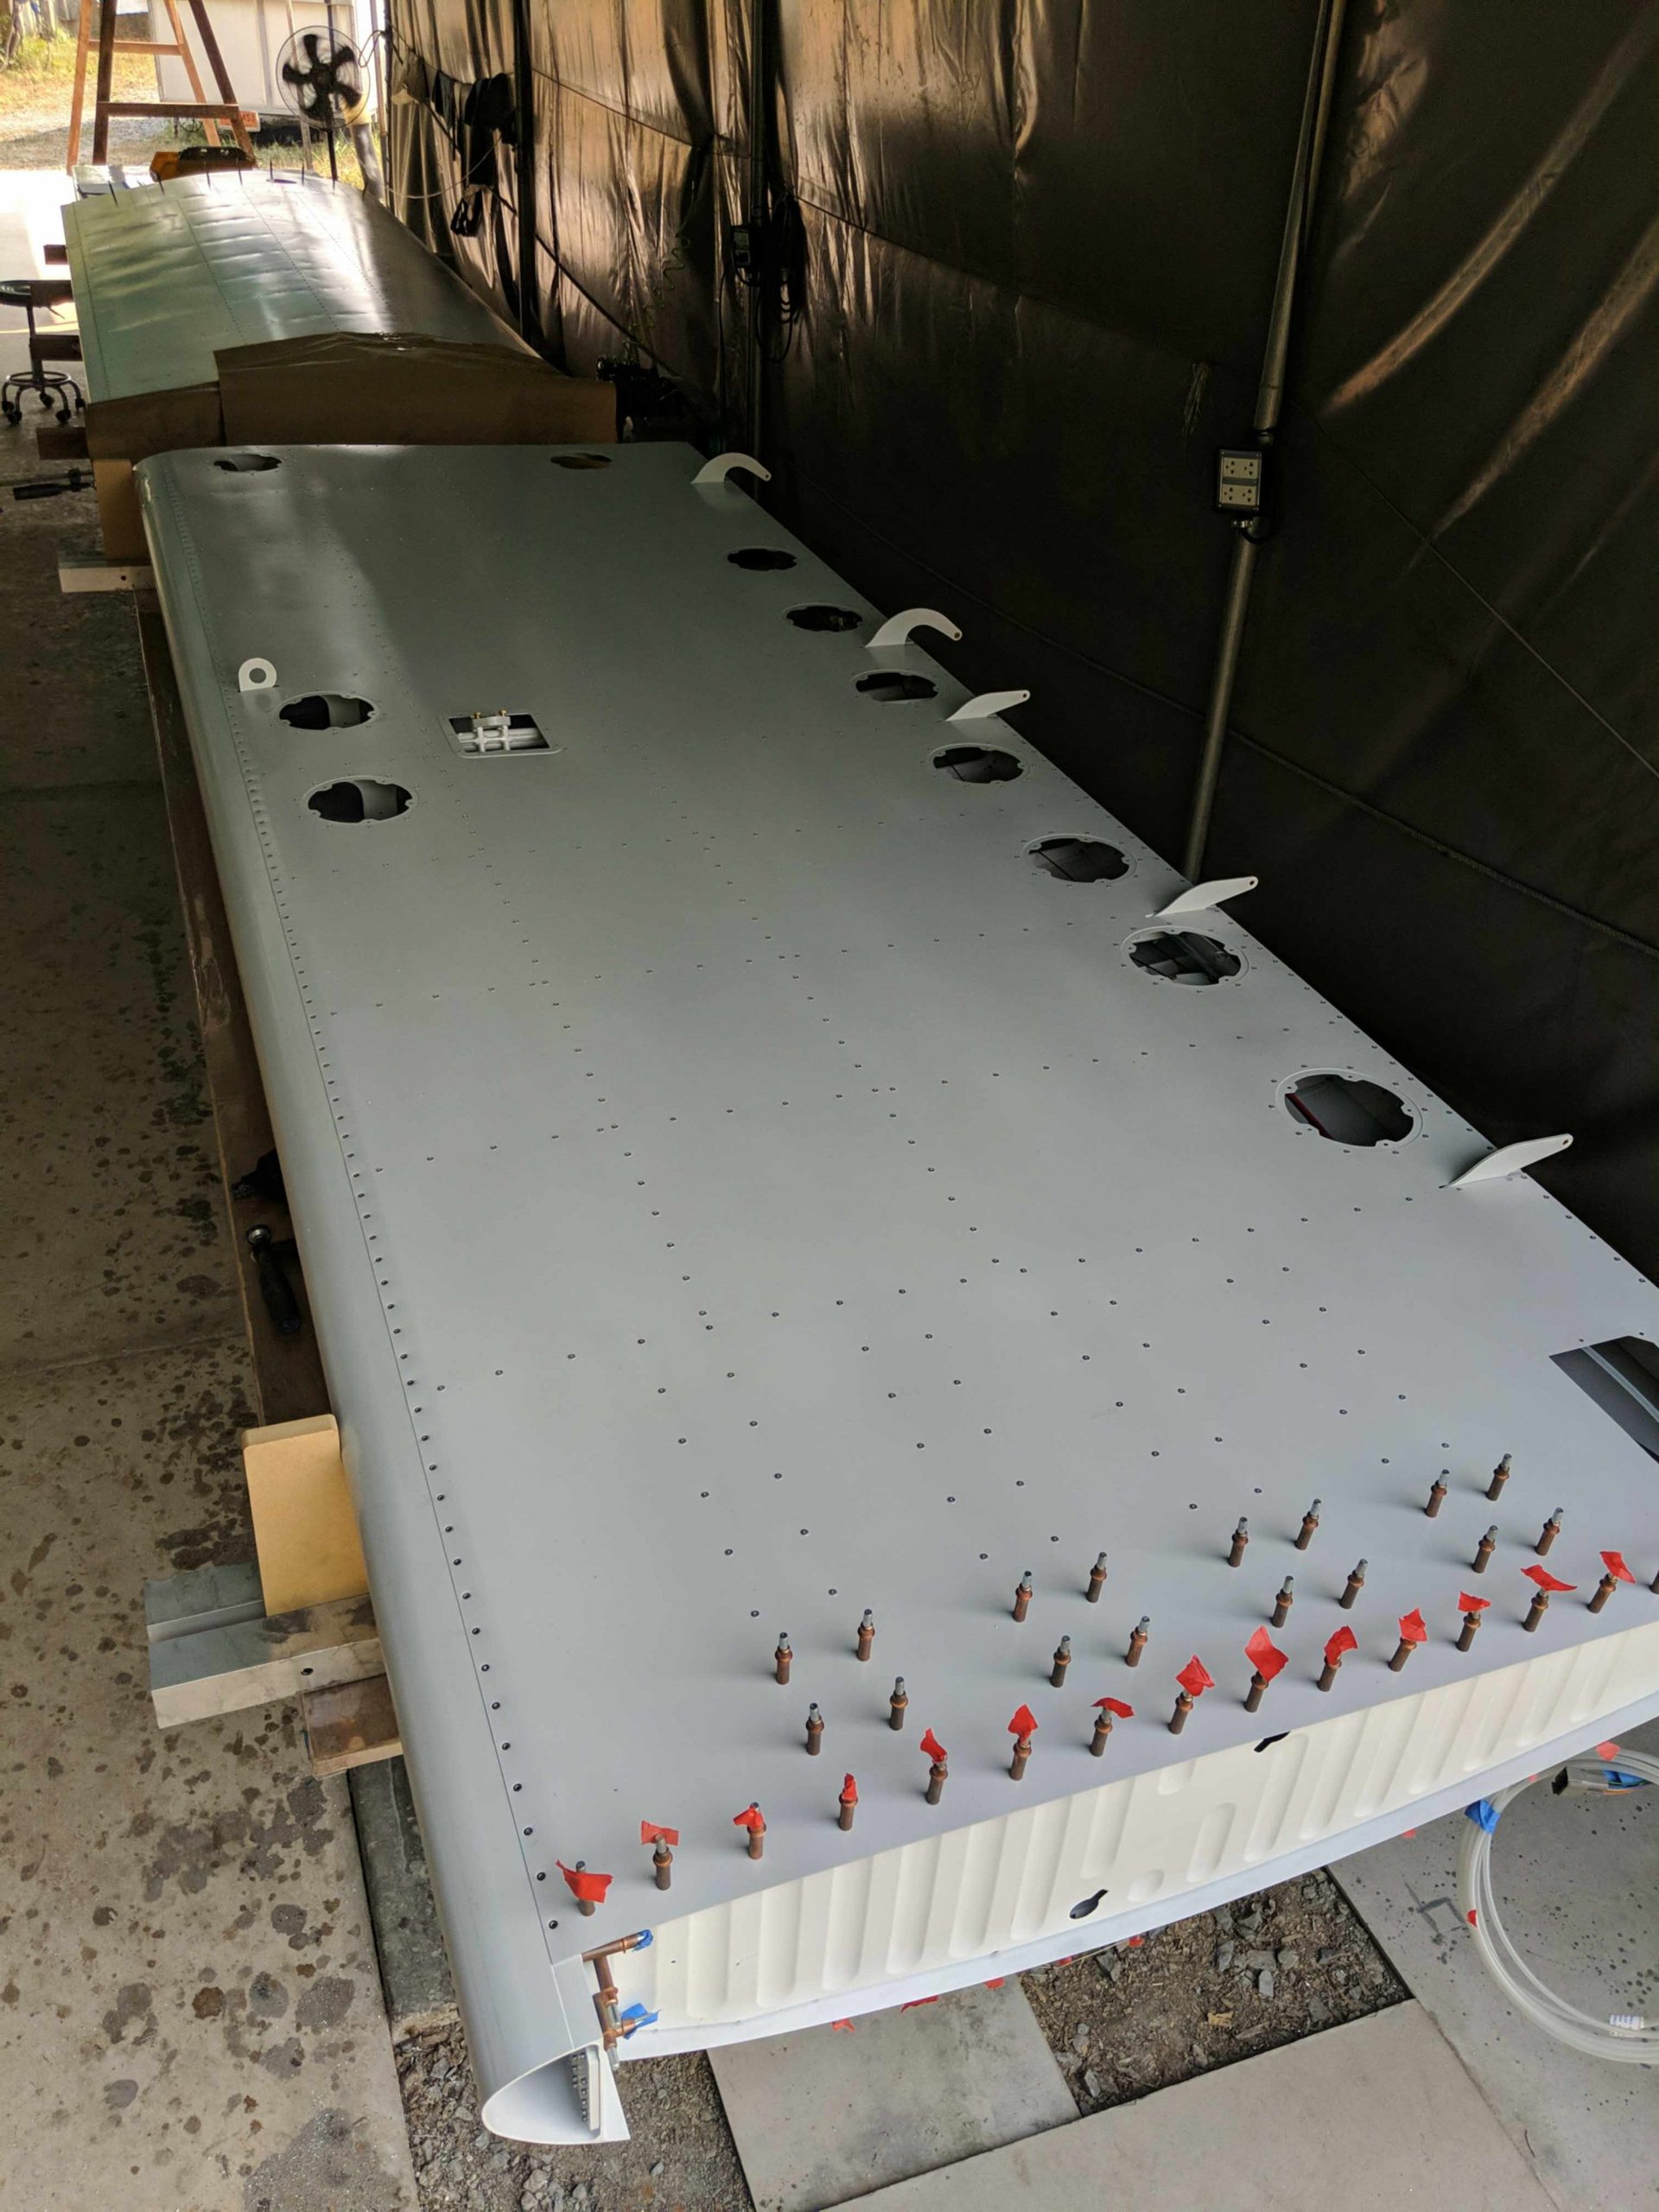
First we Cleco the upper skin and stringers in place (making sure the wing is level and true and there is no twist)After double checking that the wing is leveled and true, then we transfer drill and Cleco the skin to the fore spar (and the same is done on the rear spar)Then we remove the Clecos and debur before dimpling the skin where it rivets to the fore sparAnd we debur the spar and countersink the holes we transfer drilledThen we rivet the stringers first and the skin to the spar and ribs from front to back, leaving the Clecos on the inner (far) rib in since we will be inserting the fuel tank through that rib later before we rivet the inner rib in placeClose-up of the countersunk rivetsThe wing is flipped over and clamped into a simple jig to level it and remove twist before doing the lower skinNoticed a beautiful golden spider on the wing when I came in this morning. Asking around, apparently some baby spiders are a lighter color like this and then darken as they matureThe lower skin is laid down and ready to Cleco. You have to be really careful moving around these large thin sheets of aluminum, because then tend to develop “smile” shaped creases that are difficult to completely removeRibs are Cleco’d in place and stringers have been riveted. The Clecos marked with the red tape are ones where there are 3 layers (skin, rib, tank support) and need to be carefully pressed together when riveting to avoid separationFront ant back spars have been transfer drilledAfter the usual debur and countersink on the front spar, it is time to start riveting again. (Note the red tape on the 3-layer skin/rib/tank support Clecos and the inner rib ones that need to wait for fuel tank install to remind us not to just rivet these along with the othersBoth wings are now skinned top and bottom and ready for fuel tank install