Mill Creek 13: Finished
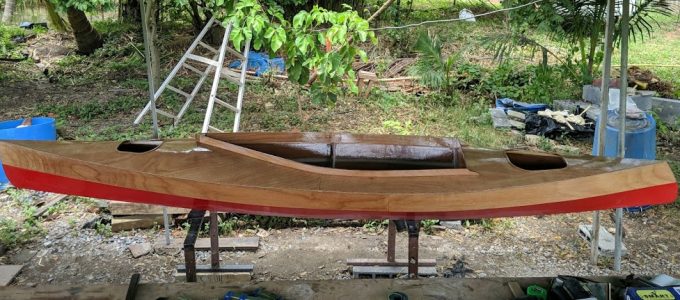
We are now finished building the Mill Creek 13. We painted it red and coated it with polyurethane on lower part. Here we took it out for a row along the canals of Bangmod around dusk…
PocketShip : Laying out the keel
Assembling the keel port, where the centerboard slides inside. Keel nose was made by gluing pieces of wood together and grind in shape with a table saw. Laying out the parts on a table to confirm the dimensions before gluing them together.
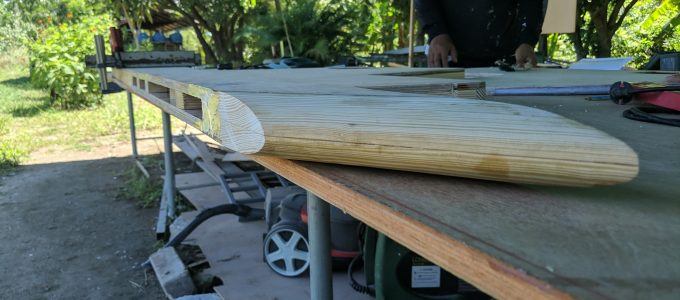
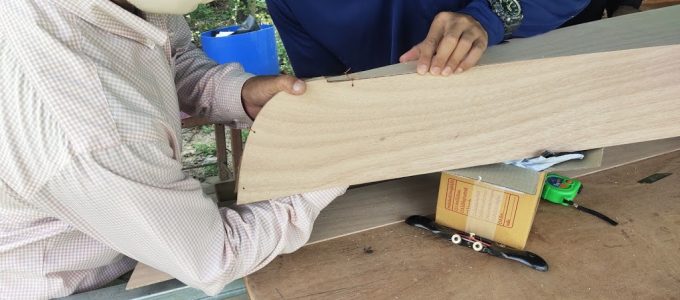
PocketShip: Building the keel and centerboard
This will be the centerboard Making a rabbet on the edge. Glueing the centerboard together with thickened resin. We received the rest of the timber for the boat this afternoon.
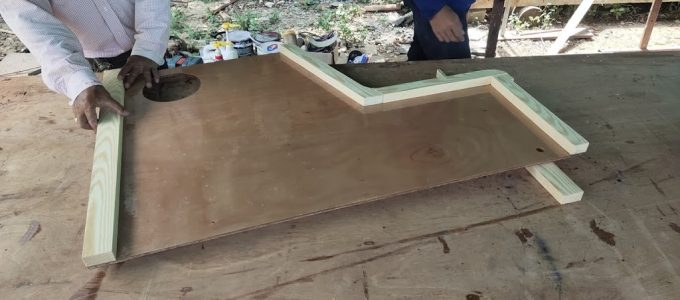
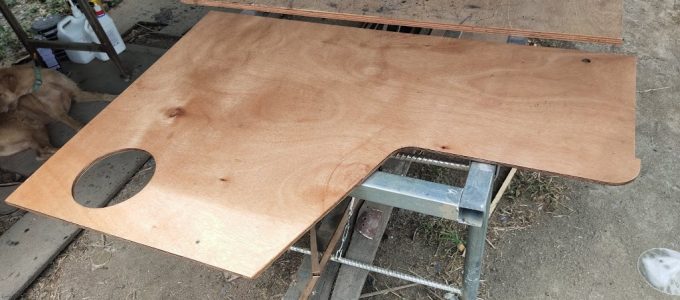
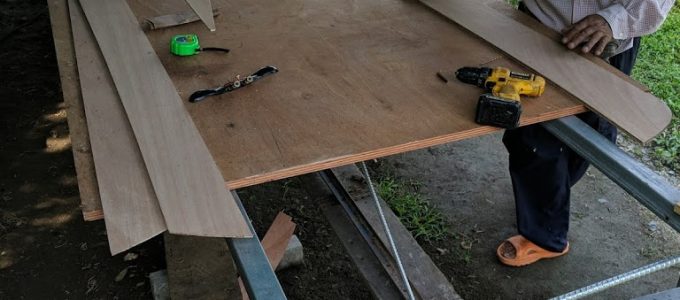
PocketShip: Cutting all the parts
We are starting to build the PocketShip from plans. All of the plywood parts are now cut and we are moving on to build the keel.
Mill Creek 13: Stitching together
Here are a few pictures of assembling the main body wood pieces and stitching them together with copper wire. After assembling the pieces, we used a mixture of resin and filler to apply a fillet to all of the strips where two pieces of wood meet. And then sanded it smooth And then the inner…
MillCreek13 and PocketShip
Looking around at various options for building a sailboat, we decided on the PocketShip by CLC boats: https://www.clcboats.com/modules/catalog/boat.php?category_qn=wooden-sailboat-kits&subcat_qn=pocketship&code=pocketship-sailing-pocket-cruiser-kit But at the good advice of their team, we are starting with a kayak to get the hang of the “stitch and glue” plywood and resin build process. We went with their Mill Creek 13 kayak: https://www.clcboats.com/shop/boats/kayak-kits/recreational-kayaks/mill-creek-13-stitch-and-glue-recreational-kayak-kit.html…
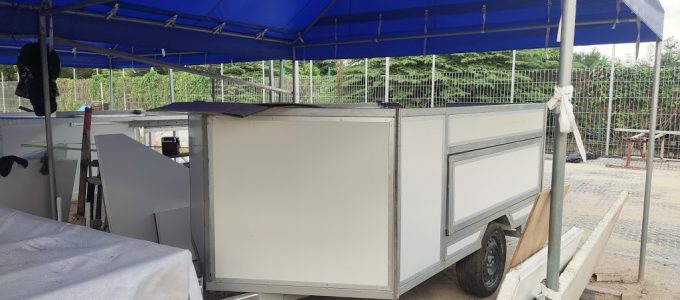
MuH: Installing extension wall, wall and door on MuH
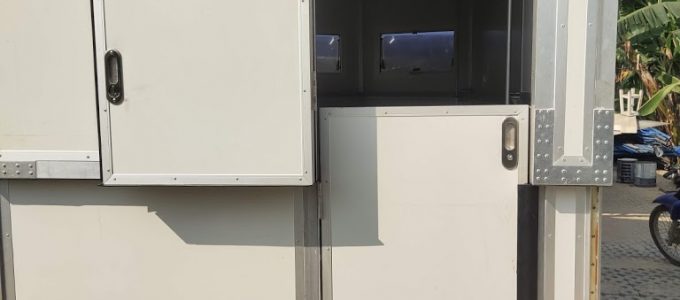
All walls, windows, and doors, as well as the interior storage under the seating are all completed. This includes all the rain water seals and the weird little pieces where the expansion walls in the back that go in when the back of the MuH is pulled out. Next we will work on the final…
MuH: Installing aircon, and sink on MuH

We are pushing now to fully complete this project. We have completed installing walls, windows, roof, ventilation fan and air conditioning And even the sink The sink is quite low but usable. And you can see how it slides out of the way into the expandable shelf when not in use. We are currently weather…
MuH: Installing wall and windows.
After a long pause due to other more pressing business, we have finally returned to this project. We are now working on installing the walls and windows. We have gone with 5cm thick insulated sandwich wall for the walls. We have decided to use Dometic brand polycarbonate windows. Despite Dometic being on the expensive side,…