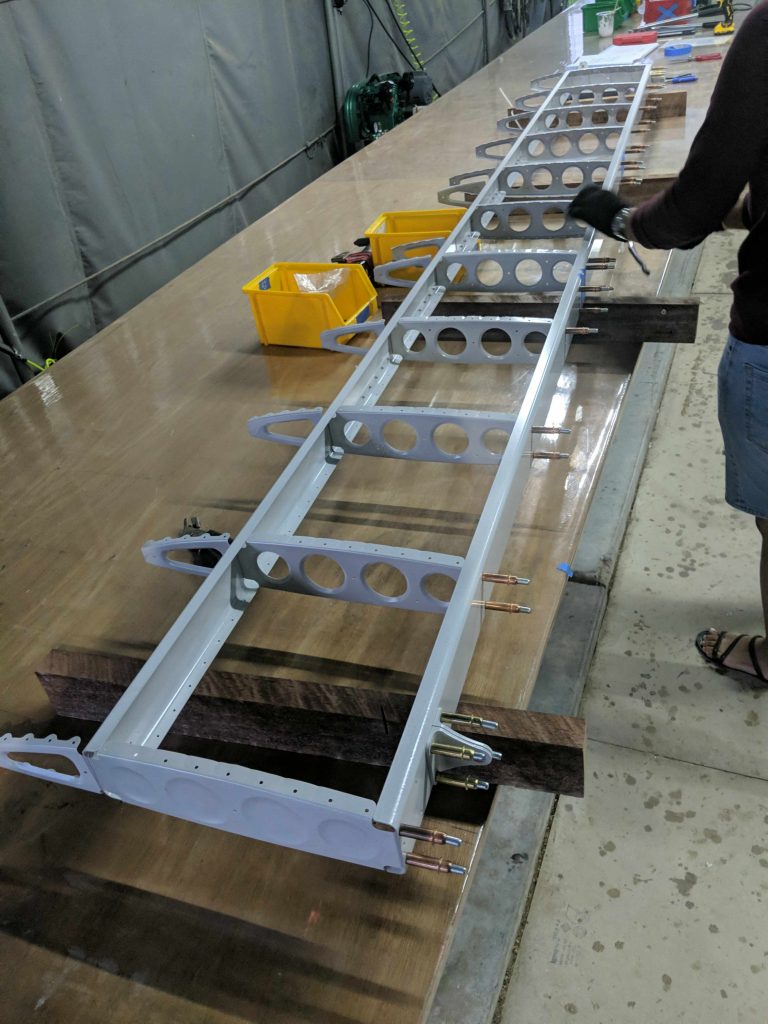
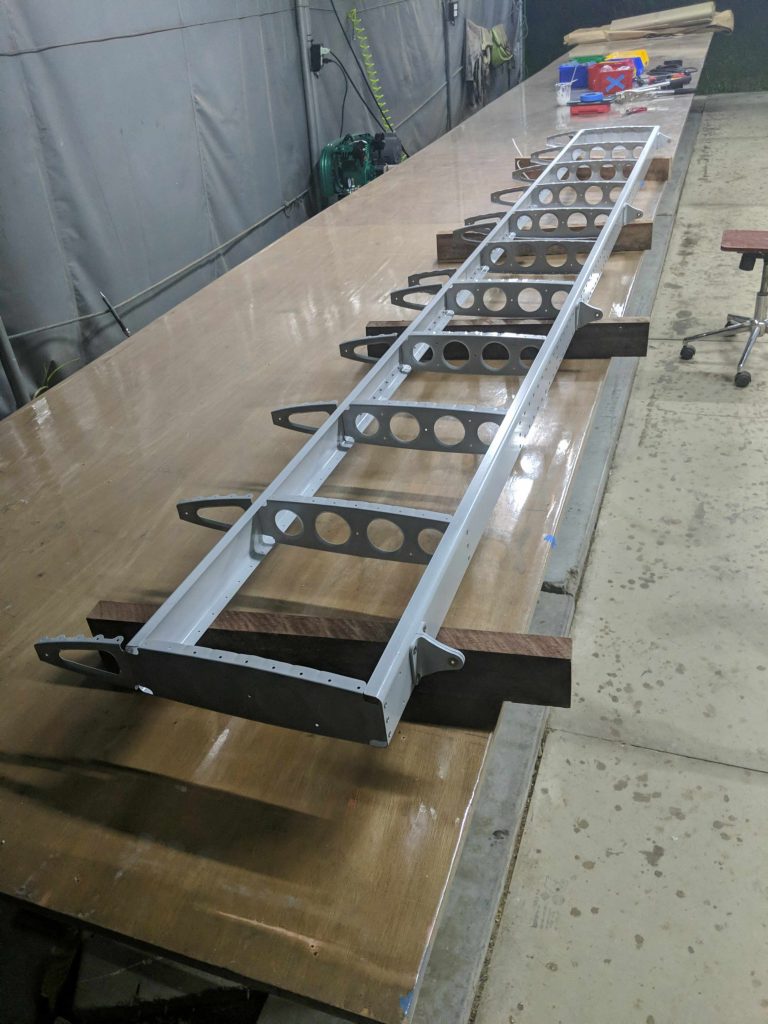
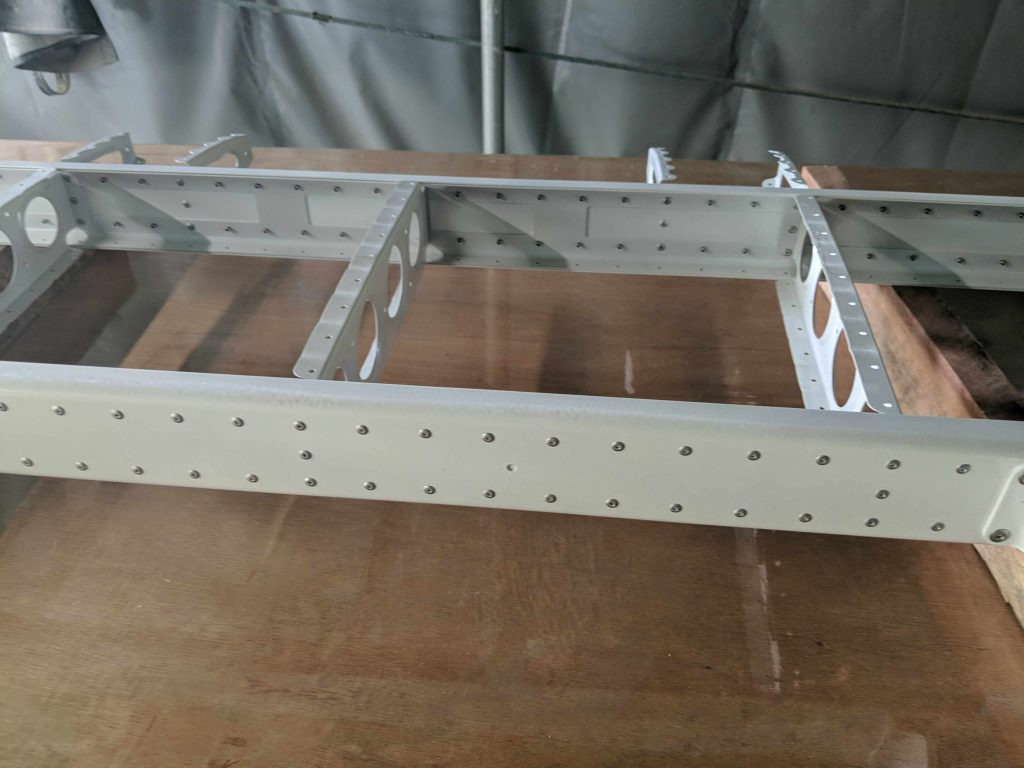
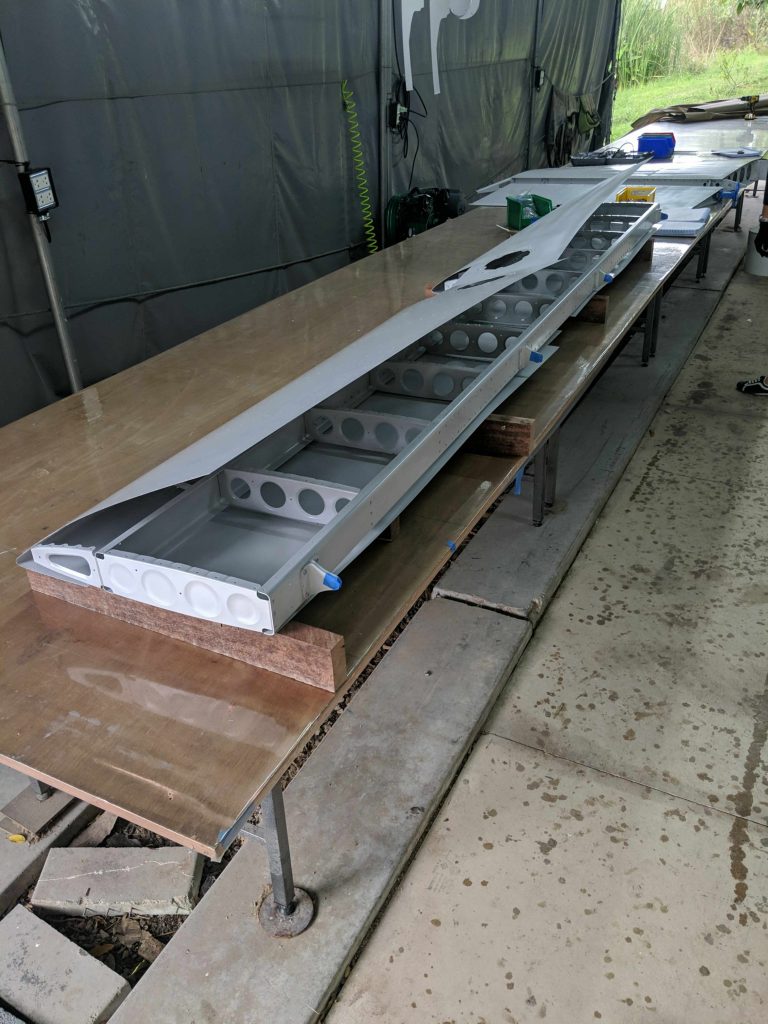
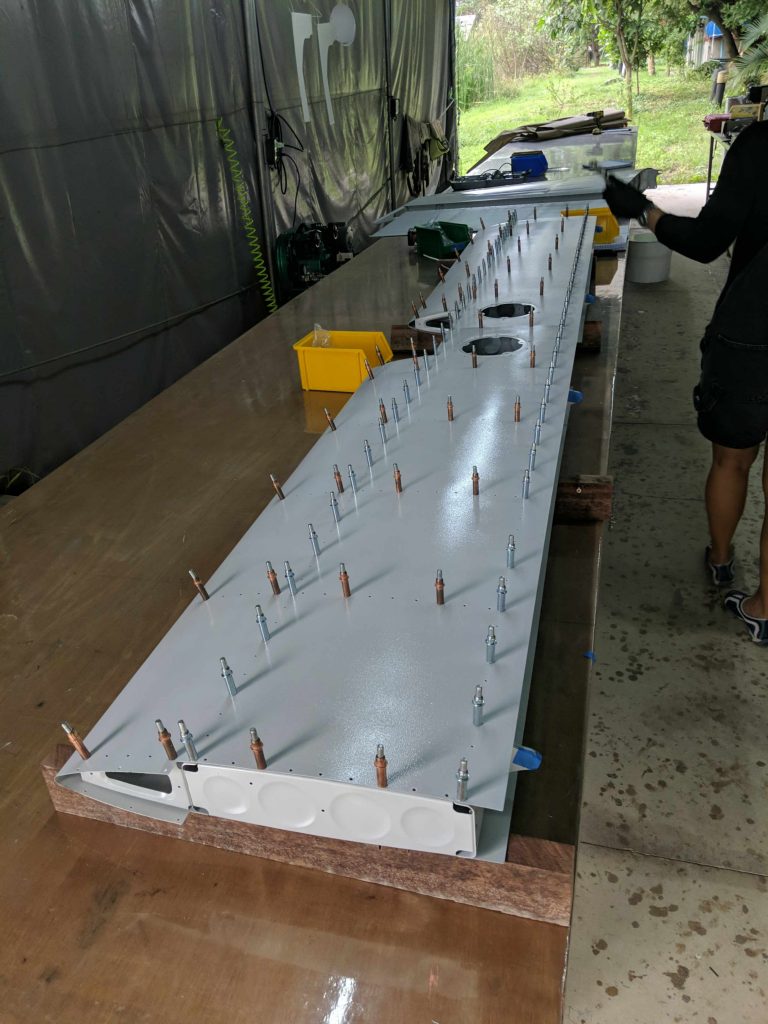
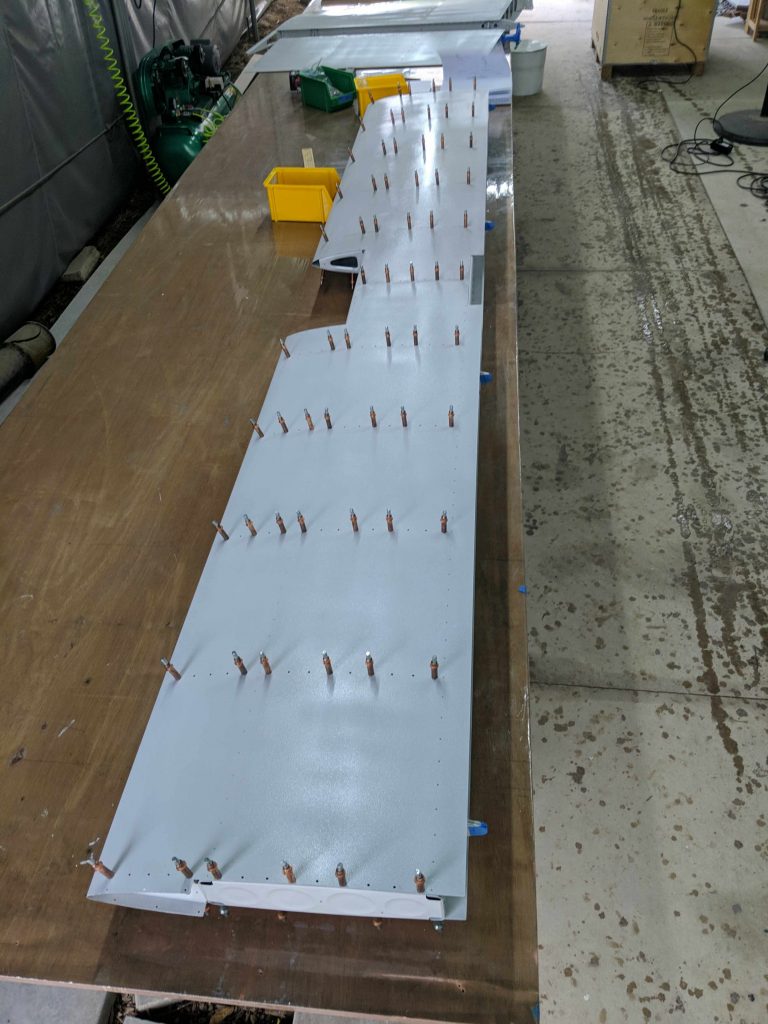
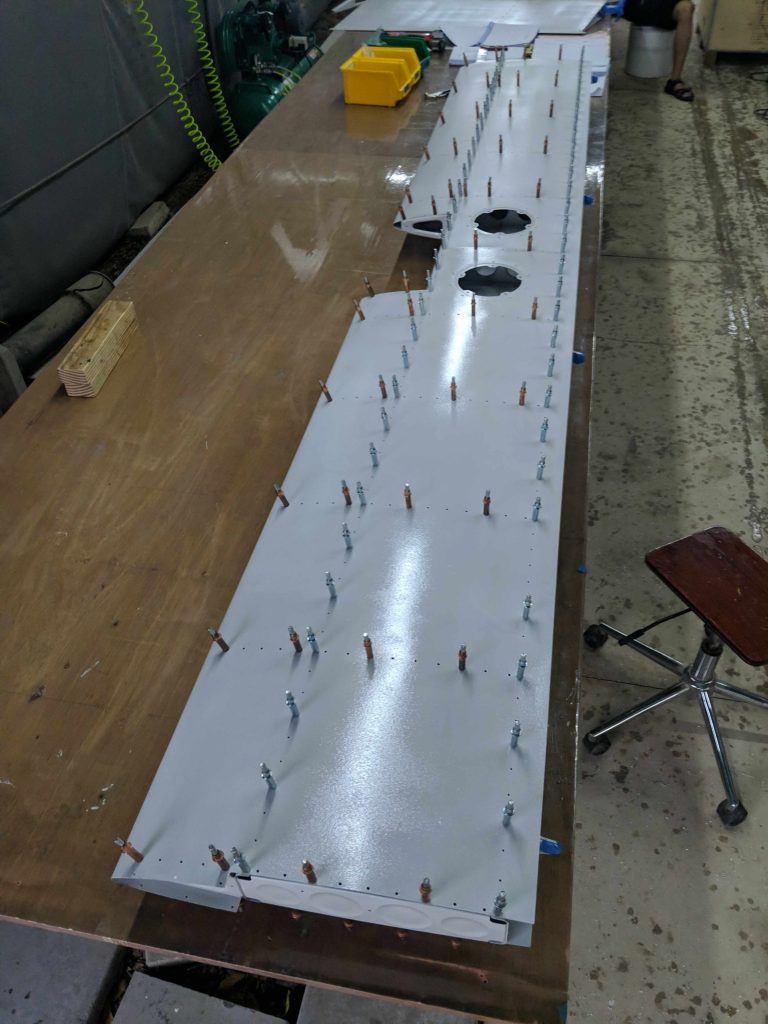
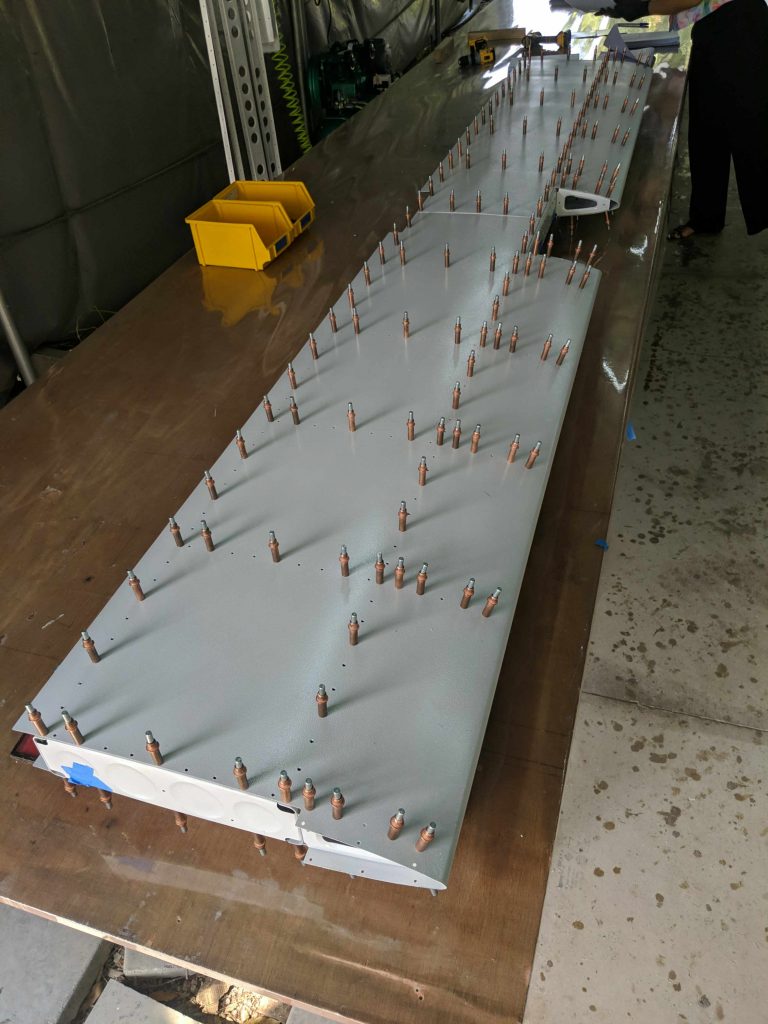
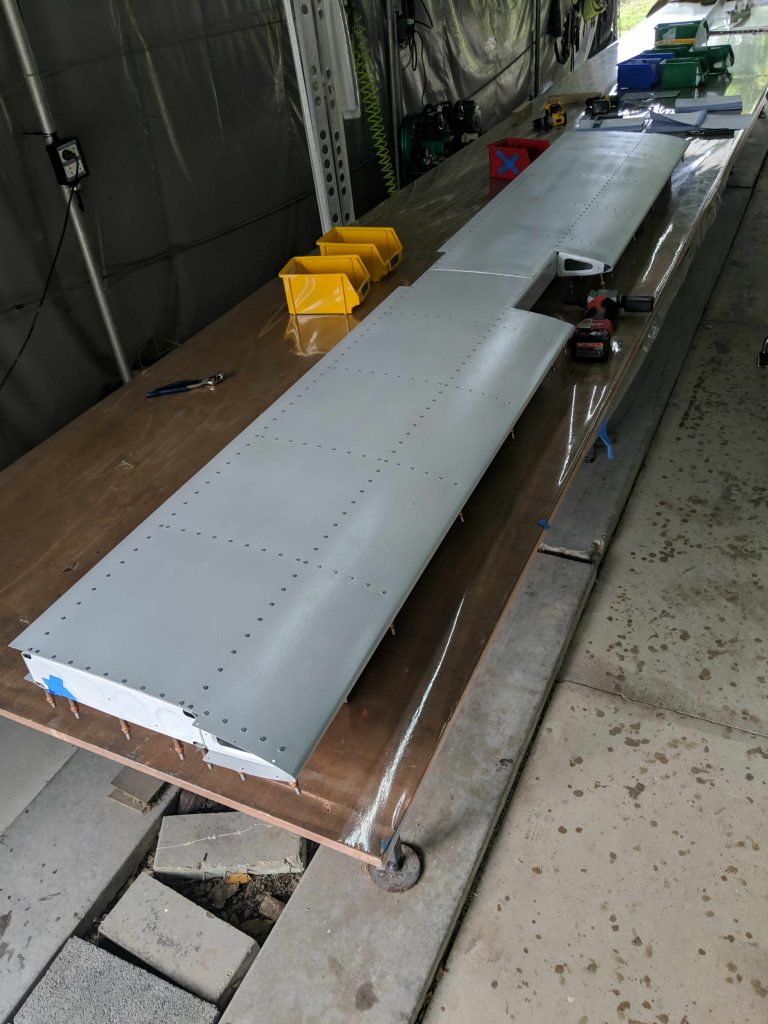
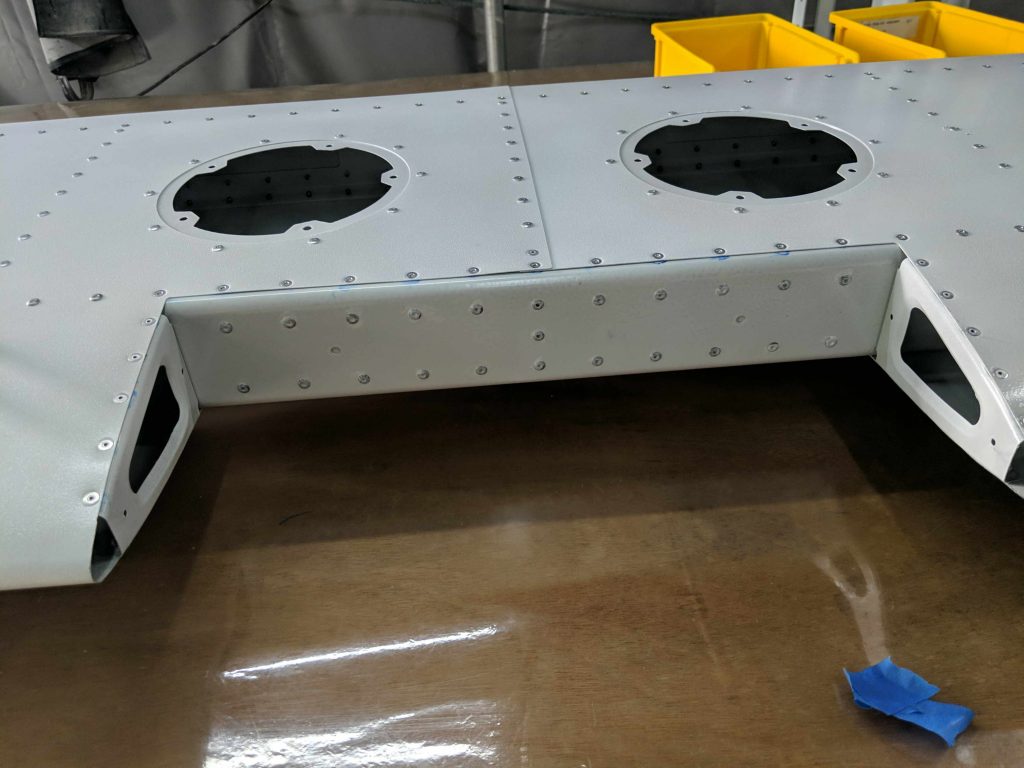
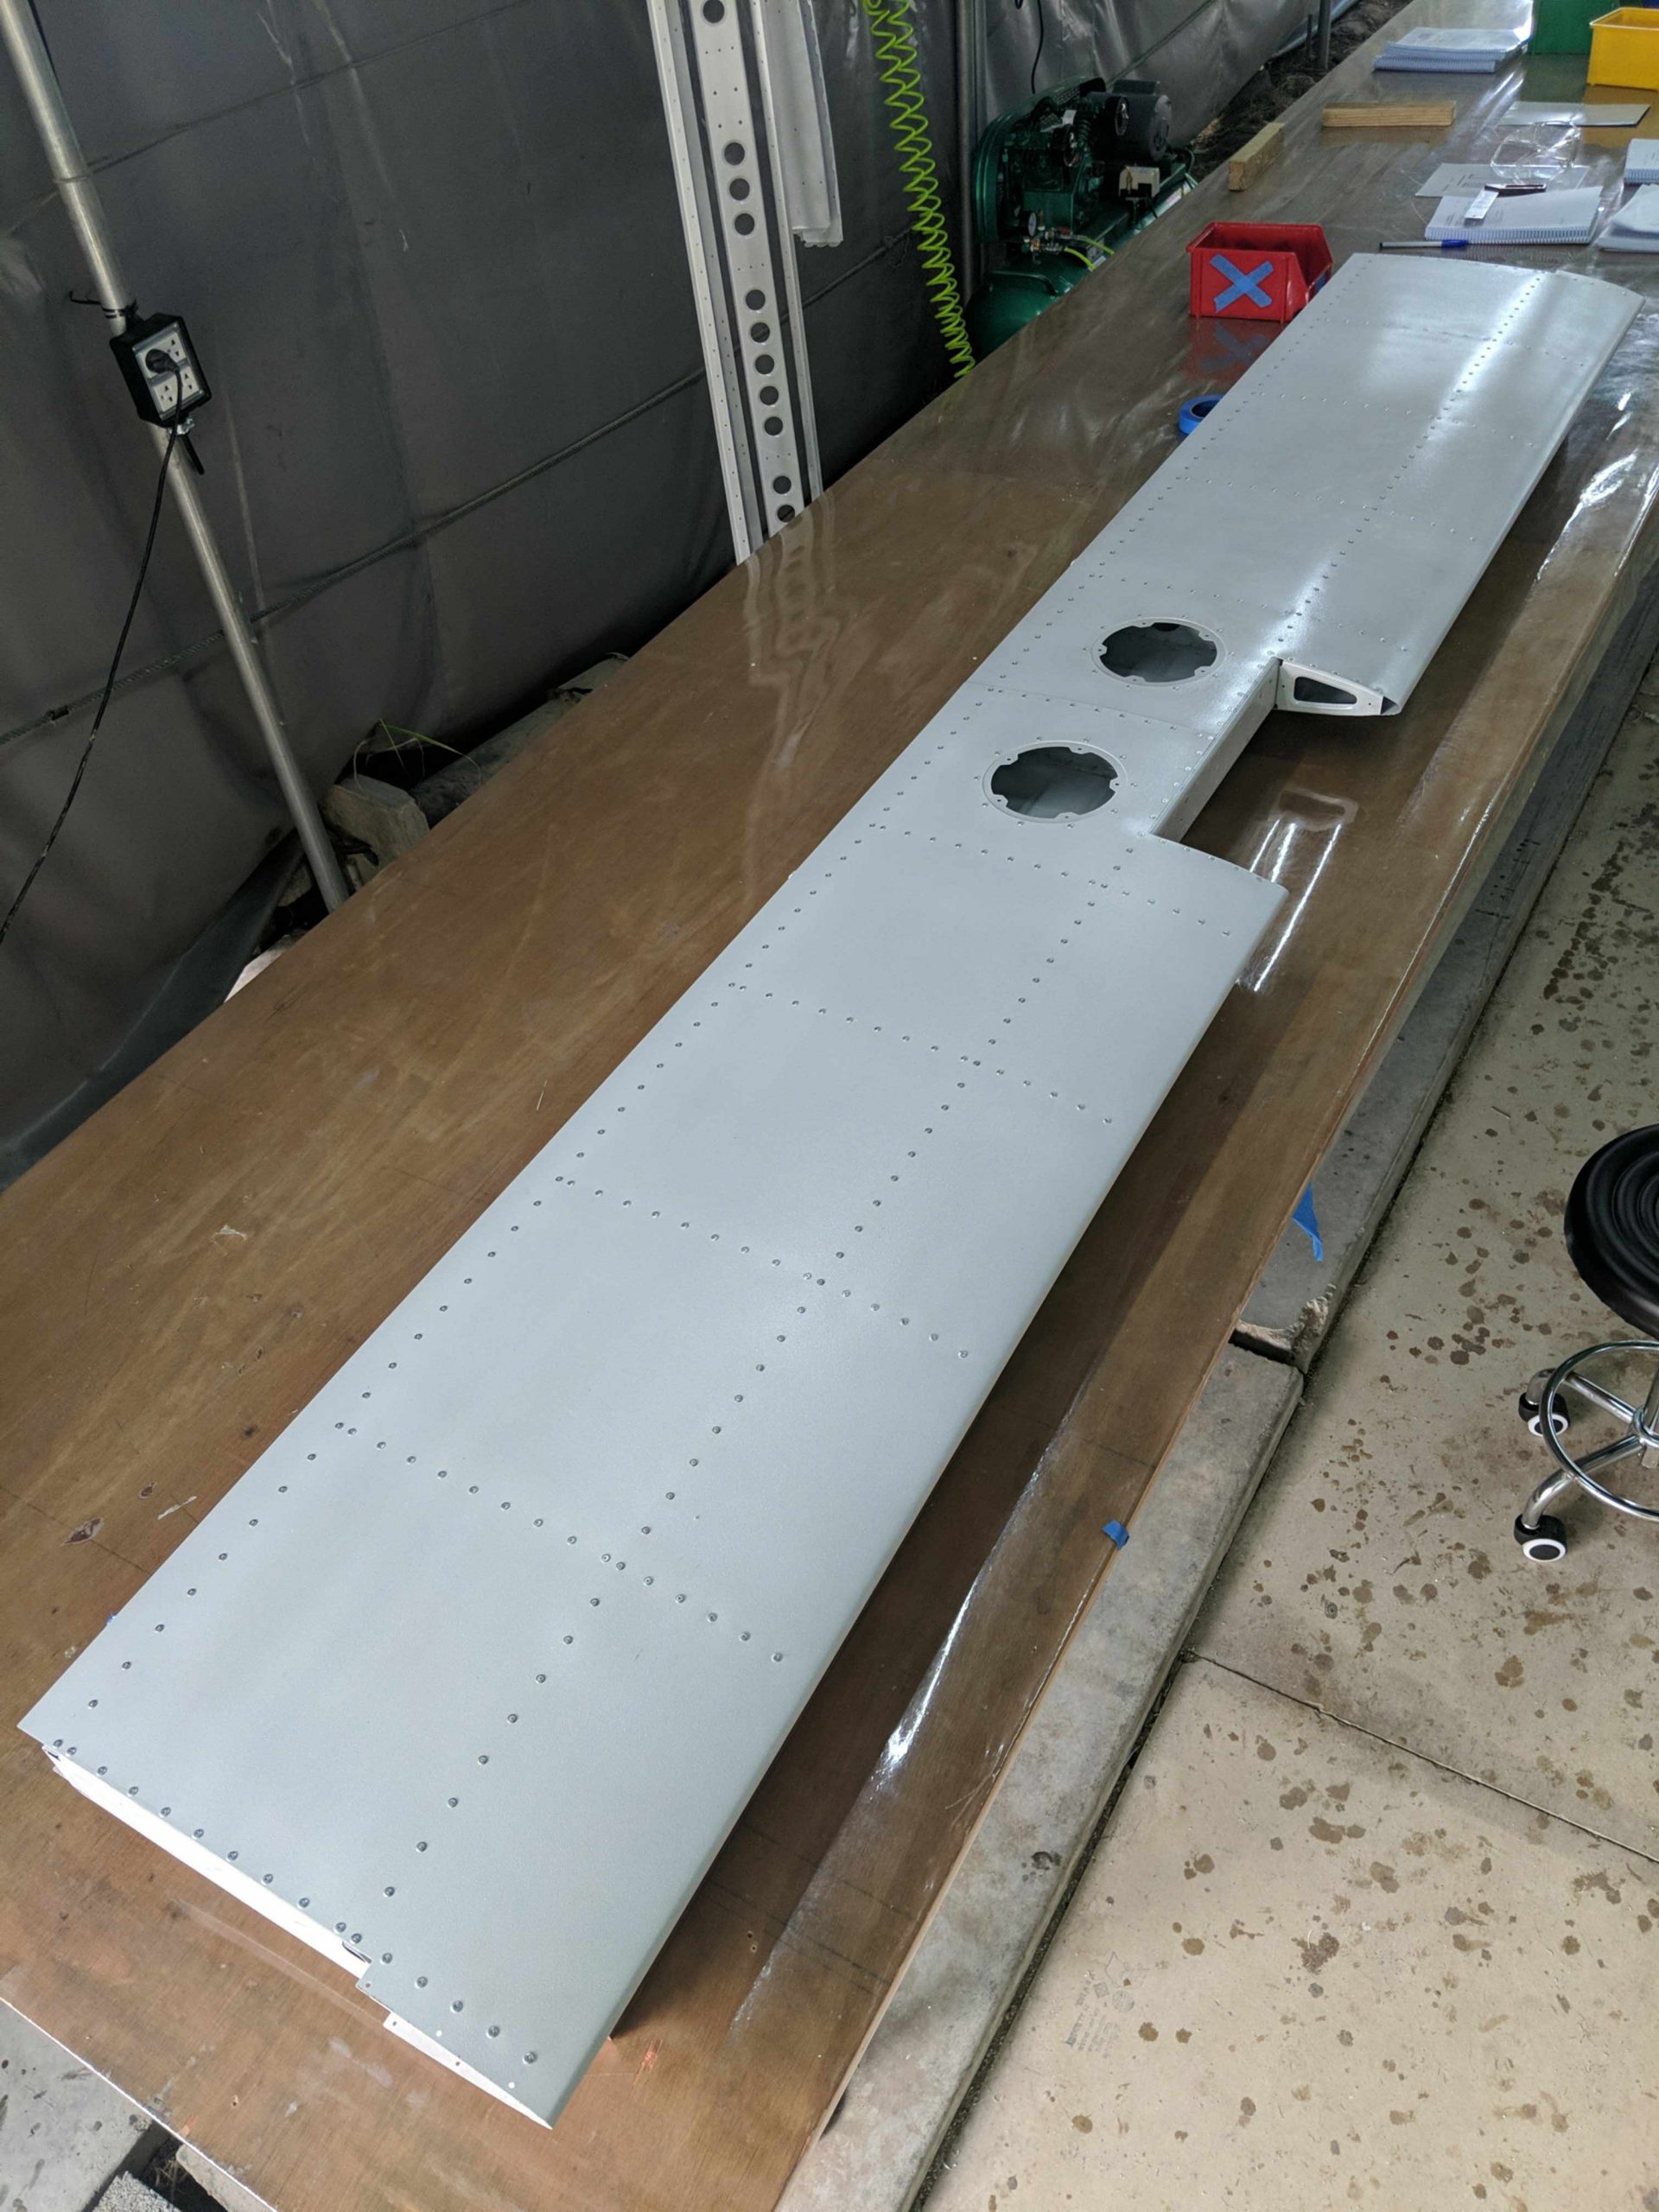
The horizontal stabilizer is larger and slightly more involved than the vertical stabilizer, but still looks fairly straightforward if we can be careful enough following the instructions exactly.

First we need to spray primer all the aluminum pieces
Then we Cleco the frame. The frame is put on pieces of wooden 2×4 for this and measured with a digital level to make sure there is no twist.
Finished riveting the frame
Lots of rivets to hold the spar doublers to the front and aft spars
We tried spraying more primer onto all the aluminum rivets, but changed our mind and switched to brushing it on. More focused and controlled for tiny spots of rivets.
Placing the frames inside the skin
After the first few Clecos went in, we used the digital level to true it, and then filled in the remaining Clecos. Note that the spar holes are only drilled to #40, so the silver Clecos go in there. These will be enlarged to #30 after Clecos are all in, horizontal stabilizer is still confirmed to be true and level, and before riveting
Flipping the skin over to get a number of Clecos on the other side before we level and true the horizontal stabilizer and start transfer drilling to the #30 holes
Back to the top side again, confirmed no twist, and ready to transfer drill the spar holes (switching to the copper Clecos as we go)
After transfer drilling is complete, we removed the skins, deburred, dimpled and countersunk the holes around the mount points, and reassembled (with Clecos). Time to use the digital level to true the horizontal stabilizer once more before we finally rivet the skins on
One side riveted
Note the flush rivets where the horizontal stabilizer sits against the mounting
Flip it over and rivet the other side and the horizontal stabilizer is done