
Having added lightning rods to both of our non-floating houses on our land along with the appropriate binding and grounding, I have struggled to figure out how to similarly protect BaanLoiNaam, our floating house. This isn’t just an academic issue. One of our neighbors had their house burn down this year due to a lightning strike during one of the most violent electrical storms I’ve ever experienced. And since our floating house is the only thing sticking up in a nice perfectly flat pond, it would seem to be a natural target for lightning.
The problem is that BaanLoiNaam isn’t just a floating house, it is designed to move around the pond like a large slow boat, making a ground connection impractical. So I began reading up on how lightning protection for boats is done. In particular, our mobile wooden floating house would seem to be functionally a wooden boat. So this article on WoodenBoat.com about lightning protection systems seemed like a good guide.
As always, the information provided here describes the system I installed, and is meant for informational purposes only. Lightning protection systems installed poorly can lead to loss of property and loss of life. Please seek professional advice about your specific circumstances before installing a lightning protection system of your own.
Now back to lightning protection on wooden boats. From my reading of the above mentioned article, the idea seems to be that a low resistance path to a good electrical contact in the water below the boat is the equivalent of a low resistance path to a good solid electrical ground beneath a house.
Here is the relevant passage from the article:
To be completely honest, I have no idea how they get that “more than six times the ‘edge area'” number. I get about 0.56 ft² from their dimensions if one side of the strip is against the hull. But mine is sized larger so I get about 2.8 ft².
But this general idea of “grounding to water” makes sense to me since the basic idea of any lightning protection system is to guide the lightning past your home (or boat) and its occupants as safely as possible. Lightning occurs when a large electrical potential builds up in the atmosphere and “seeks a path” to a lower potential (ground) in order to discharge. By offering the lightning a low resistance path from above your home or boat to below your home or boat you are providing a “preferred” path that doesn’t involve setting wooden panels on fire or electrocuting people.
I would like to remind you of one basic electronics concept here, though: current flows through parallel resistors in an amount inversely proportional to the resistance. The most relevant part of that fact here is that current doesn’t “only take the low resistance path”, it “mostly takes the low resistance path”. From a quick Google search, “the current in a lightning strike typically ranges from 5,000 to 50,000 amperes depending on the strength of the storm.” But since 0.1-0.2 amps is enough to kill you, and you are standing in as a higher resistance parallel resistor to the lightning protection system, it is important to understand that there is always significant danger when dealing with lightning. Lightning protection systems lessen the danger when designed properly, but there is always danger.
So I took the article’s advice and installed a copper strip in the water next to the pontoons. I was able to source 1″ x 3/16″ copper:

This was mounted to the frame of the house via an aluminum strip running up to a bolt welded into the frame:

This bolt also provides electrical bonding to the house frame so that any lightning potential that does get into the frame of the house can find an easy path to ground (i.e. water) also.
The strip is 4.3m long and is mounted out from the pontoon by a few centimeters so that it is contacting the water on both sides. Then a 10mm² wire runs straight up from the copper strip to the lightning rod:

And then runs along the roof line to the second lightning rod on the other side of the roof:
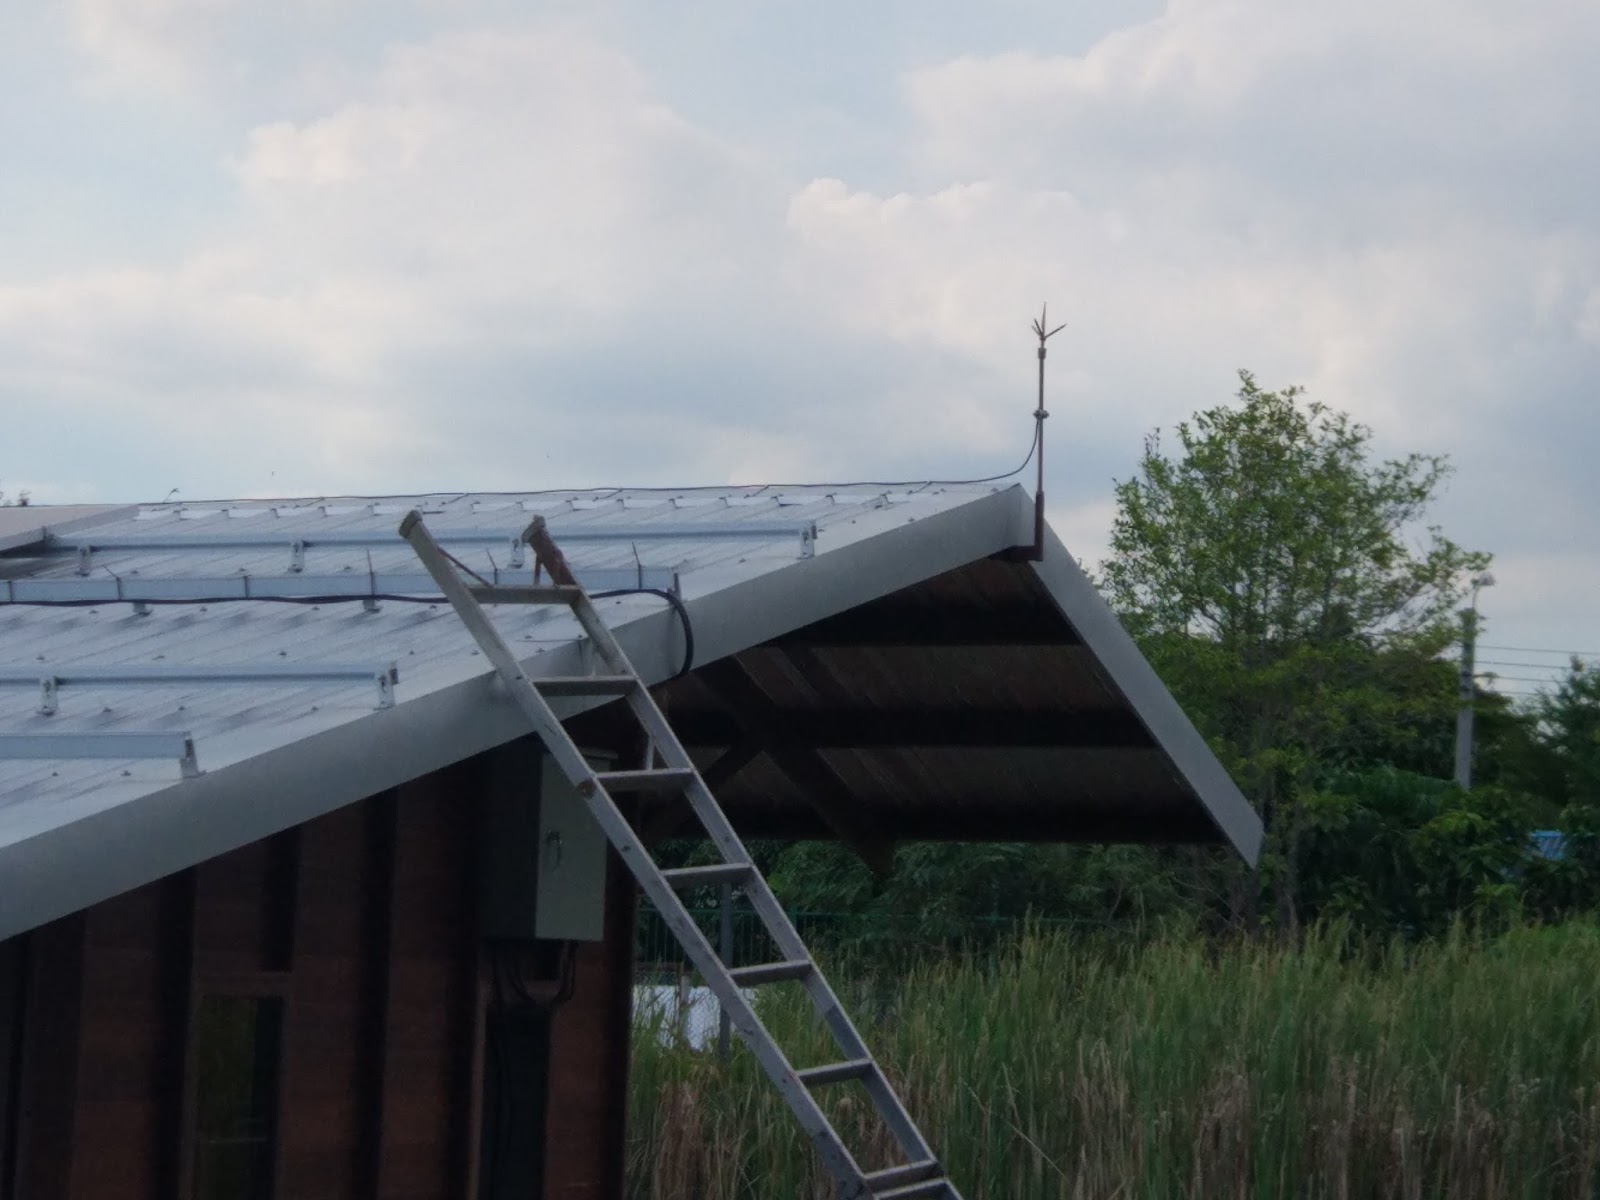
Here is a view of the roof line with both lightning rods (you might need to zoom in to see them):

You will notice the wider curves that the wire takes when connecting to the grounding rods. This is in order to reduce the chance that the huge potentials in the wire during a lightning strike will “jump out” to take the shorter path across a right bend. These secondary arcs can still be enough to set the house on fire. So the wire should bend as little as possible and bend as wide as possible whenever a bend is unavoidable.
So at least now, when there is a lightning storm, I don’t peek out the window every once in a while to see if BaanLoiNaam is burning. :-
Now all we need is a functioning water system, and it will be ready to move in.