I recently posted about my interest in exploring sleeping in a hammock rather than a bed.
Now I will write more about a simple recipe we came up with for building our own hammock. I’m actually quite surprised how simple it was.
We started with the best hammock we had in our possession:
The material is a basic cotton cloth that has been dyed for aesthetics and a seam stitched on both ends to hold the suspension rope.
Asking around, I found out that one of my colleagues at work has a cousin that owns a fabric store in Phahurat district of Bangkok. Based on reading around the net, my target was what many sites refer to as a “double hammock”, which is 6.5 ft wide. So I asked what size of plain cotton material the fabric shop sold that was at least 6.5ft wide. They had a roll of this stuff that was 110″ wide (about 2.8m, and more than 9 feet!).
Since the target distance between mounting points is about 15 feet on most sites, I bought more than that in length and figured I would consider how long to make it. My logic is that the longer the hammock, the less it will bunch up on the sides around me. We’ll be putting this to the test though. In particular because I’m going to try using the entire 110″ width since I have it and see what happens.
Here is the fabric lying out on the ground:
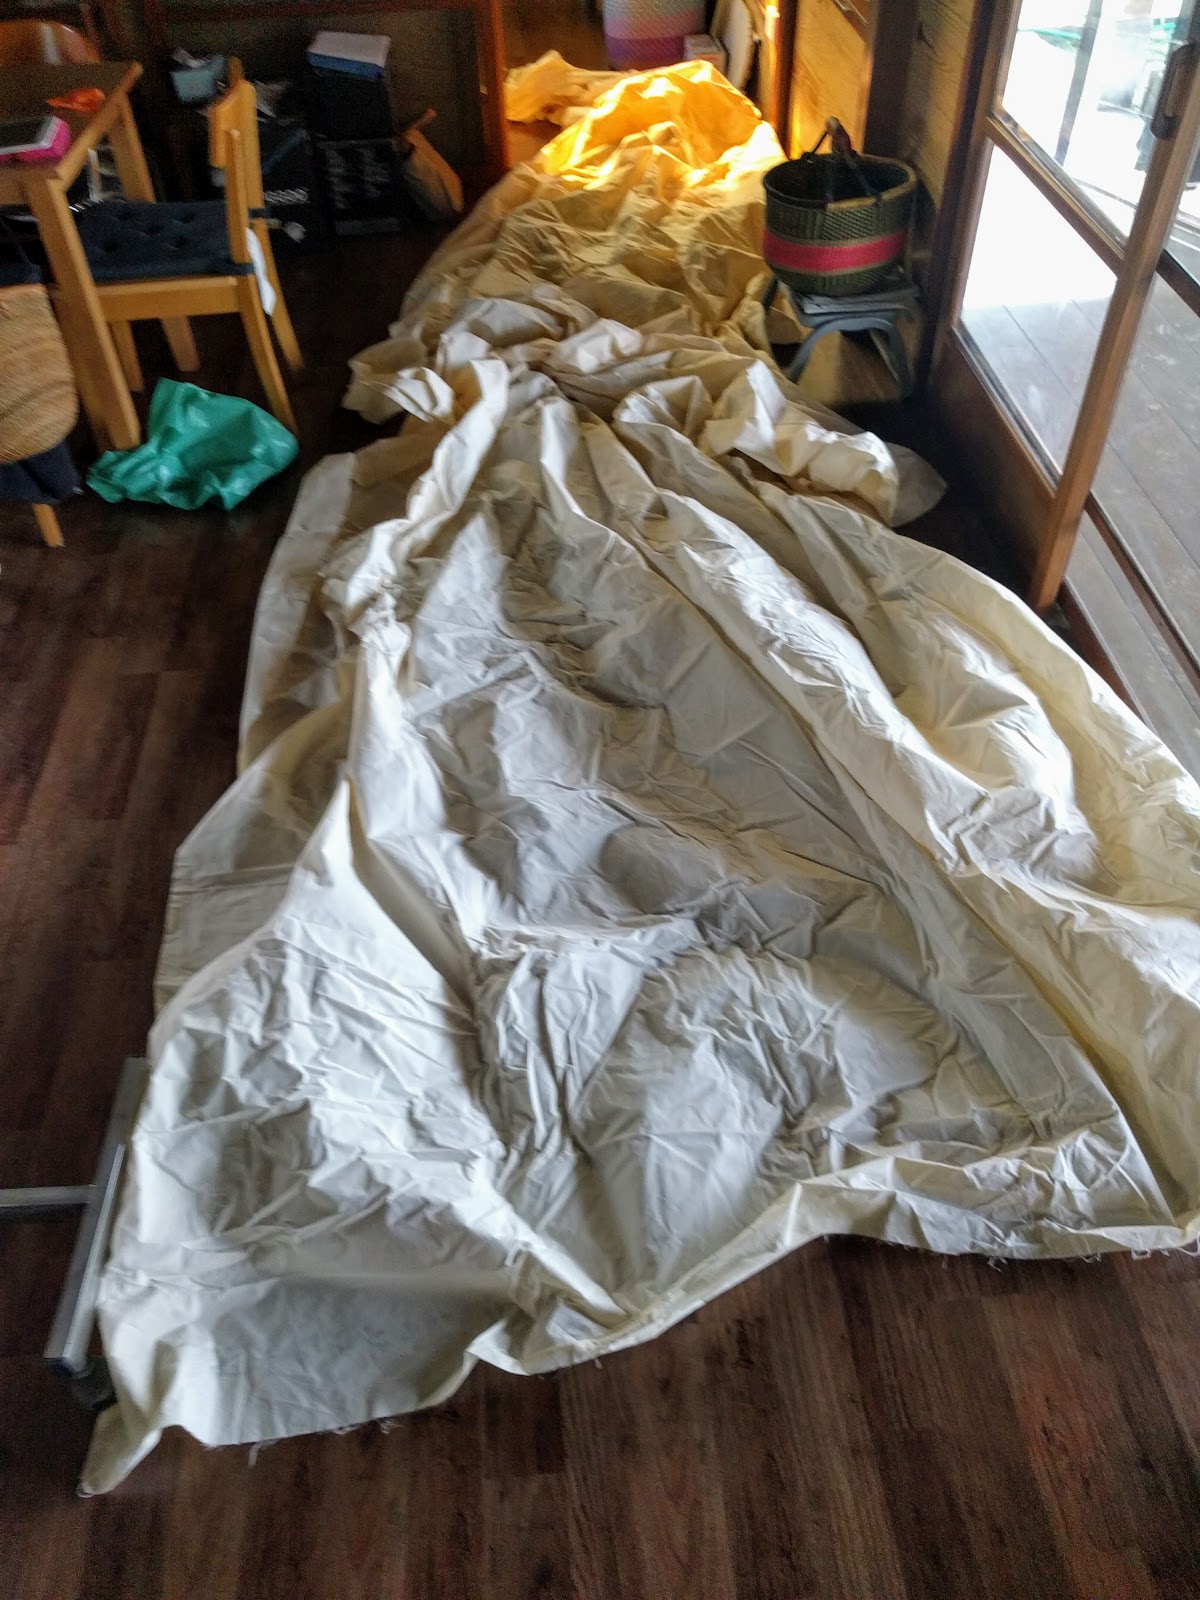
This is a lot of fabric!
Here is a close-up picture in case you are going to try to source it:
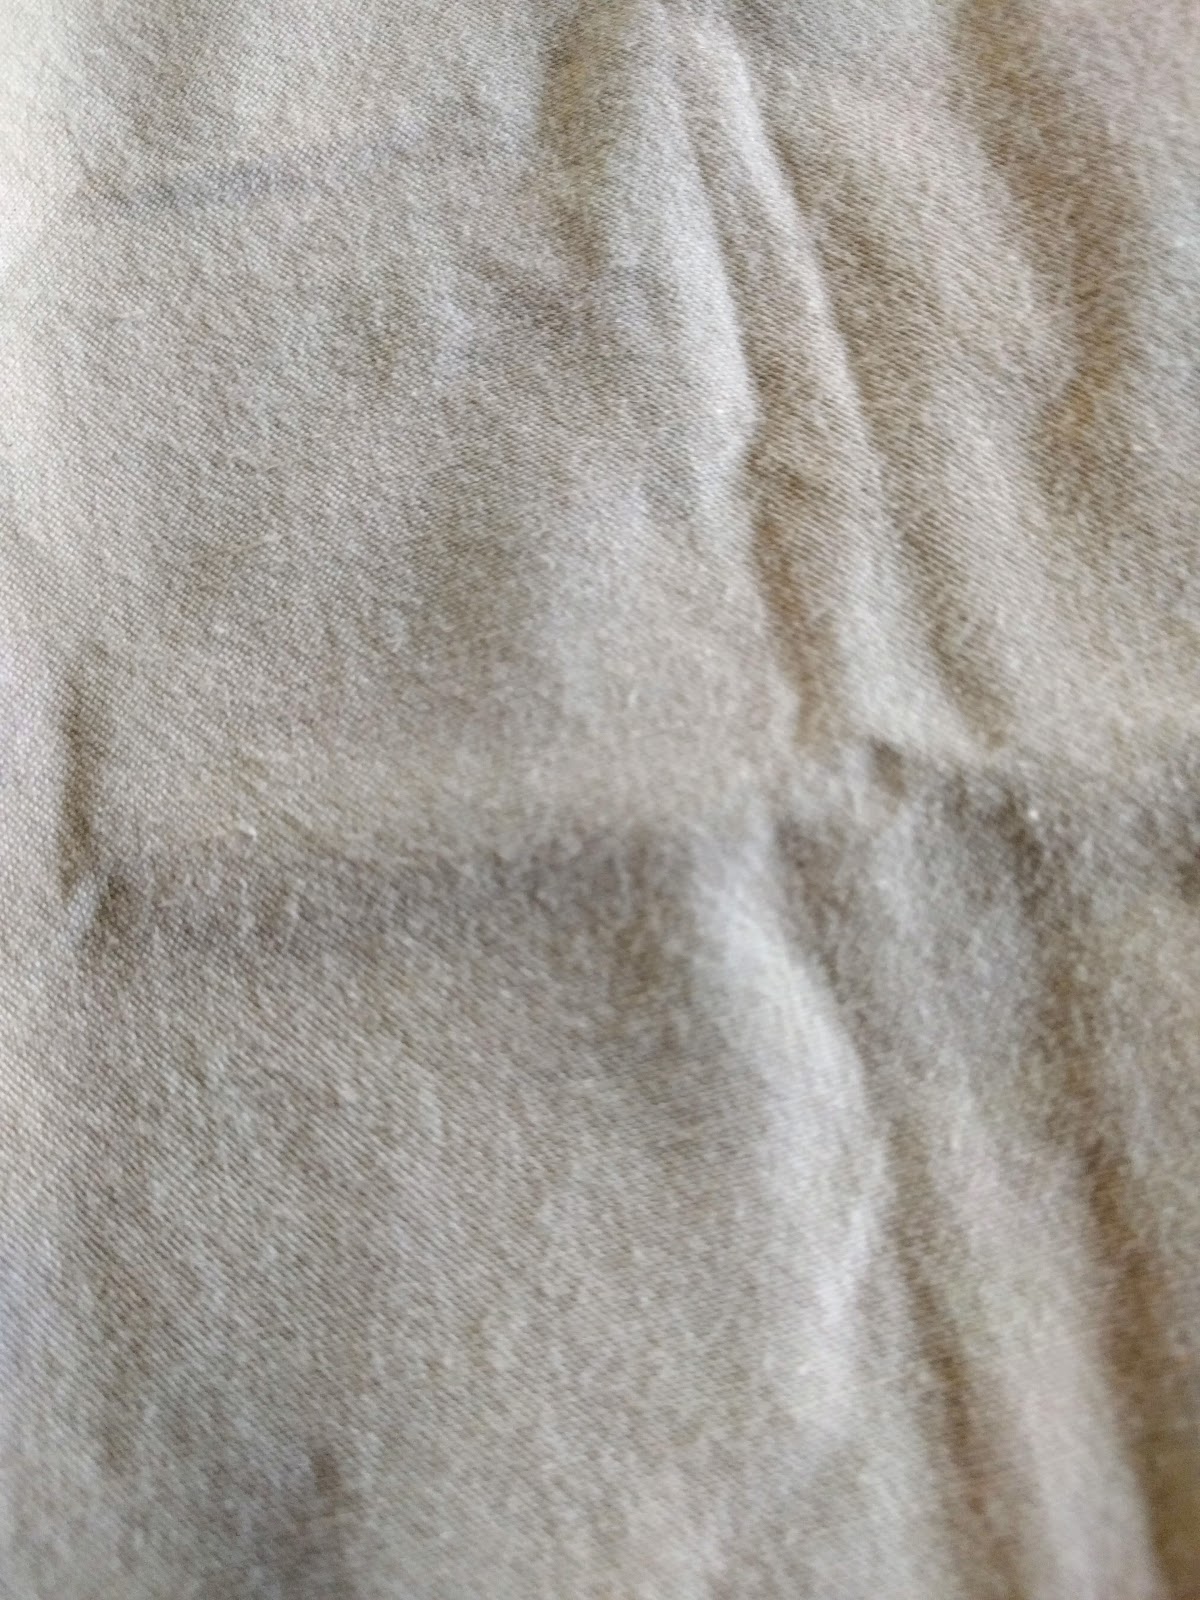
It is a basic rough fabric that feels more like a canvas for painting on than anything you might use for clothing. (Except maybe a pair of pants. I’d say it is about half way between “T-shirt feel” and “denim blue jeans”.)
In case you want to try sourcing the material yourself, I believe it is easy enough to find. But the shop we bought it from is called “Charoen Store” and is in Phahurat. For reference, the phone number is (02)222-1535 or (02)224-0995. The email address is: charoenstore@gmail.com
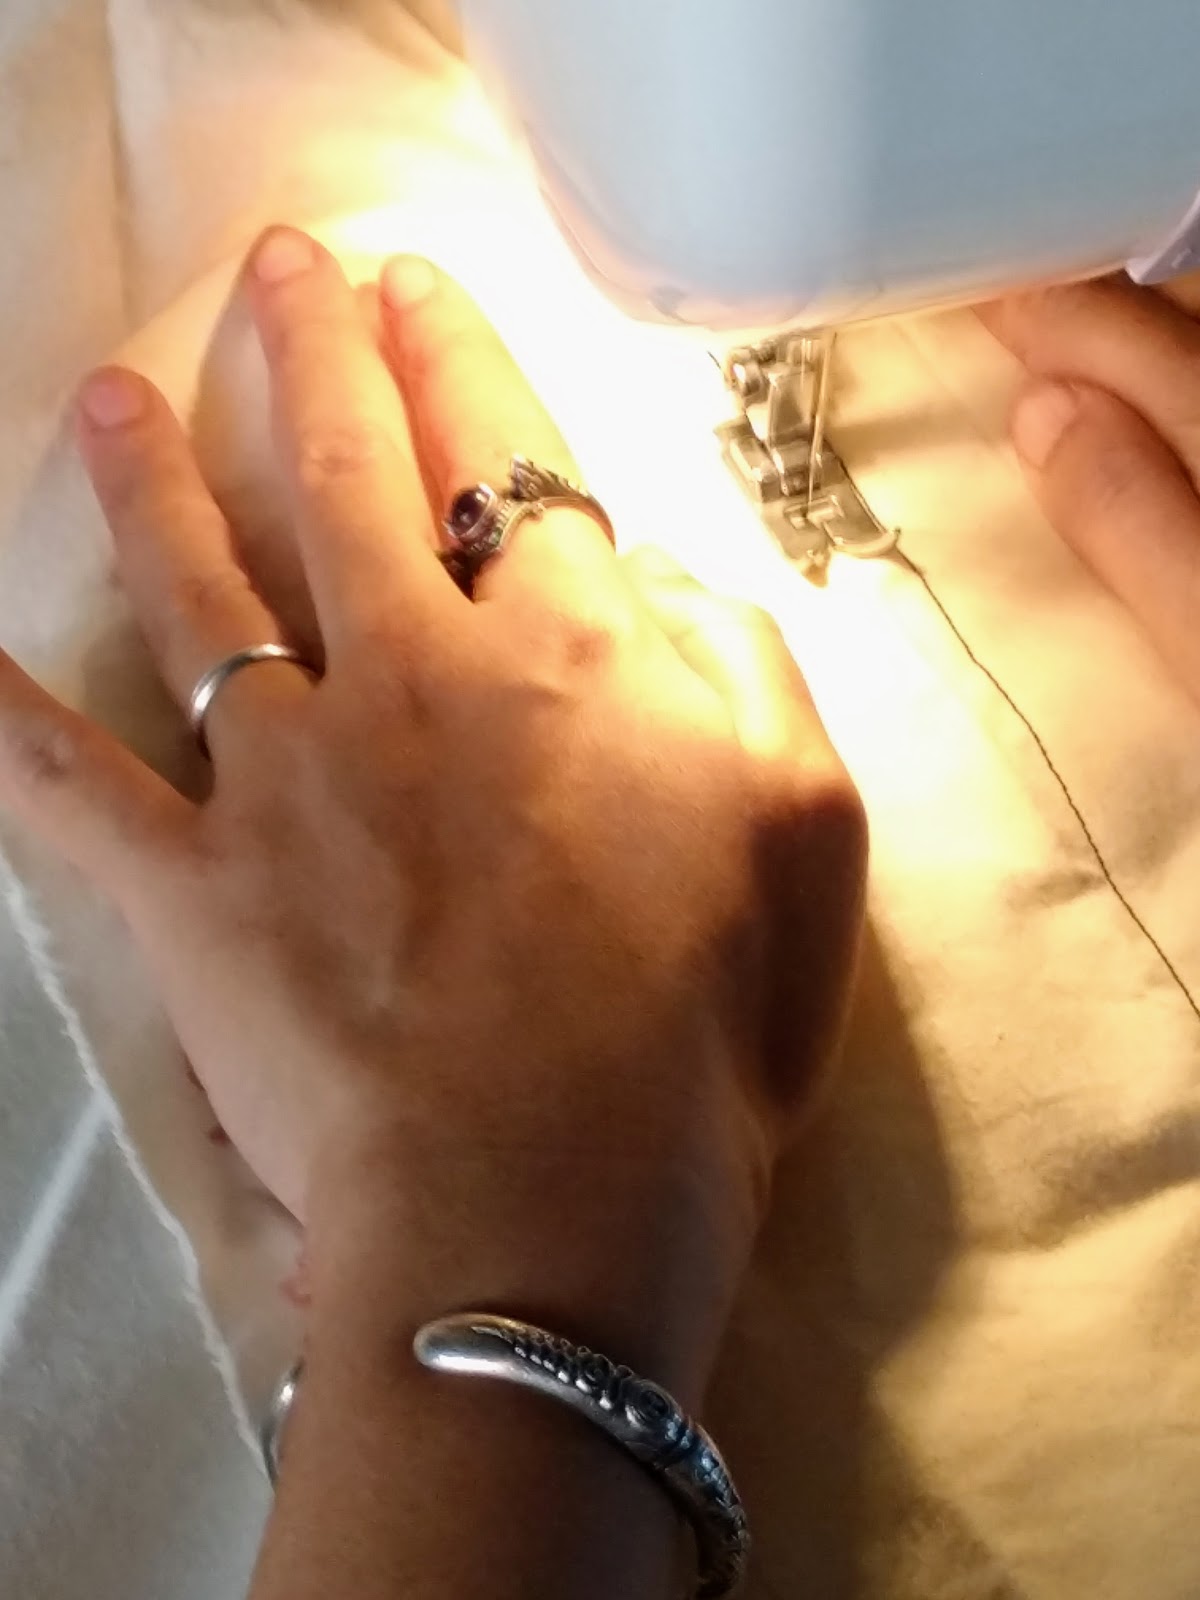
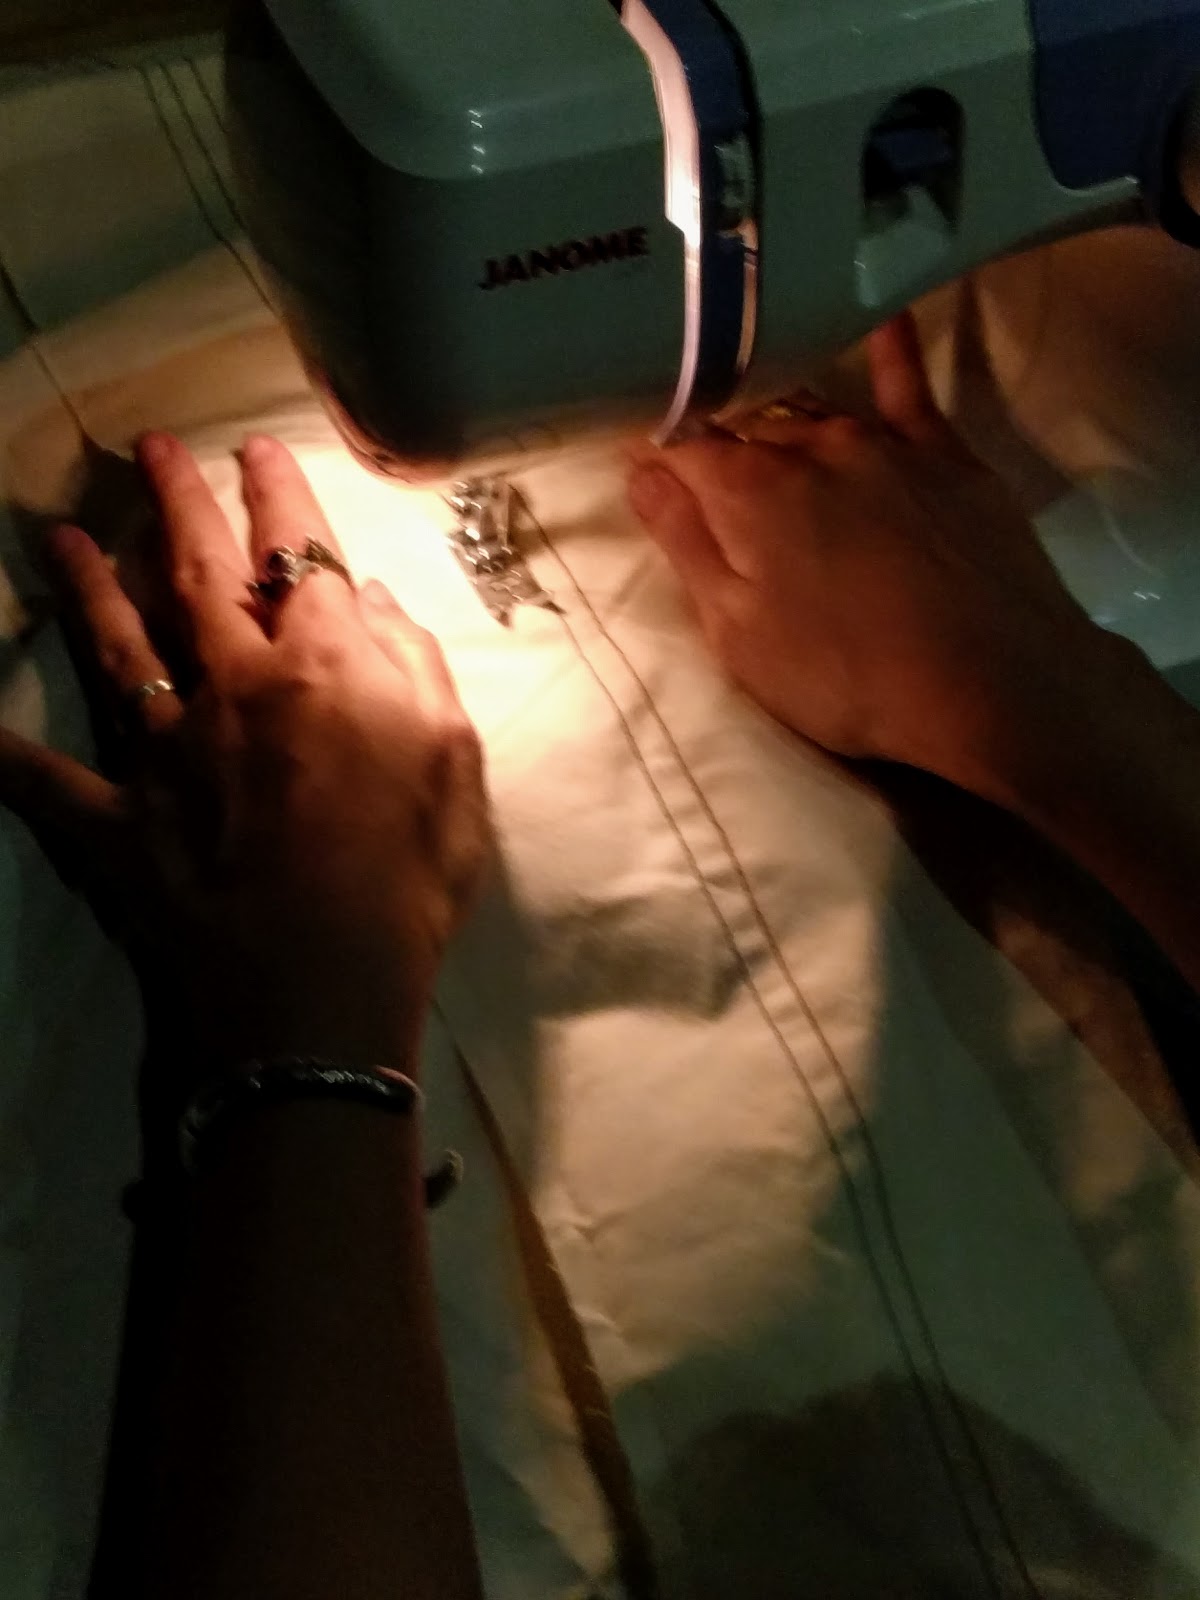
Praew hasn’t used her sewing machine in years and this fabric is pretty thick stuff, so I cut off a swatch and we tried out different stitch patterns on it:

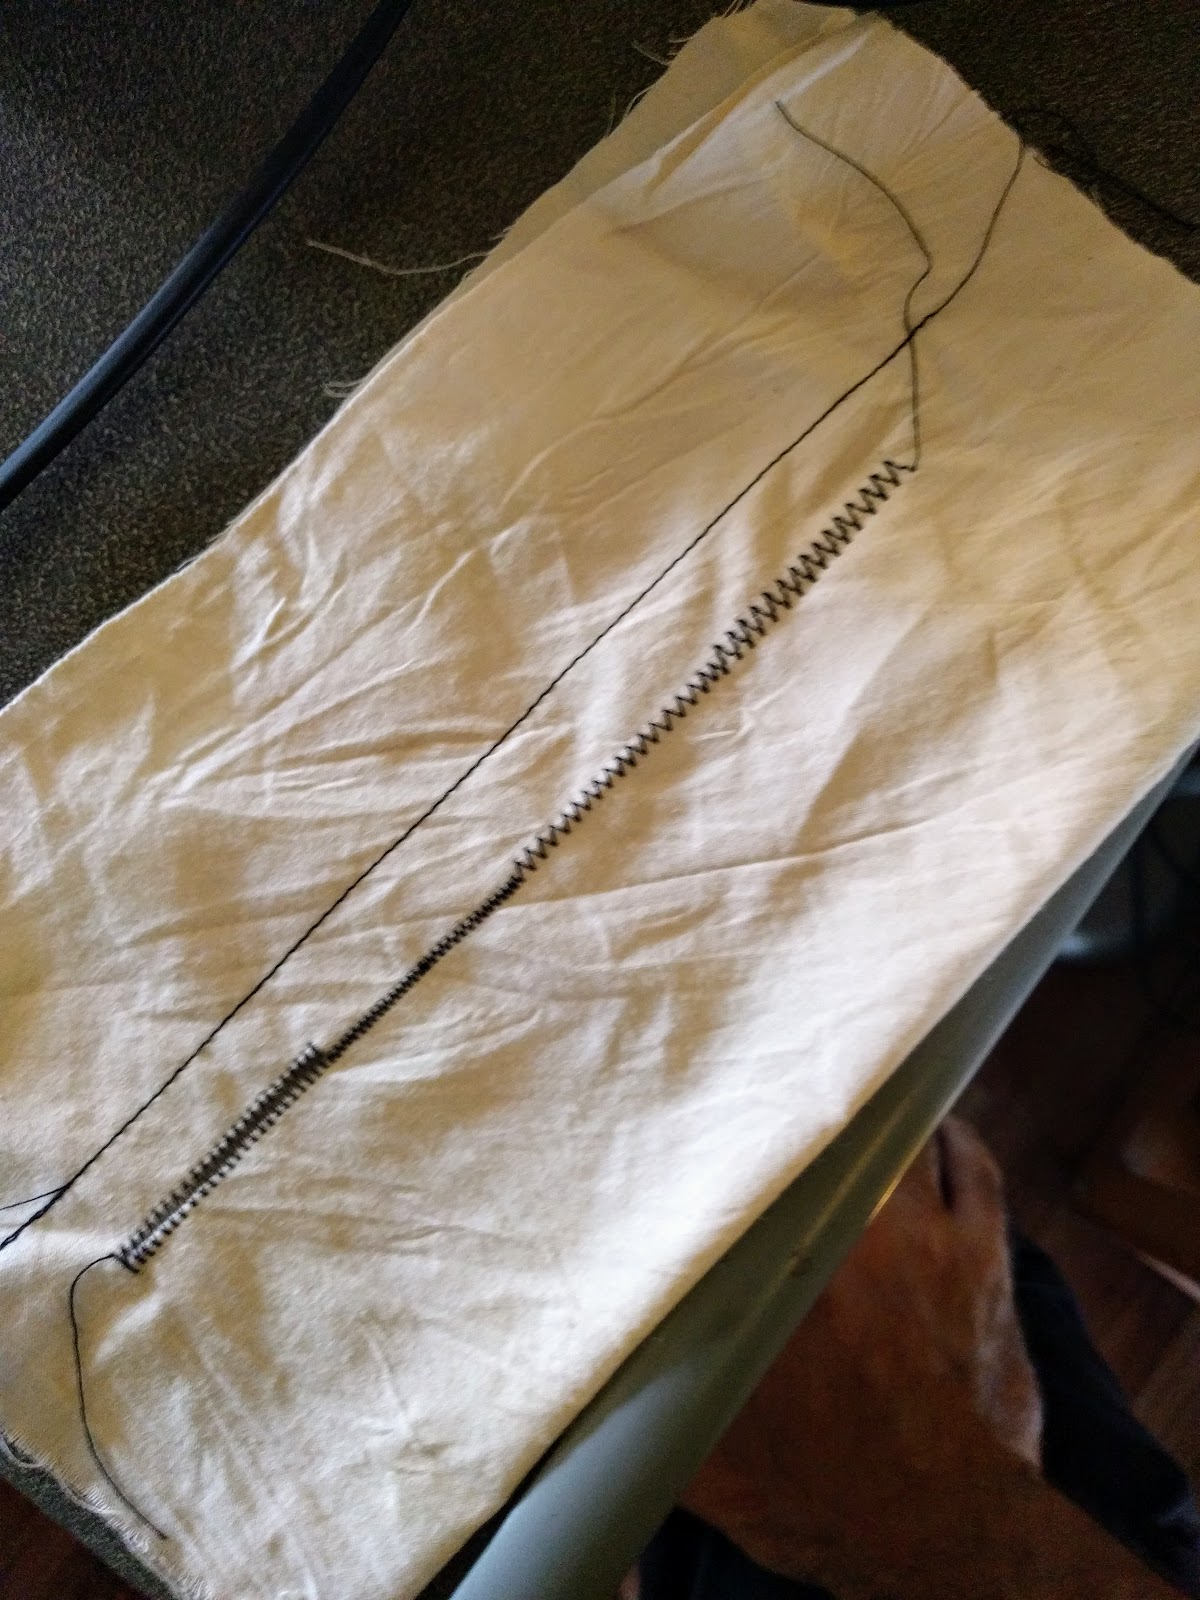
I’m glad we did because the machine jammed once or twice. I don’t know if this is due to the thickness of the fabric, an alignment/tuning problem of the old machine, or we simply aren’t very good at this. Any of these would be a sufficient explanation. But the practice on the swatch was helpful to remind us how to operate a sewing machine, and the straight simple stitch proved to be the one that didn’t jam.
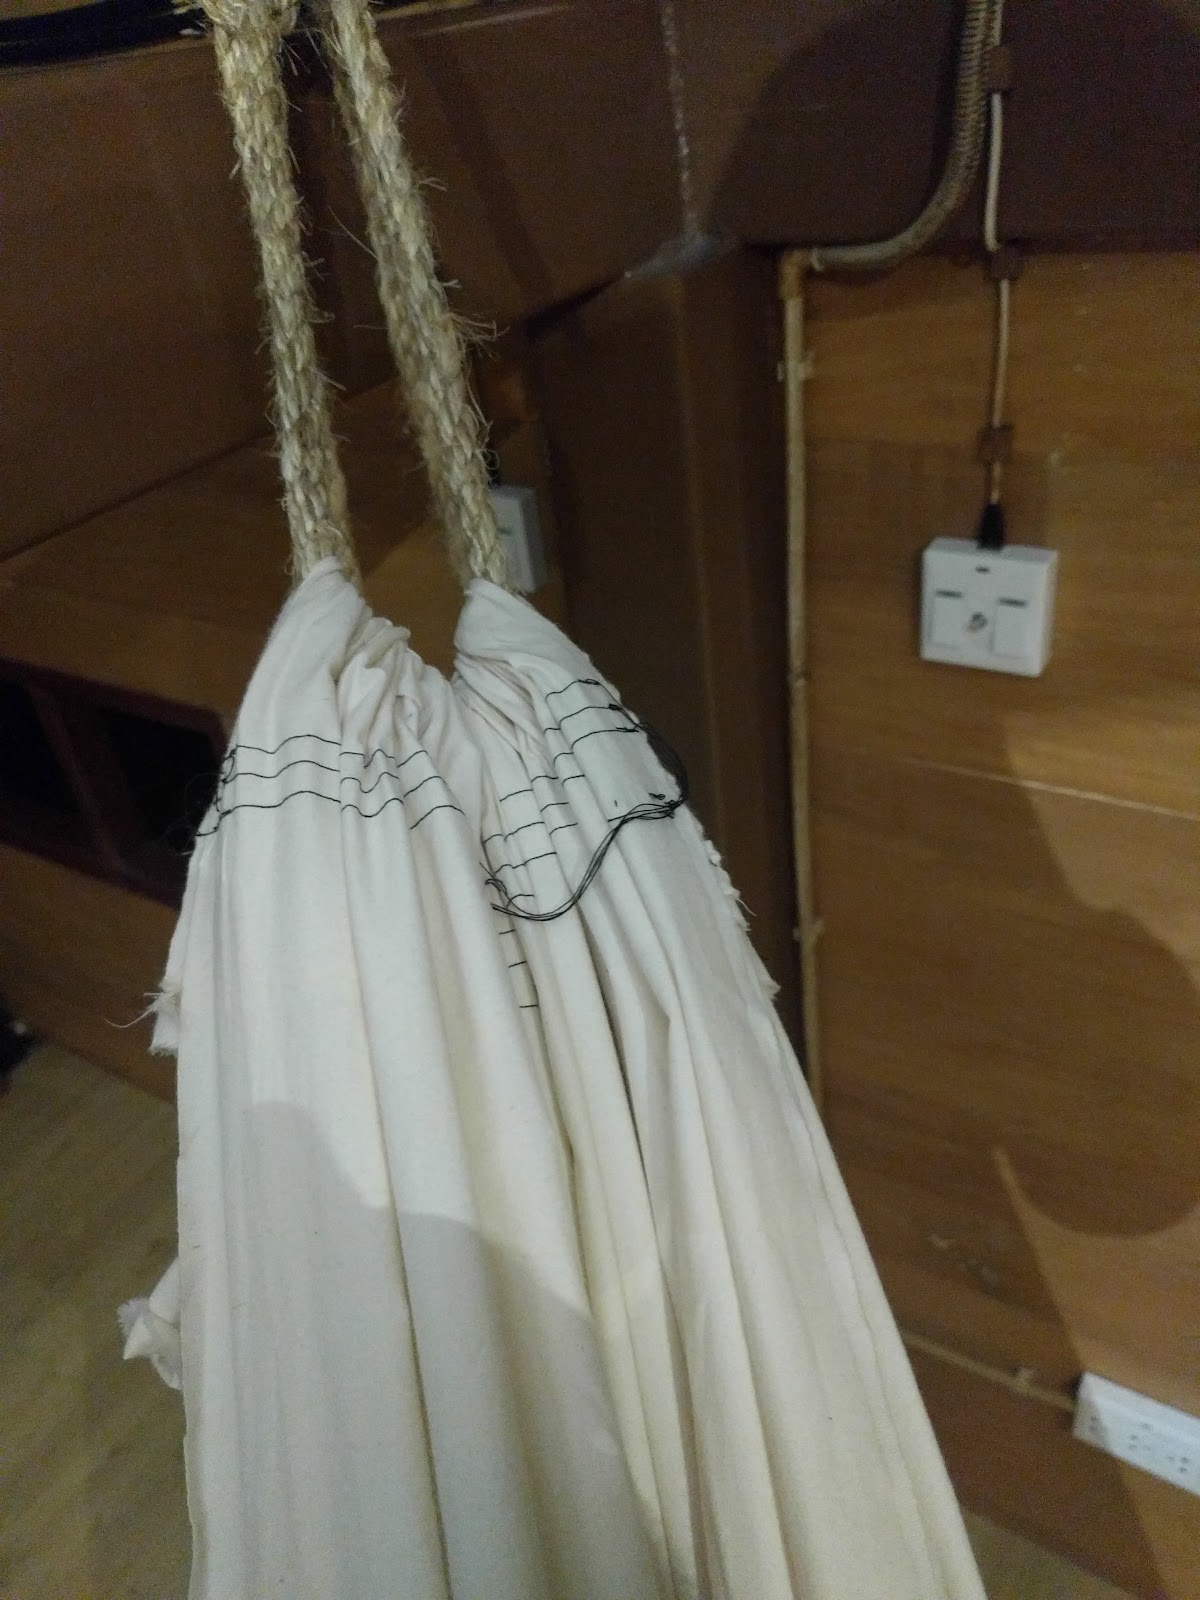
So we folded about 15cm of the fabric over and left about 8cm for the rope before the first of three stitches on each side:
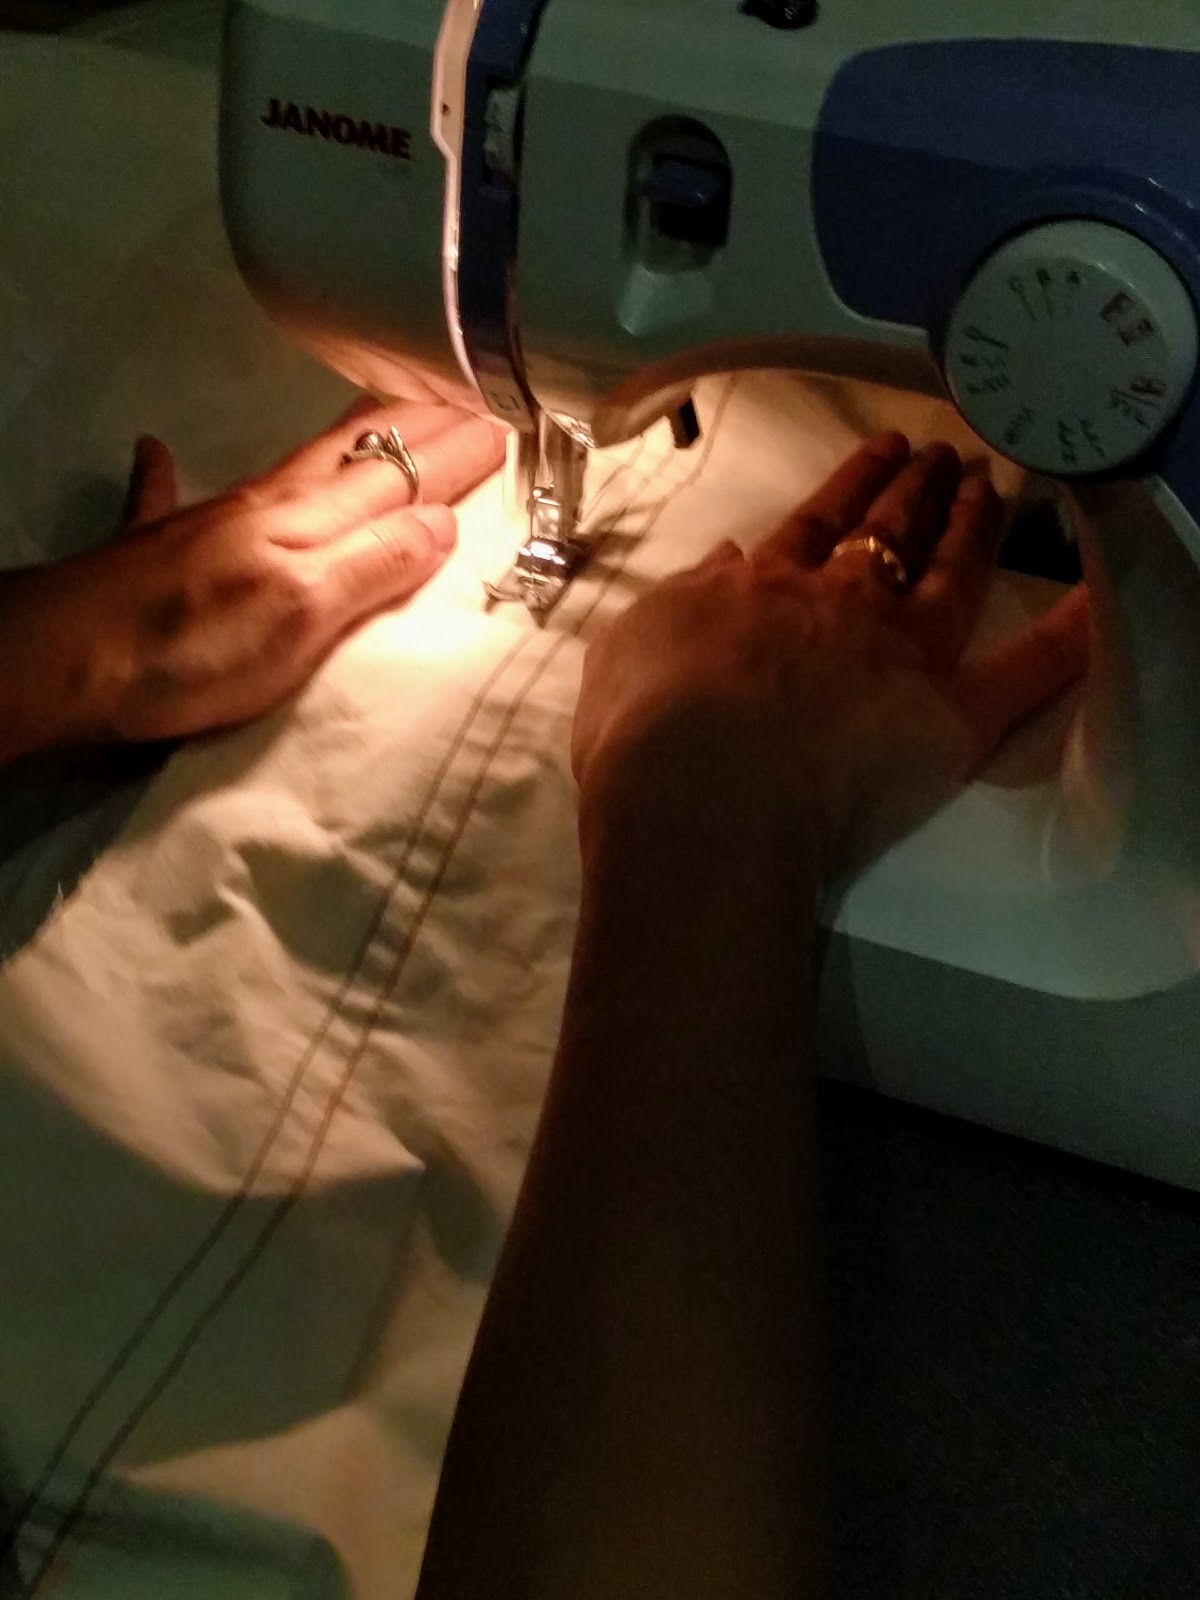
Then we just ran ropes through the end, strung it up, and that was it!
Here are a couple of pictures of Praew testing it out:
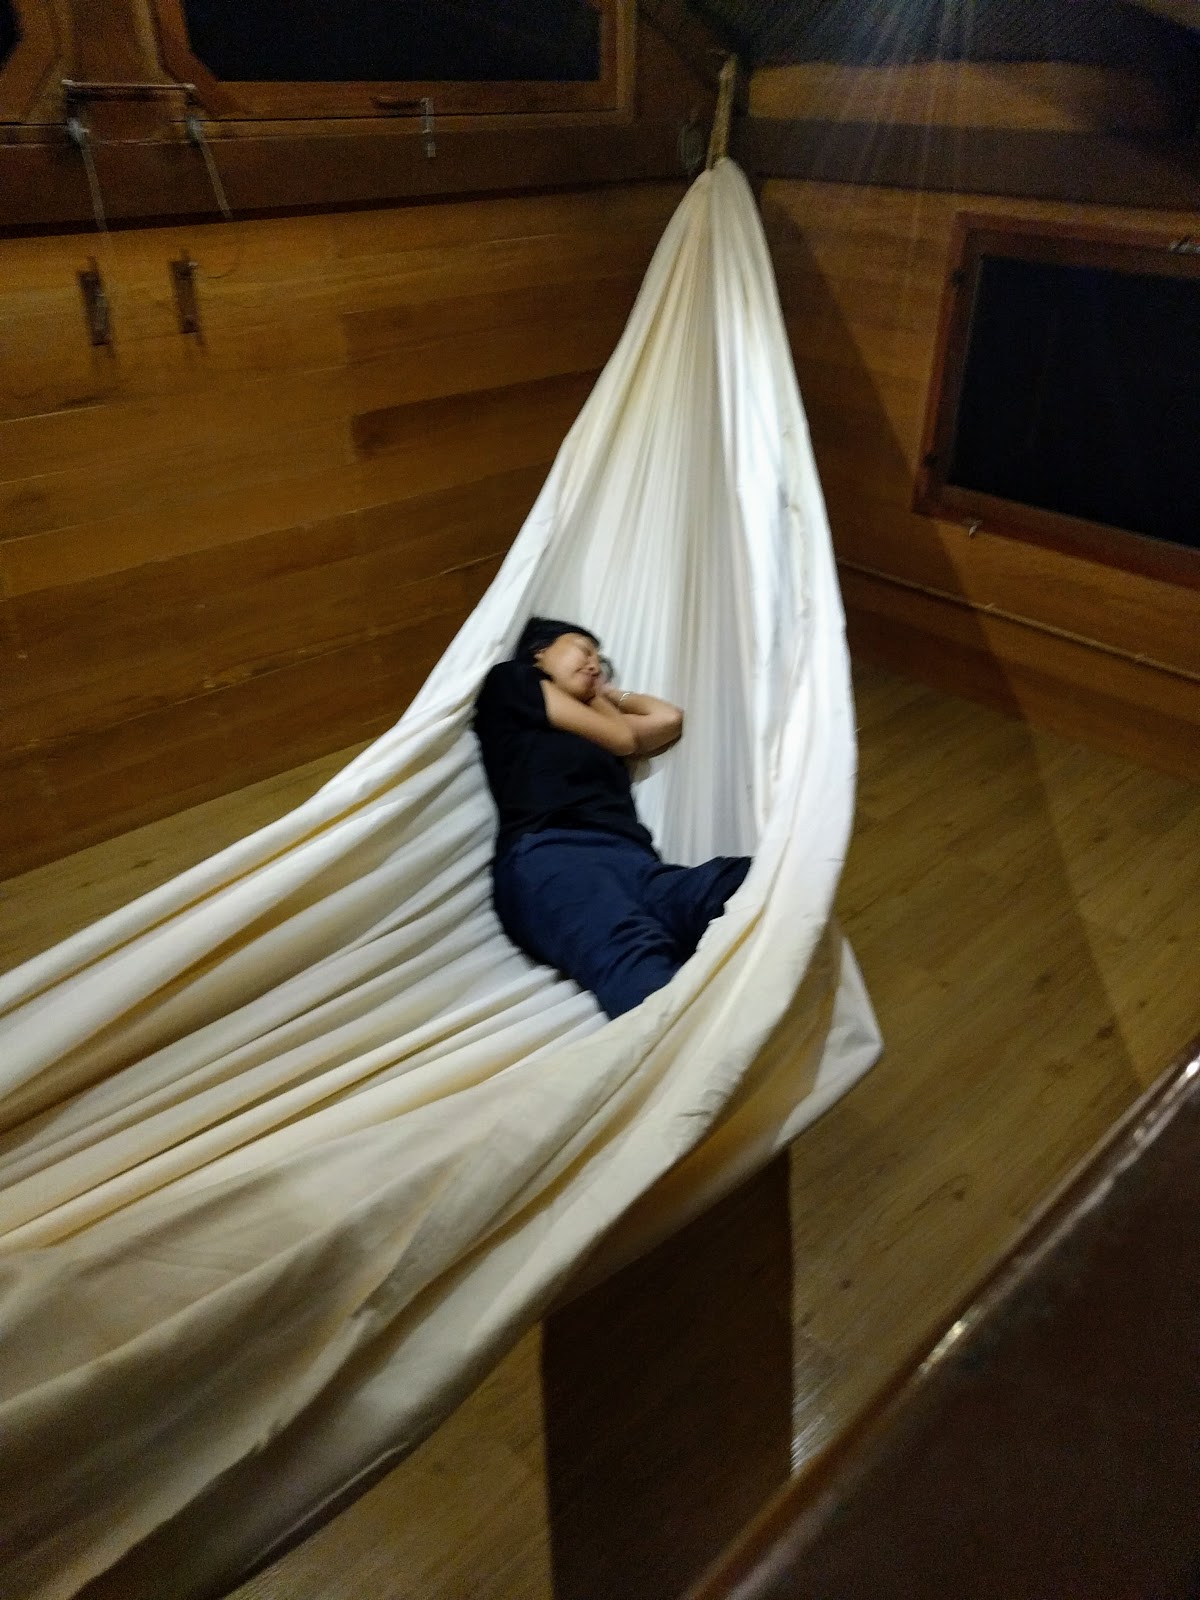
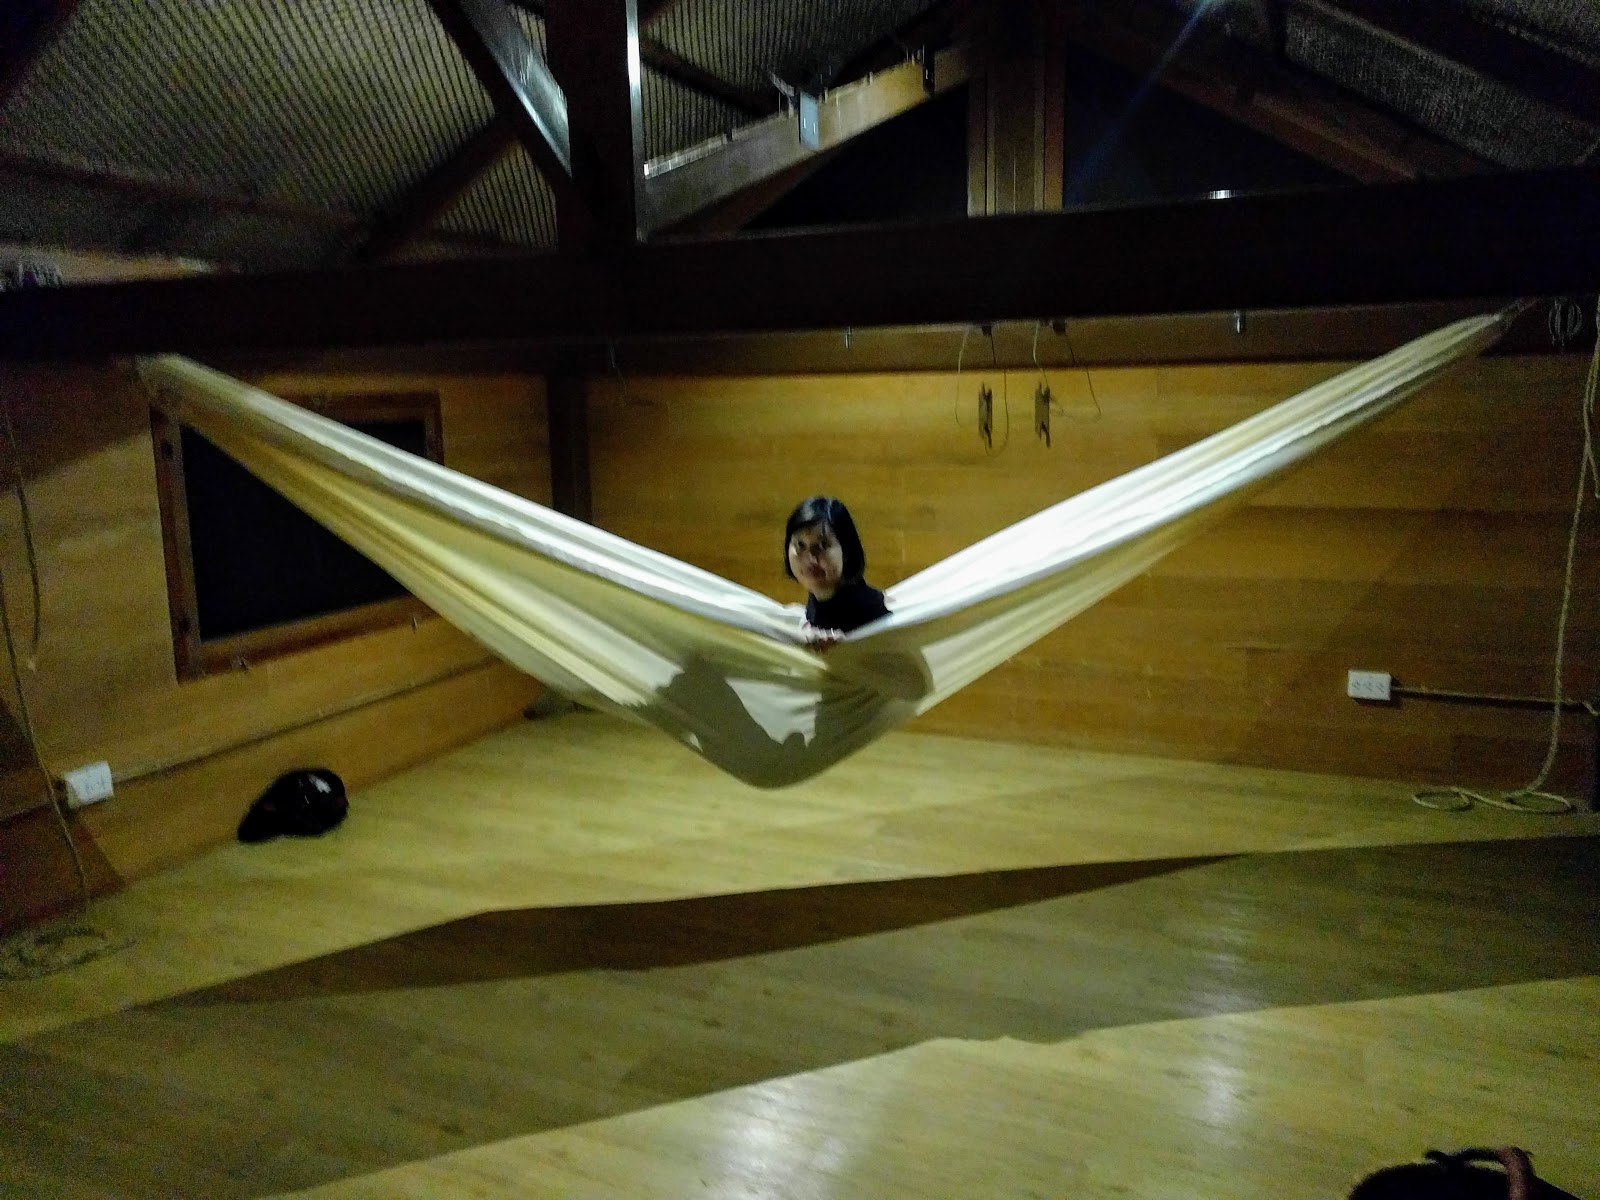
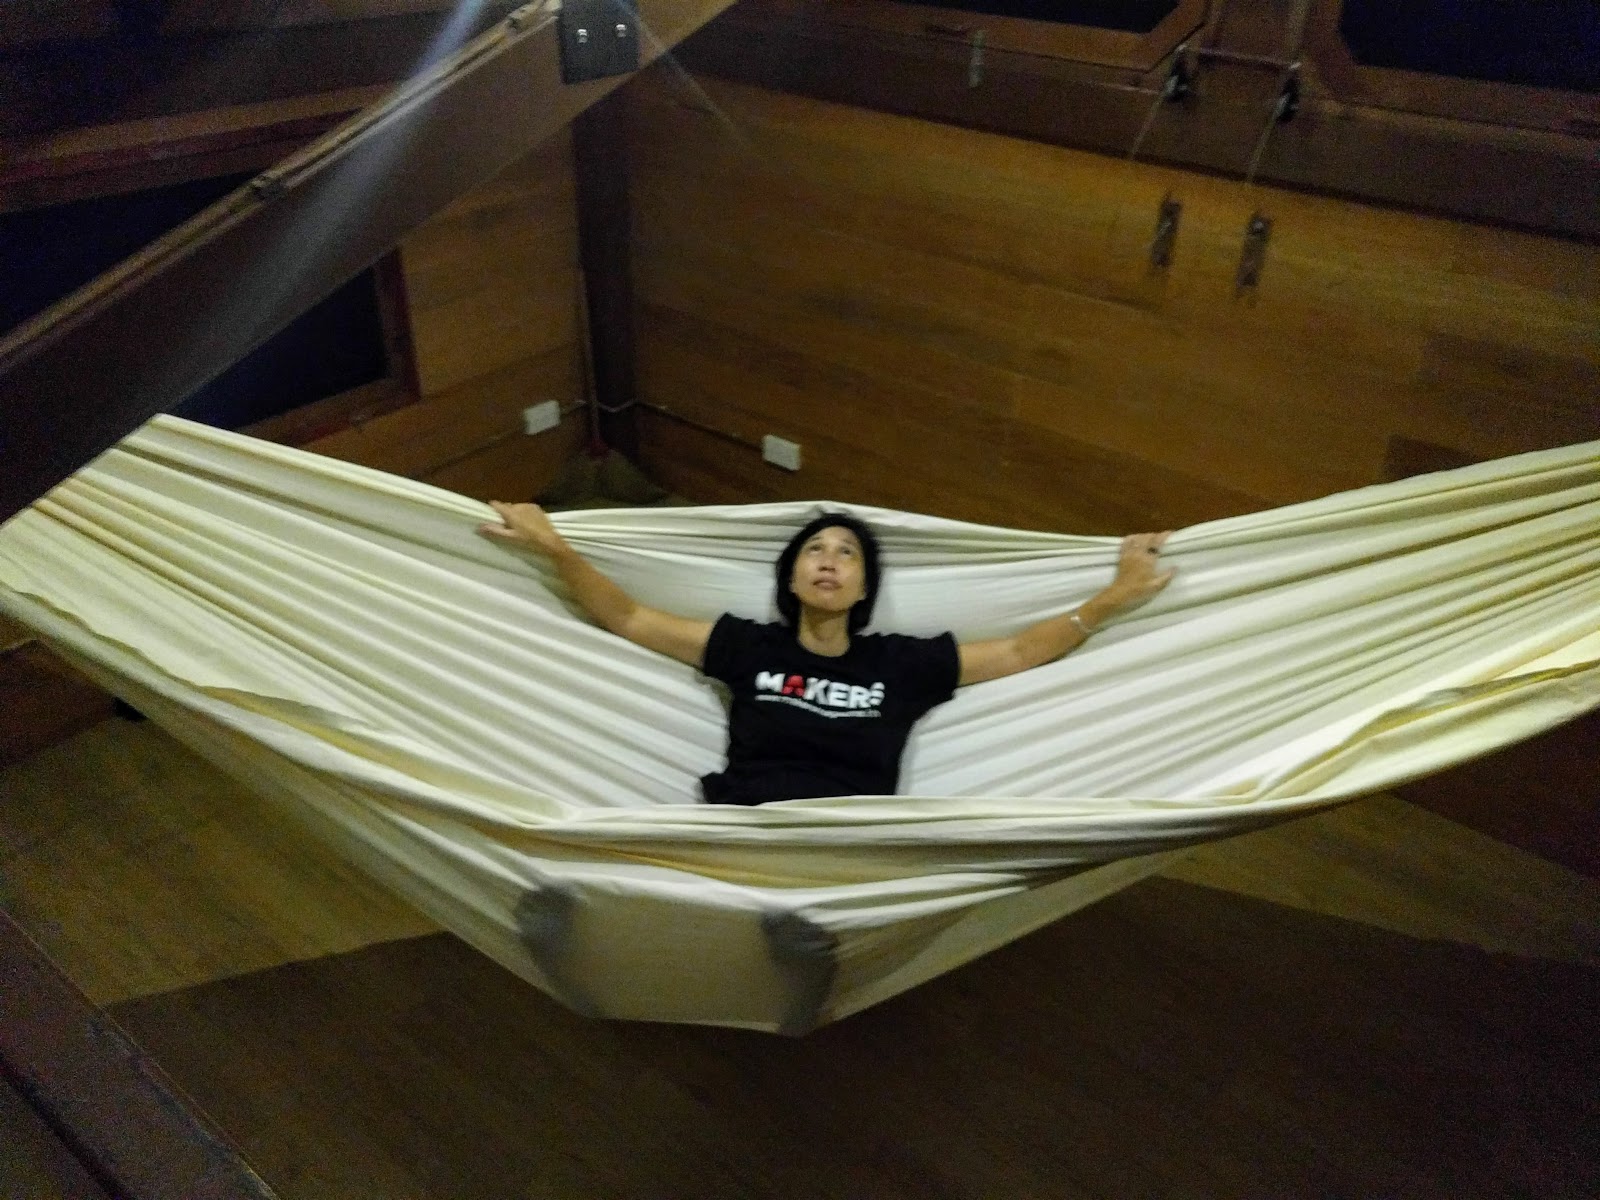
You can see from the third one just how wide this fabric is. And from the first and second pictures above, you can see how all of this fabric width bunches up on the sides to wrap you in a kind of cocoon feel. It isn’t unpleasant, but it makes it hard to get in and out.
By the way, the first picture shows the “hammock angle” for sleeping. You can see how it levels out the curvature to the point where you can actually comfortably sleep on your side.
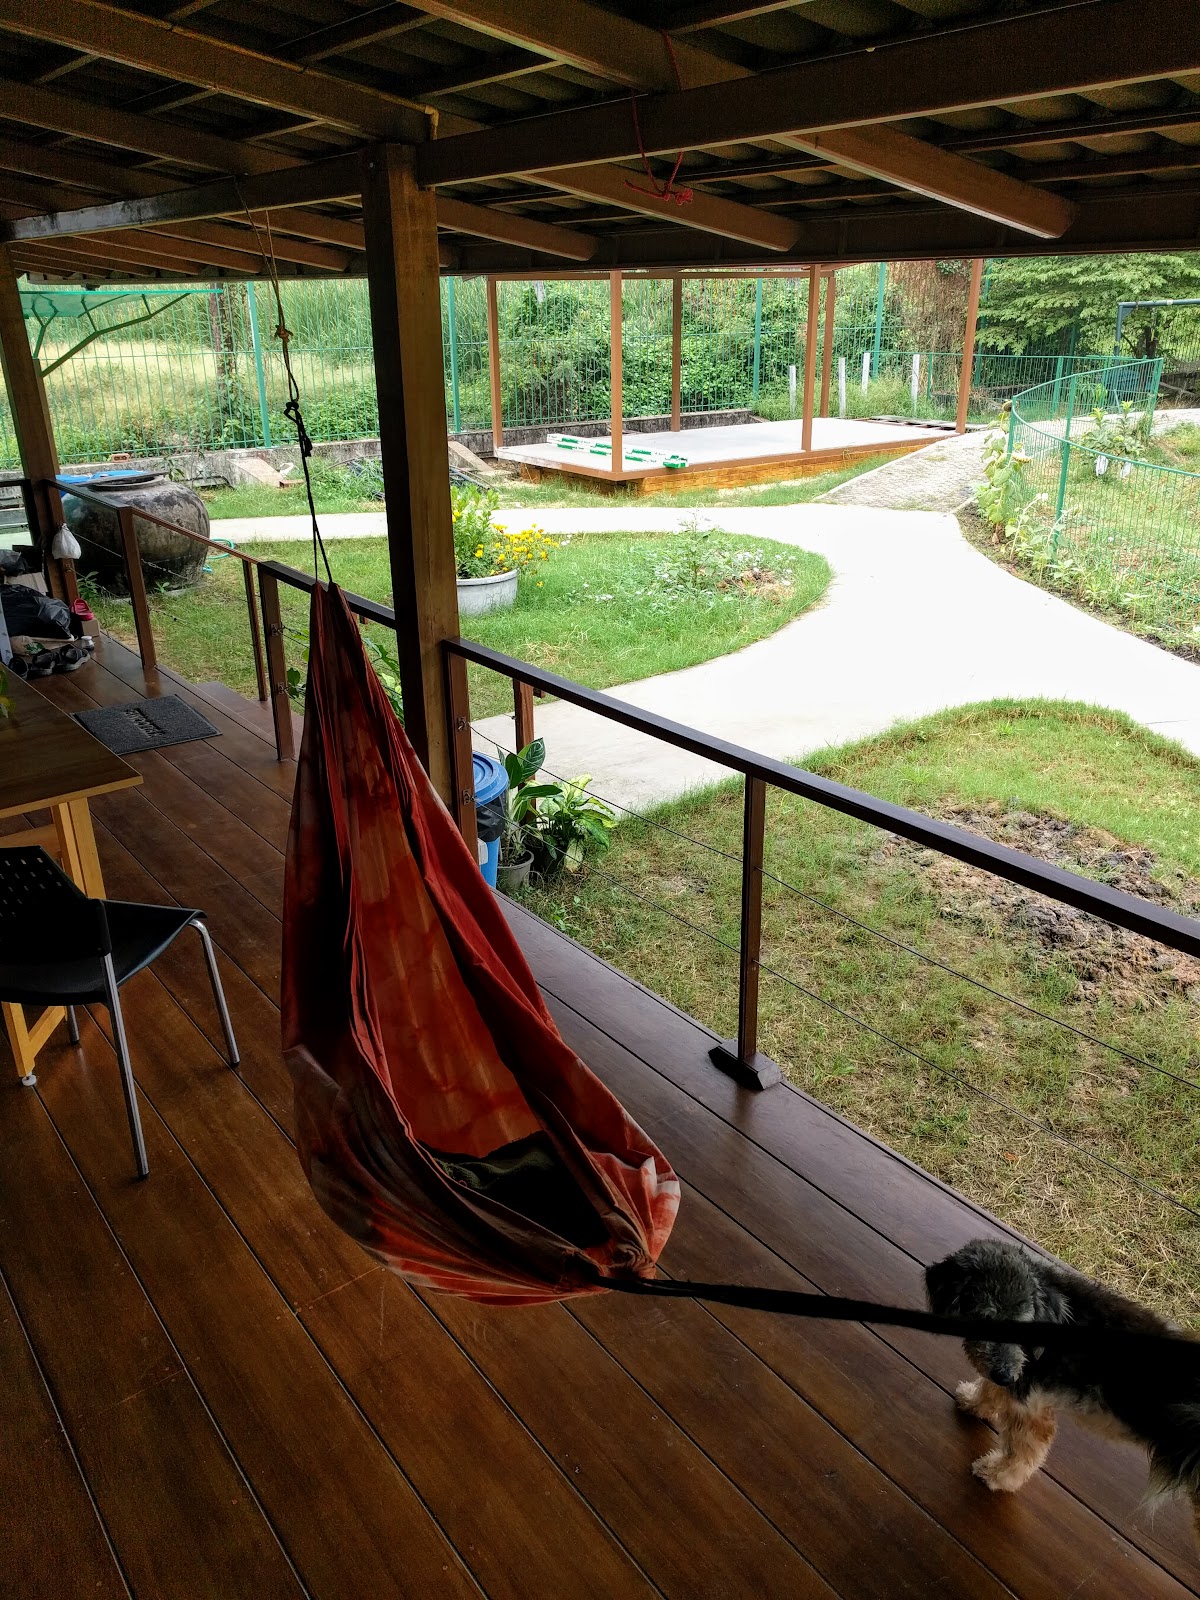
It is worth mentioning that we had asked the workers building BaanLoiNaam if they could weld on some scrap pieces of rebar into the loft space in BaanRimNaam to mount the hammock for testing:
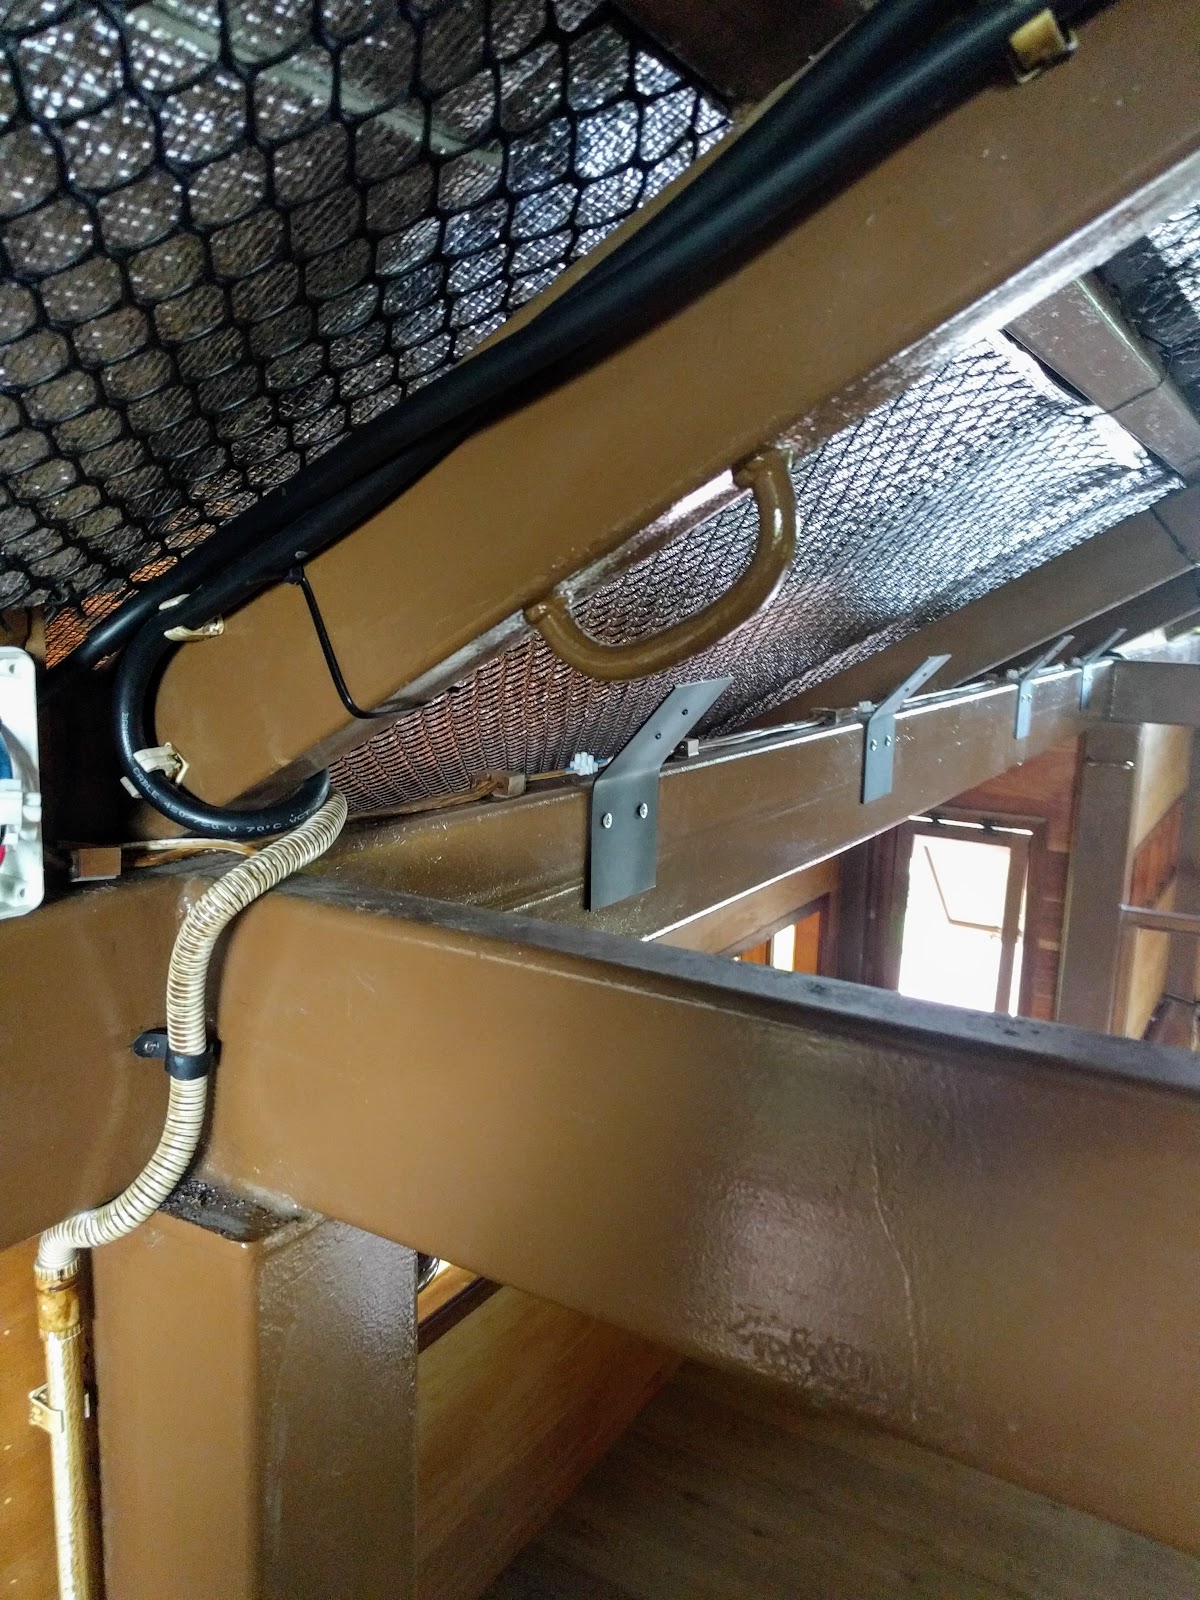
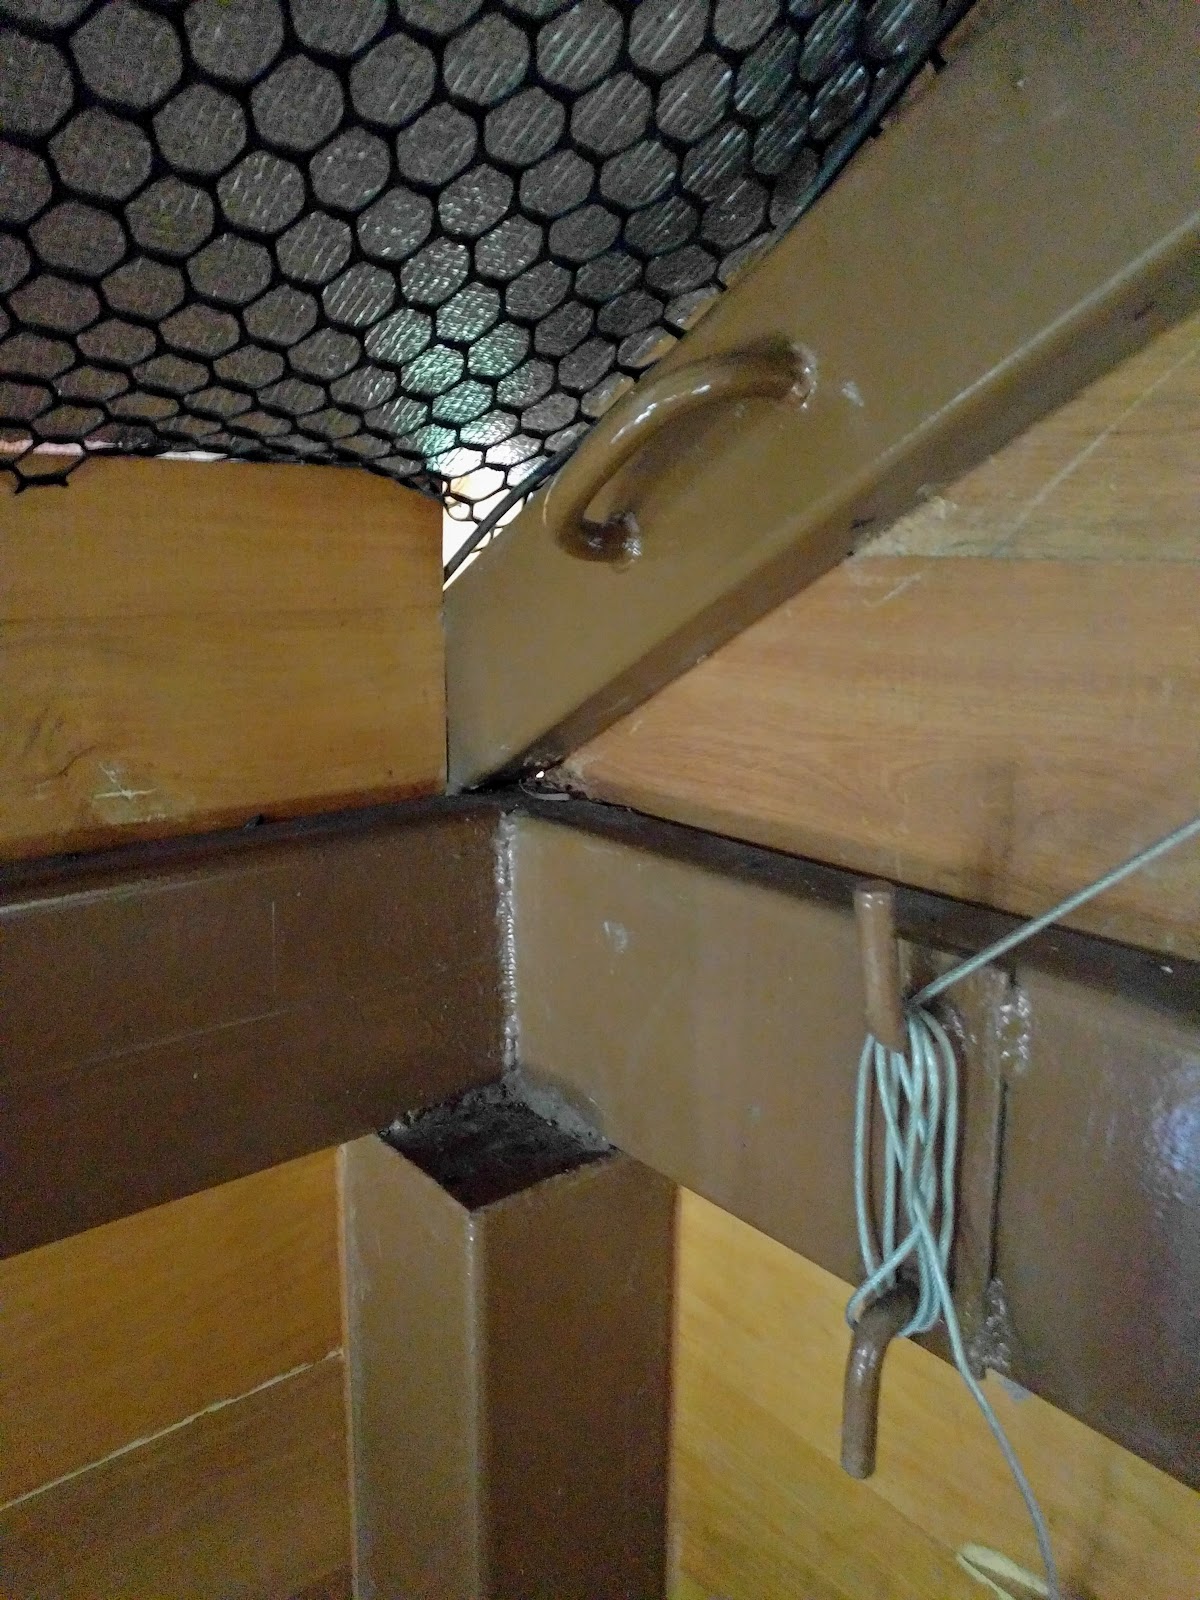
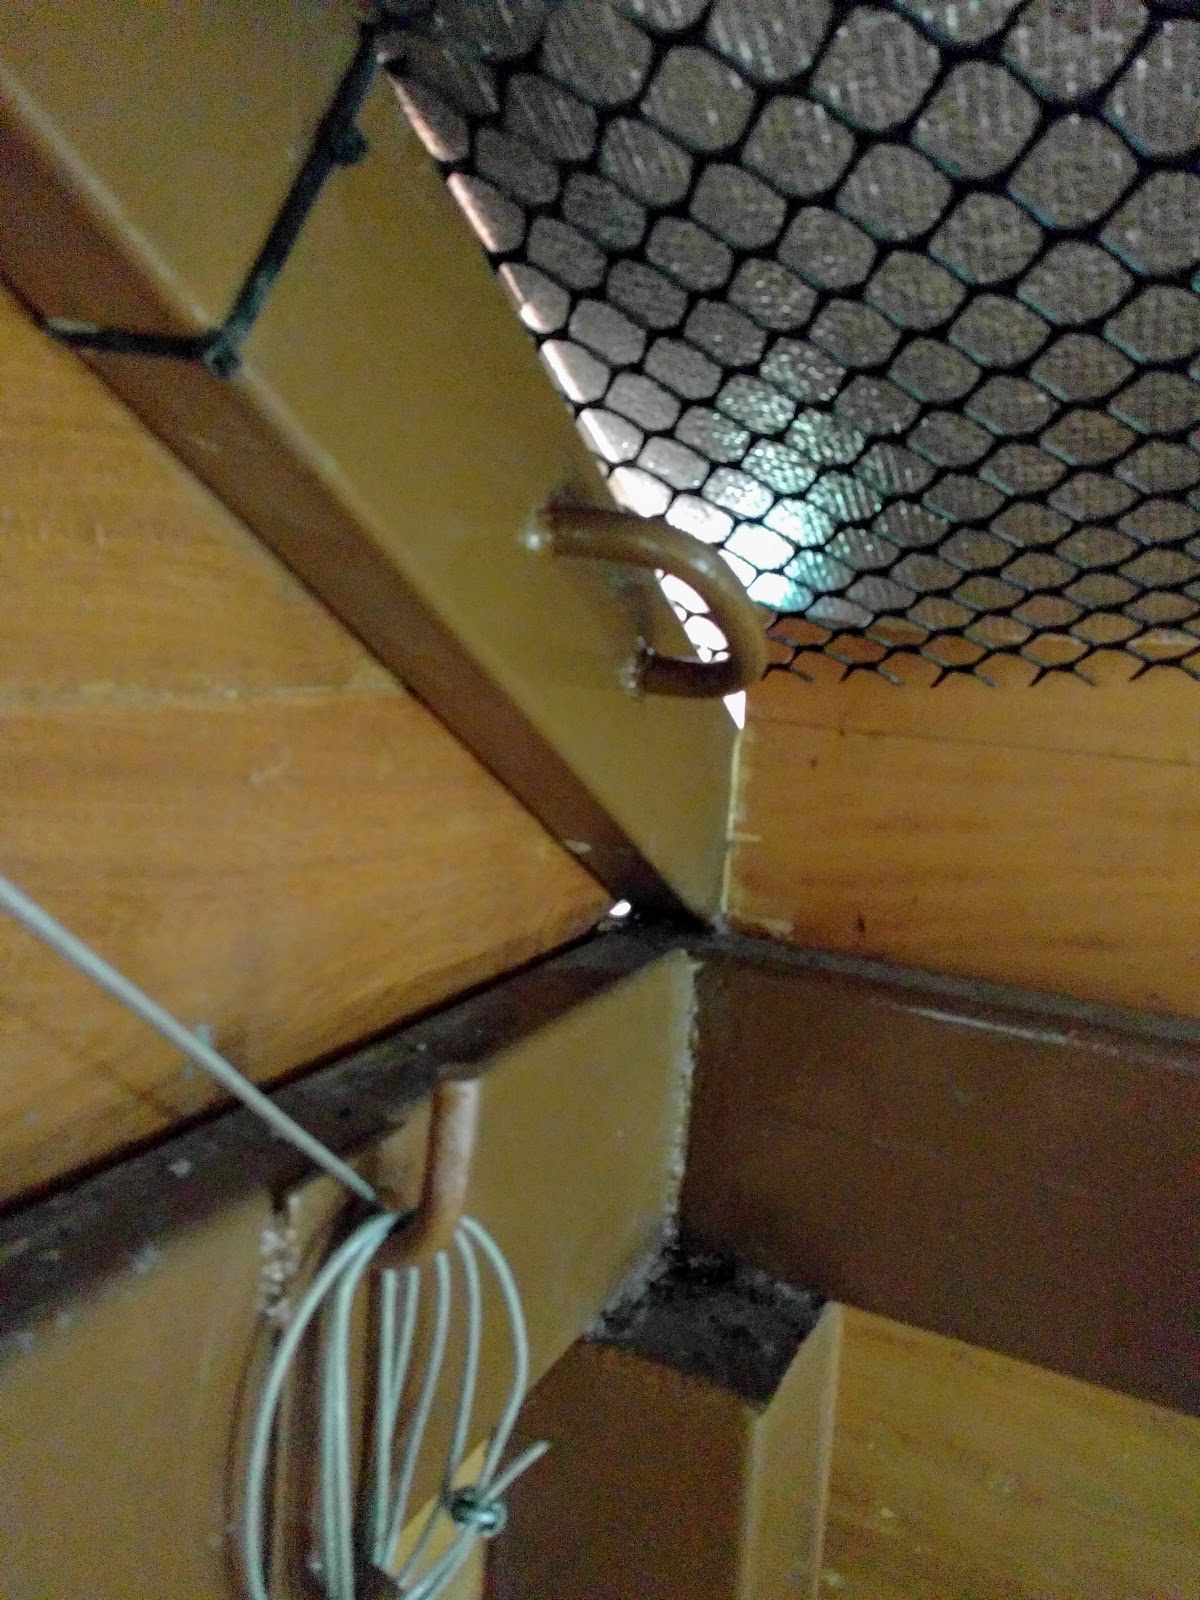
These are at exactly the right height and distance as calculated on the hammock hang calculator mentioned previously.
We should really trim down the 110″ width to something more like the 78″ that others use, but before we do, I’m going to experiment with a kind of “mini spreader bar”. Yes, I know that the website I referenced before referred to spreader bars as “the devil”, but I am a theoretician more than I am a purist. The way I see it is that the problem with spreader bars is that they flatten out the hammock too much, making the hammock unstable by removing the sag in the center that makes the hammock stable. But if we have too much sag, it stands to reason that a little bit of spreading should help. Most spreader bars go the entire width of the hammock, so I decided to make very small spreader bars. It is natural that the sides of the hammock would be tighter than the center since the sides need to travel a longer distance to get from one anchor point to the other (it needs to curve around your body) while the center gets to go in a more straight path.
Additionally, the curve of the rope at the end of the hammock seems to pull up the cloth on the sides tightening it more than you would expect if it were just about the longer curve mentioned above:
So I asked the metal worker on the team building BaanLoiNaam right now if he could bend some scrap rebar we have lying around to see if it helps or hurts:
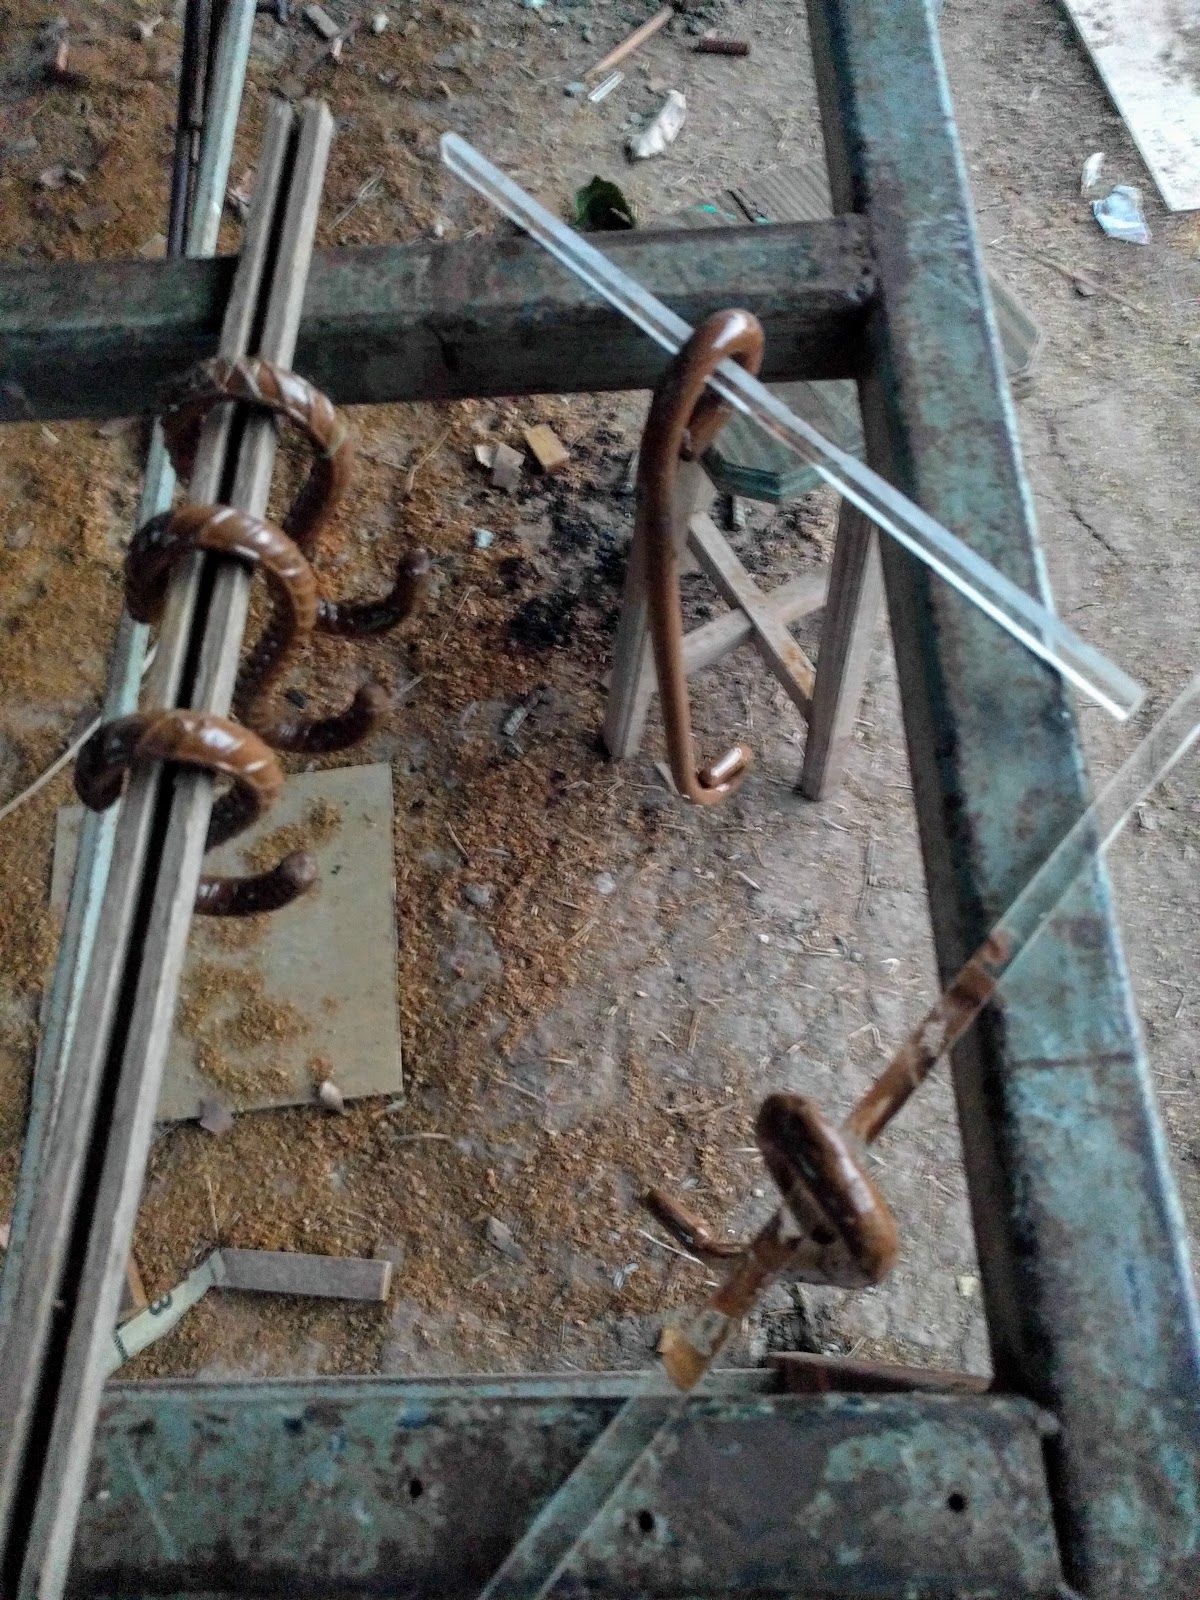 |
| 2x mini spreader bars on the right, 3x S-hooks on the left |
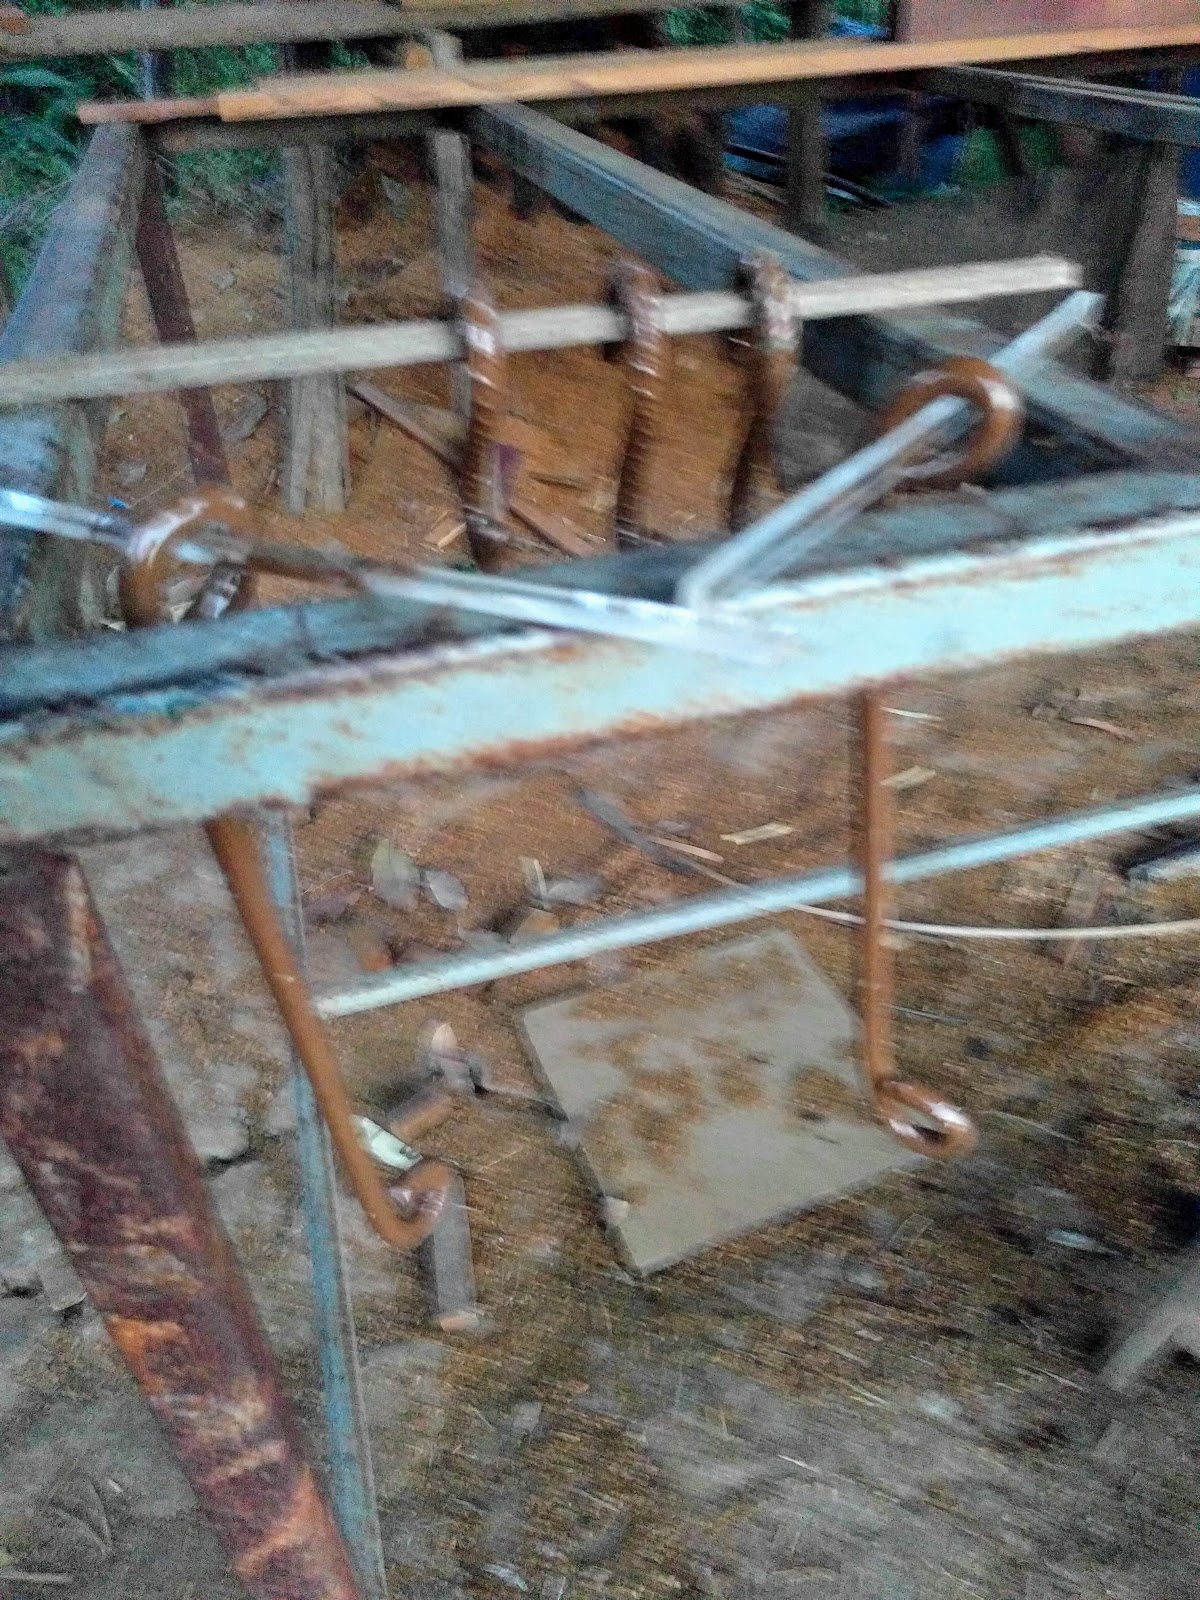
These spreader bars are only about 30cm wide, so assuming they can be mounted in a stable fashion, they will only spread the 110″ (2.8m) width of the fabric a small amount. Hopefully it is enough to make the sides of the hammock less high and suffocating, but not enough to make it unstable.
I didn’t get a chance to test it yet today because the anti-rust coating and paint on the rebar was still drying. But after I test it, I’ll get a sense of whether this approach is helping or hurting before I decide whether to go with wider spreader bars, adjust the stitch on the fabric, or simply cut the hammock to a more normal width.
This post was updated on 2016-01-17 to include contact info for the store we bought the fabric from.