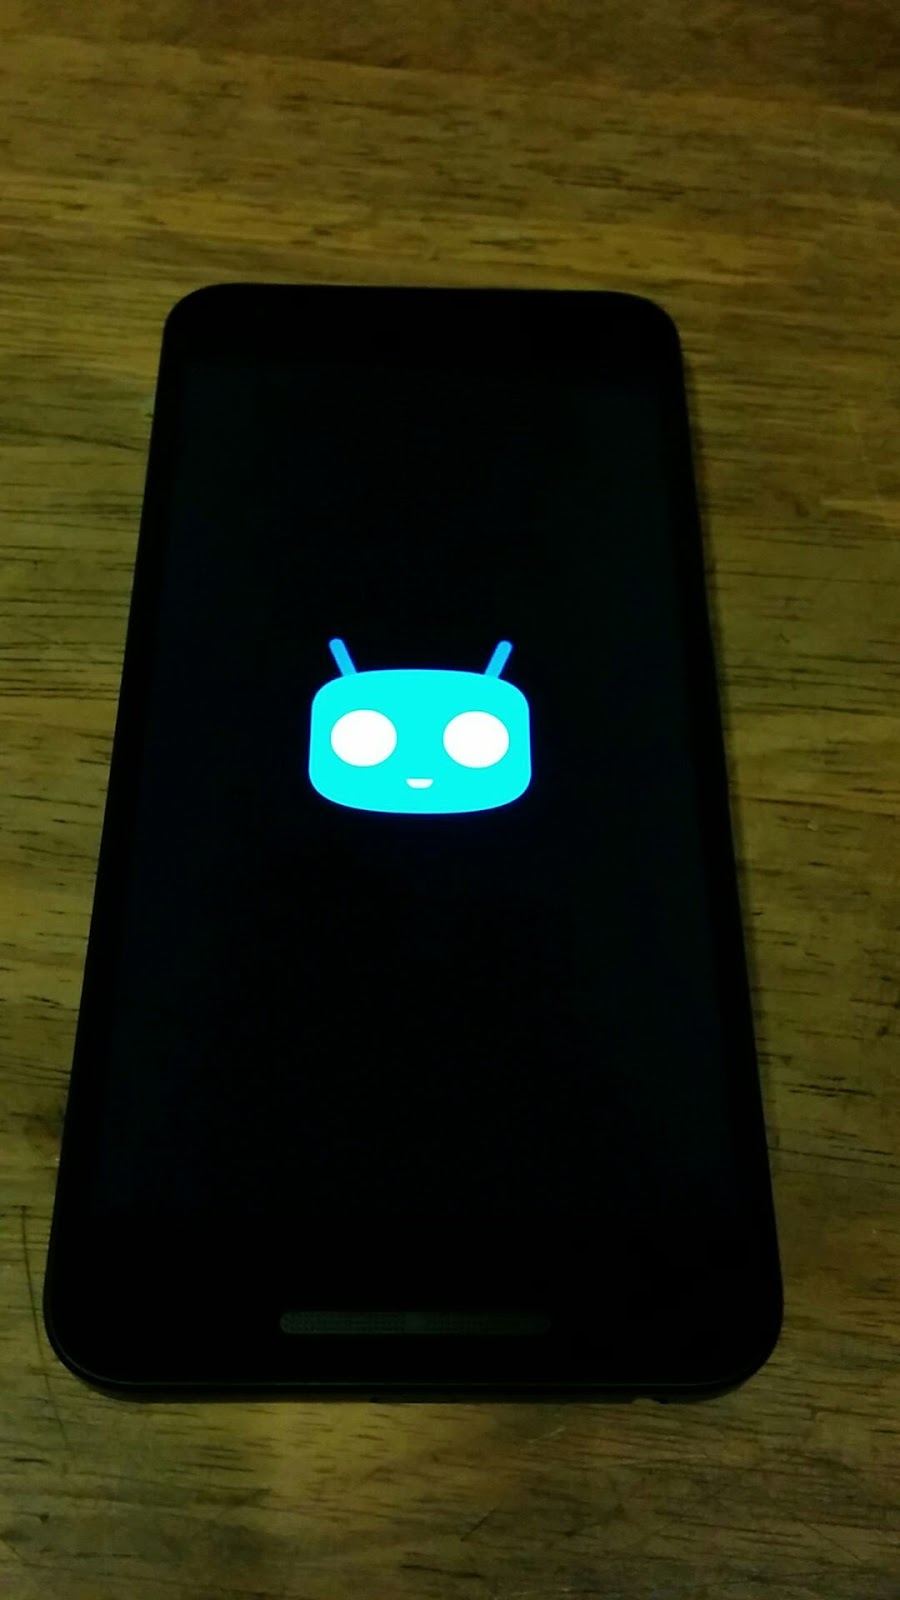
Since I already blogged about getting a new phone, I figured I would blog a bit about getting it working. I ended up staying up until 5AM Friday night to get the phone switched over to CyanogenMod and mostly configured. Here is a photo of a happy new Nexus 5X booting CyanogenMod (note the cute cyan robot logo):
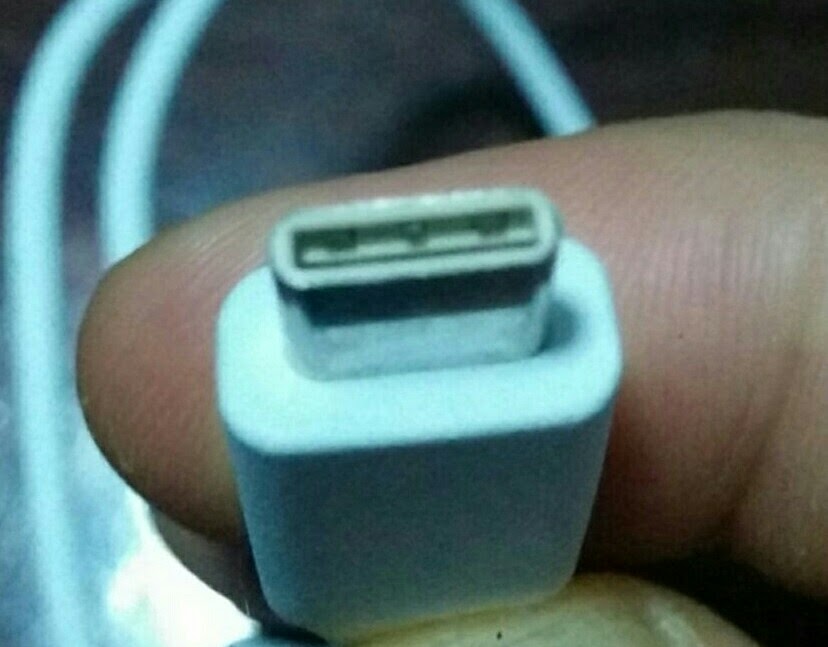
It actually was quite a bit more work than expected. I already mentioned about the USB-C connector it comes with, and the charge cable is USB-C to USB-C.
This is quite a big deal for me since the reason I buy Nexus phones is because they are designed to let you flash other OS firmwares besides the stock Google ones. I run CyanogenMod as my phone OS. (It is a “cleaned up and more control to the user” variant of Android.) And the only way I’ve ever flashed another OS on an Android phone requires a computer.
As much to remind myself as anything else, here are the basic steps:
- Boot to “fastboot mode” on the phone. (Power button on while holding the down volume on both the Nexus 5 and Nexus 5X.)
- Unlock bootloader from computer using “sudo fastboot oem unlock” command.
- Flash new recovery firmware from computer using “fastboot” command. (I use TWRP.)
- Boot to TWRP recovery on phone.
- Download CyanogenMod image and flash it using recovery. (For Nexus 5X, I downloaded from here. Note that these are all “nightlies” because the Nexus 5X is new enough that they don’t have a more stable “milestone” release yet.)
- I believe you need to boot into CyanogenMod once before the next step, and then boot back into recovery again.
- Download OpenGAPPS to get the Google playstore functional. It is worth noting that the Nexus 5X uses an ARM64 CPU unlock every other phone I’ve ever owned (which were all ARM 32-bit based.) So I downloaded an ARM64 Android 6.0 “nano” image.
- Flash OpenGAPPS image from TWRP.
- Install all of the apps that you want and configure them.
