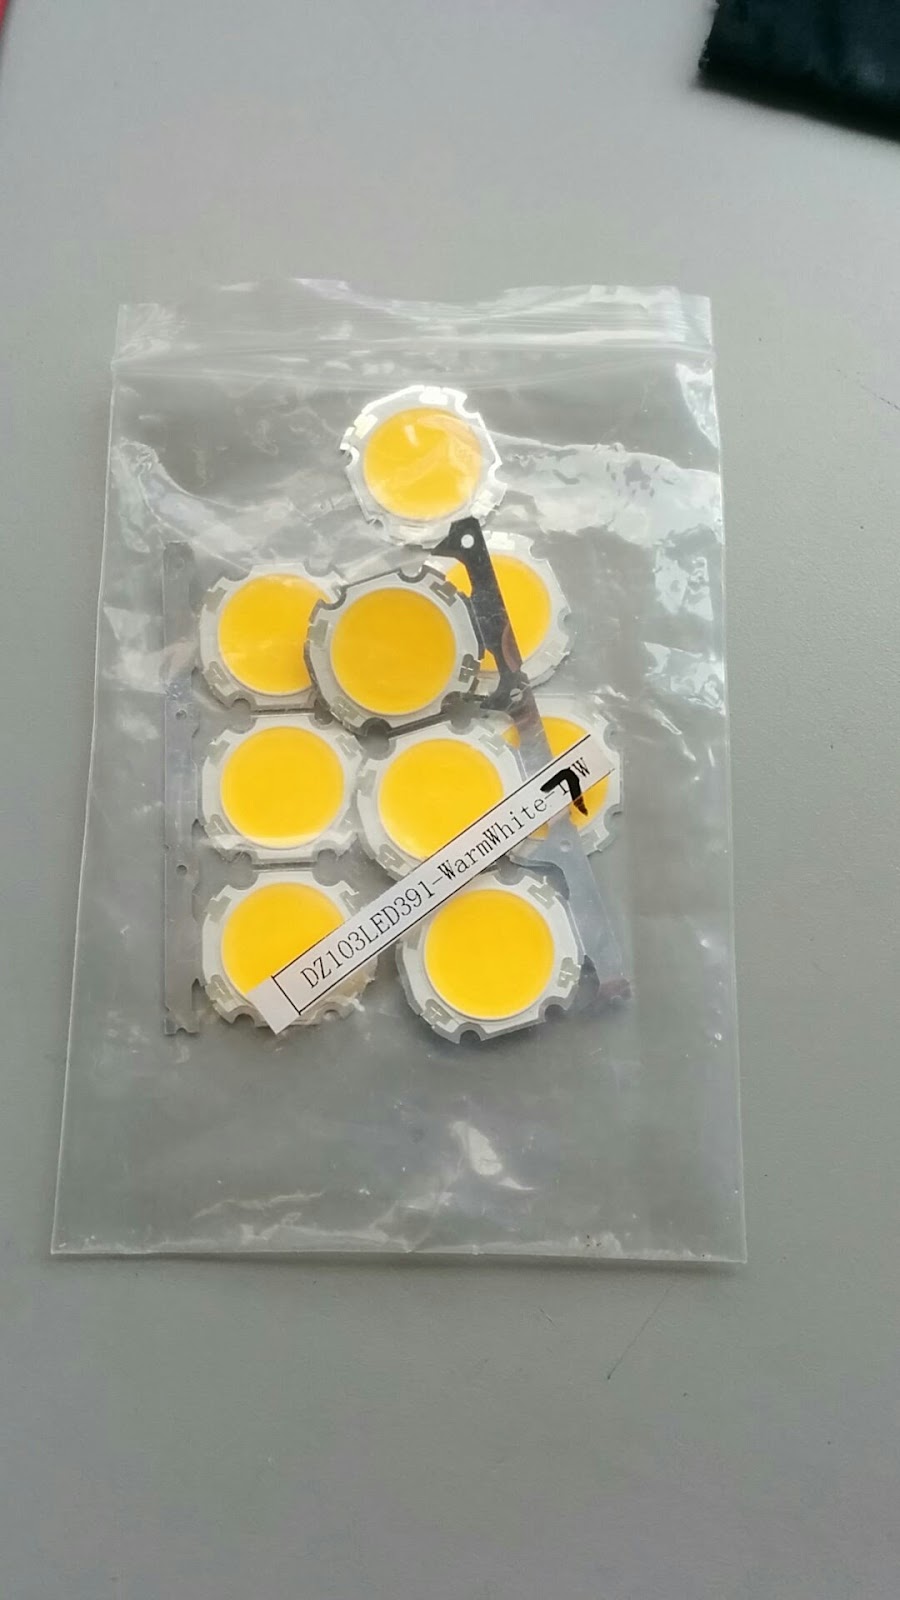
I blogged about receiving these new LEDs off of eBay a few weeks ago:
but it took a few weeks to set up a real test in the house. We attached these LEDs to flat aluminum heat sinks, and I finally got around to testing it on Monday by swinging by the new house after work and temporarily attaching them to the ceiling with double-sided tape.
I found the results to be very very promising. They lit up the room with a pleasant warm white light. Here is a picture of the room lit up by 4 of these little guys running at a total of 20W of electricity:
(please pardon the mess… we are still in the middle of wiring the 220V AC outlets)
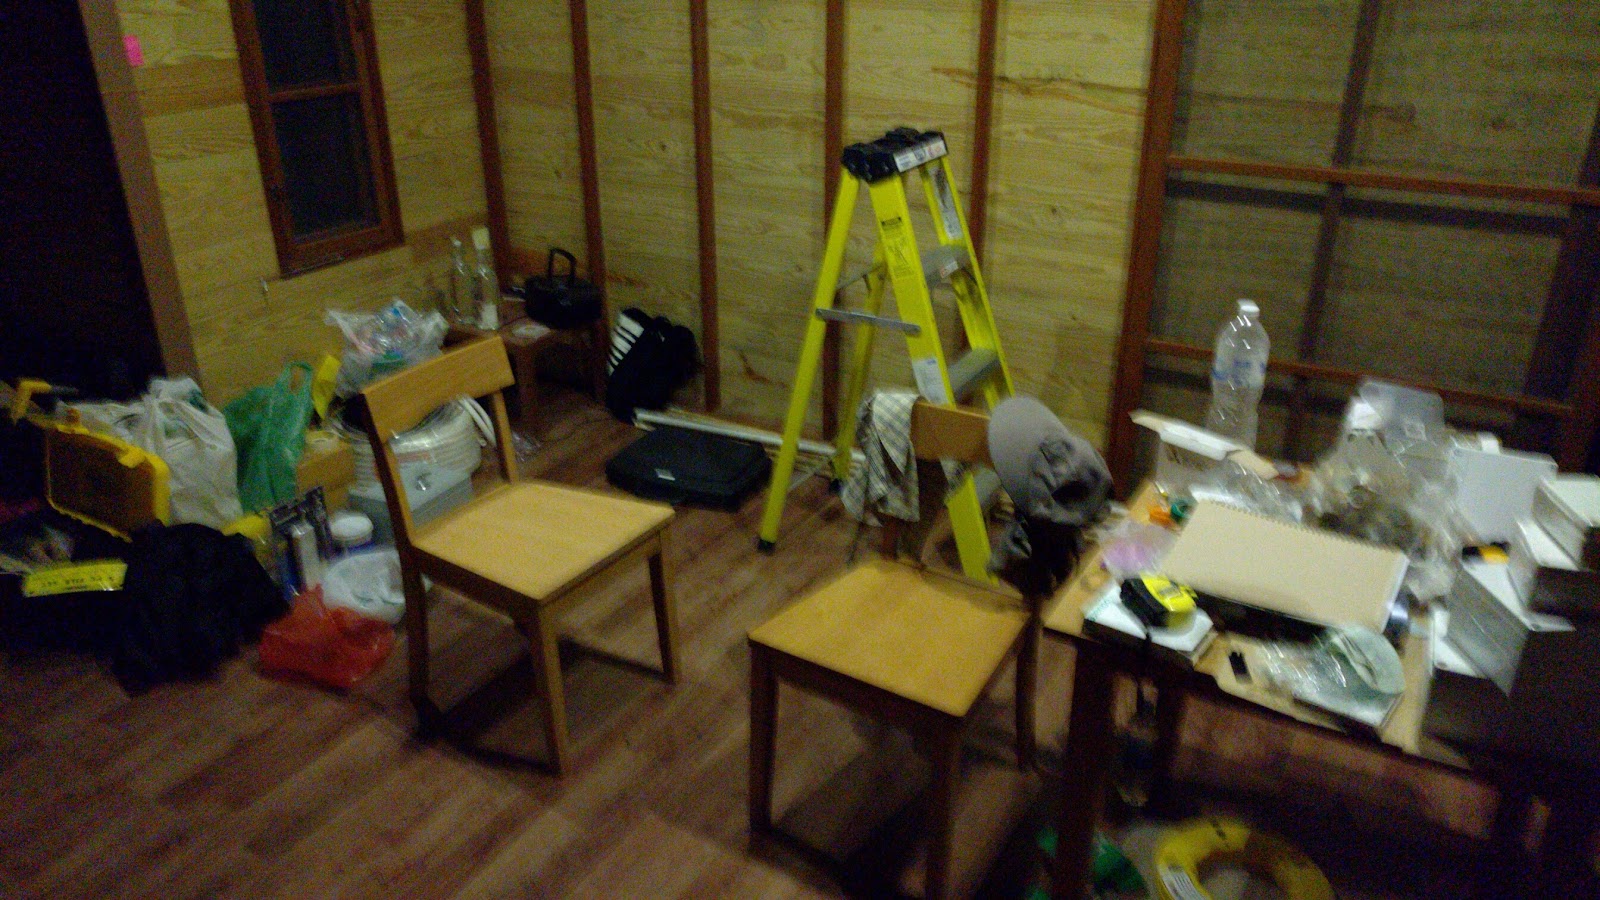
It is completely dark outside so all of this light is from the 4 LEDs. When turned on, they have us plenty of light to do anything in this room include reading. Here is a picture of me holding up a box with text on it. If anything, the real box looked a bit brighter than the picture:

The lights themselves are a bit too bright to look straight up at, but then again so are the compact fluorescent bulbs we currently use at our home. Here is a photo directly looking at the lights. (Please ignore the lantern strung up in the middle… that is just a temporary battery powered light we use after dark when wiring before we got these lights set up.)
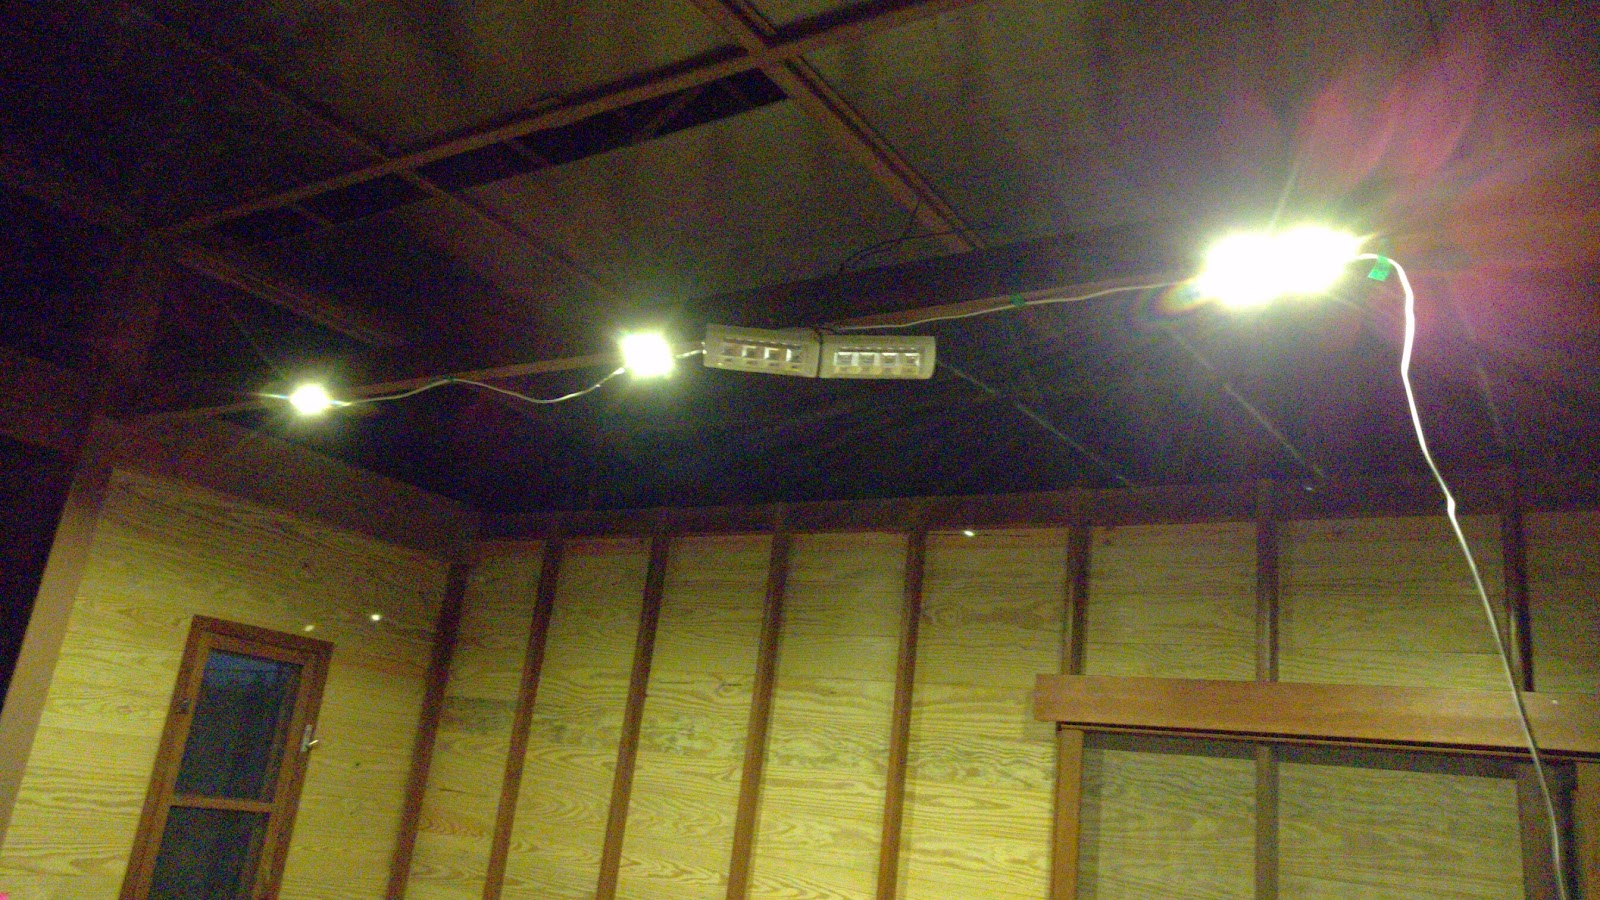
The left two white spots are single LEDs and the right one is a pair of them. The circuit contains a microcontroller that I programmed to allow dimming of the light, but for this test we ran it at full current. The LEDs are all run in parallel and are rated for about 300mA each (7W), but the current is limited by a transistor that we have currently tuned to 850mA, so it doesn’t matter whether we have 3 or 4 or 5 of these LEDs hooked up, the total electrical power (and presumably total light) should be about the same.
0.85A * 24V ~= 20W
We found that if we chose matching sets from the LEDs, it was pretty easy to find ones that share the current pretty evenly. In one test with no current limiting, we had 3 of them running at 280mA, 290mA, and 310mA. Even though all of these are probably within tolerance, we did test have one that ran at 350mA at the same voltage which is substantially over the 300mA rating. (This still wasn’t enough to blow it out, but I’d rather not exceed the specs by this much for more than a short period. No point in pushing our luck.) Additionally, the voltage fluctuates with different levels of battery charge, up to 27-28V under certain circumstances, so it is better to have the transistor to limit the current to the LEDs. And with pulse width modulation from the microcontroller (currently running at about 125Hz), we can easily tune the level of brightness down for more romantic lighting. 😉
As a side note, I programmed the microcontroller to fade in and out as we turn on and off the light switch. Fading in is nice on the eyes when you are coming in from the dark since it gives your eyes a few seconds to adjust. And fading out is nice when you turn off the switch because it gives you a few seconds to clear the room before it goes completely dark.
After a few tests, I decided that a linear fade in/fade out looked too artificial. So I ended up with what is basically an exponential decay with a one second half-life. In other words, when you turn on the light switch, it gets to 50% brightness in 1 second, 75% in two seconds, 87.5% in 3 seconds, etc. I also added a very very slight linear value so that it gets to be fully on in 10 seconds. (Otherwise it would be asymptotic and theoretically never reach the fully on position, although the PWM is integer based so round-off would actually reach fully on.)
Same thing with turn off. 50% brightness after 1 second, 25% brightness after 2 seconds, 12.5% brightness after 3 seconds, etc. But with a very tiny linear decrease so it reaches actual zero in 10 seconds. During the turn off, it has the advantage that within a fraction of a second, it gives you clear feedback that the light is turning off, but even up to 5 seconds later, you still have a dim light to open the door and leave the room.
All in all, I’m pretty happy with this kind of lighting system. And the individual LEDs themselves are quite inexpensive at around 20 THB (around 55 cents US) each including the shipping. (This doesn’t including the connectors and wiring, simple plastic enclosure we printed and heatsink that we added, but these are quite inexpensive also.)
The one big problem to deal with next for this test setup is that the heatsinks get up to about 90 degrees Celsius when we run them at full 300mA for a while. This is another reason why I ran with 4 LED modules averaging closer to 200mA each rather than 3 running closer to 300mA. And I only ran the test for a short time. We will need to use larger heatsinks for the final deployment because 90 degrees is way too hot. Although I should check the temperature of a normal 11W compact fluorescent bulb when it has been on for a while for comparison and to determine a possible target temperature for these LEDs. But with electronics in general, if you can run components cooler, they last a lot longer.