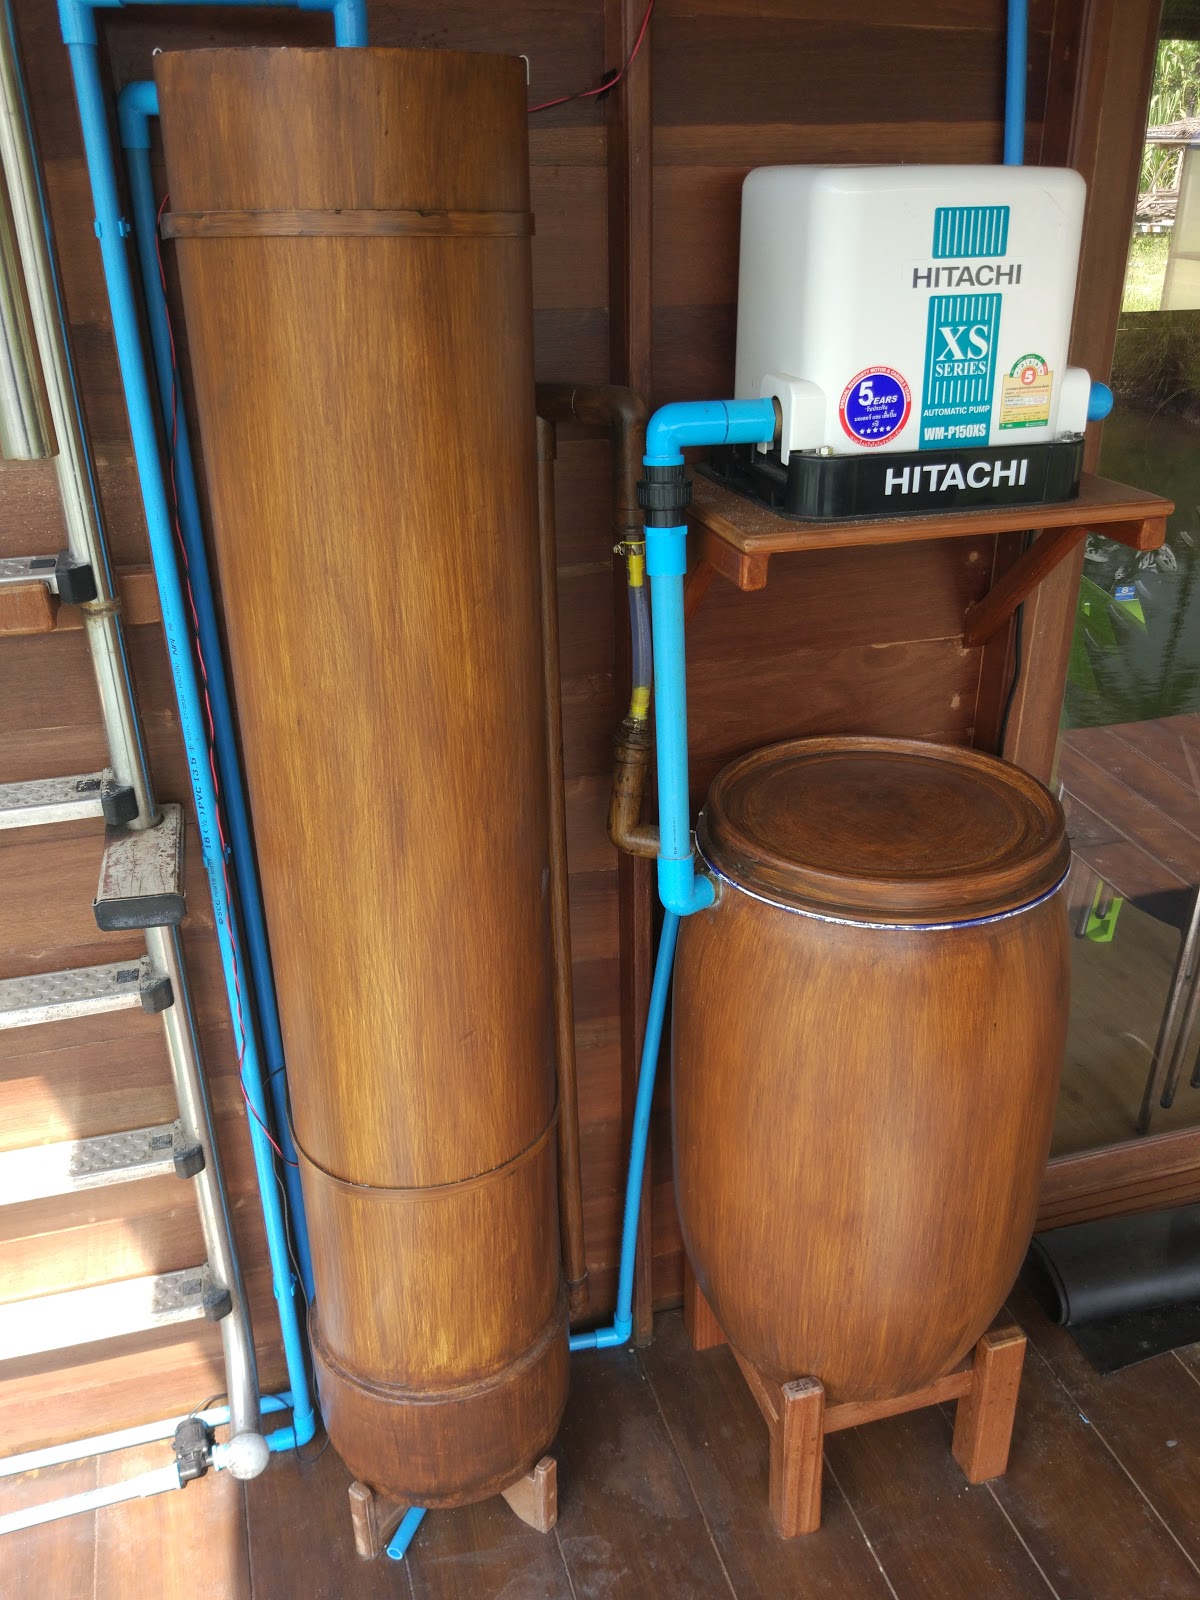
The primary water treatment system we have built sits on the opposite side of the bathroom wall and consists of a slow sand filter column (left side of frame, almost 2m tall 12″ PVC painted “wood color”), a water holding tank (short fat plastic tank in lower right, also painted), and then a 220V AC water pump (white upper right) running off of an inverter to pump water to the sinks and shower.
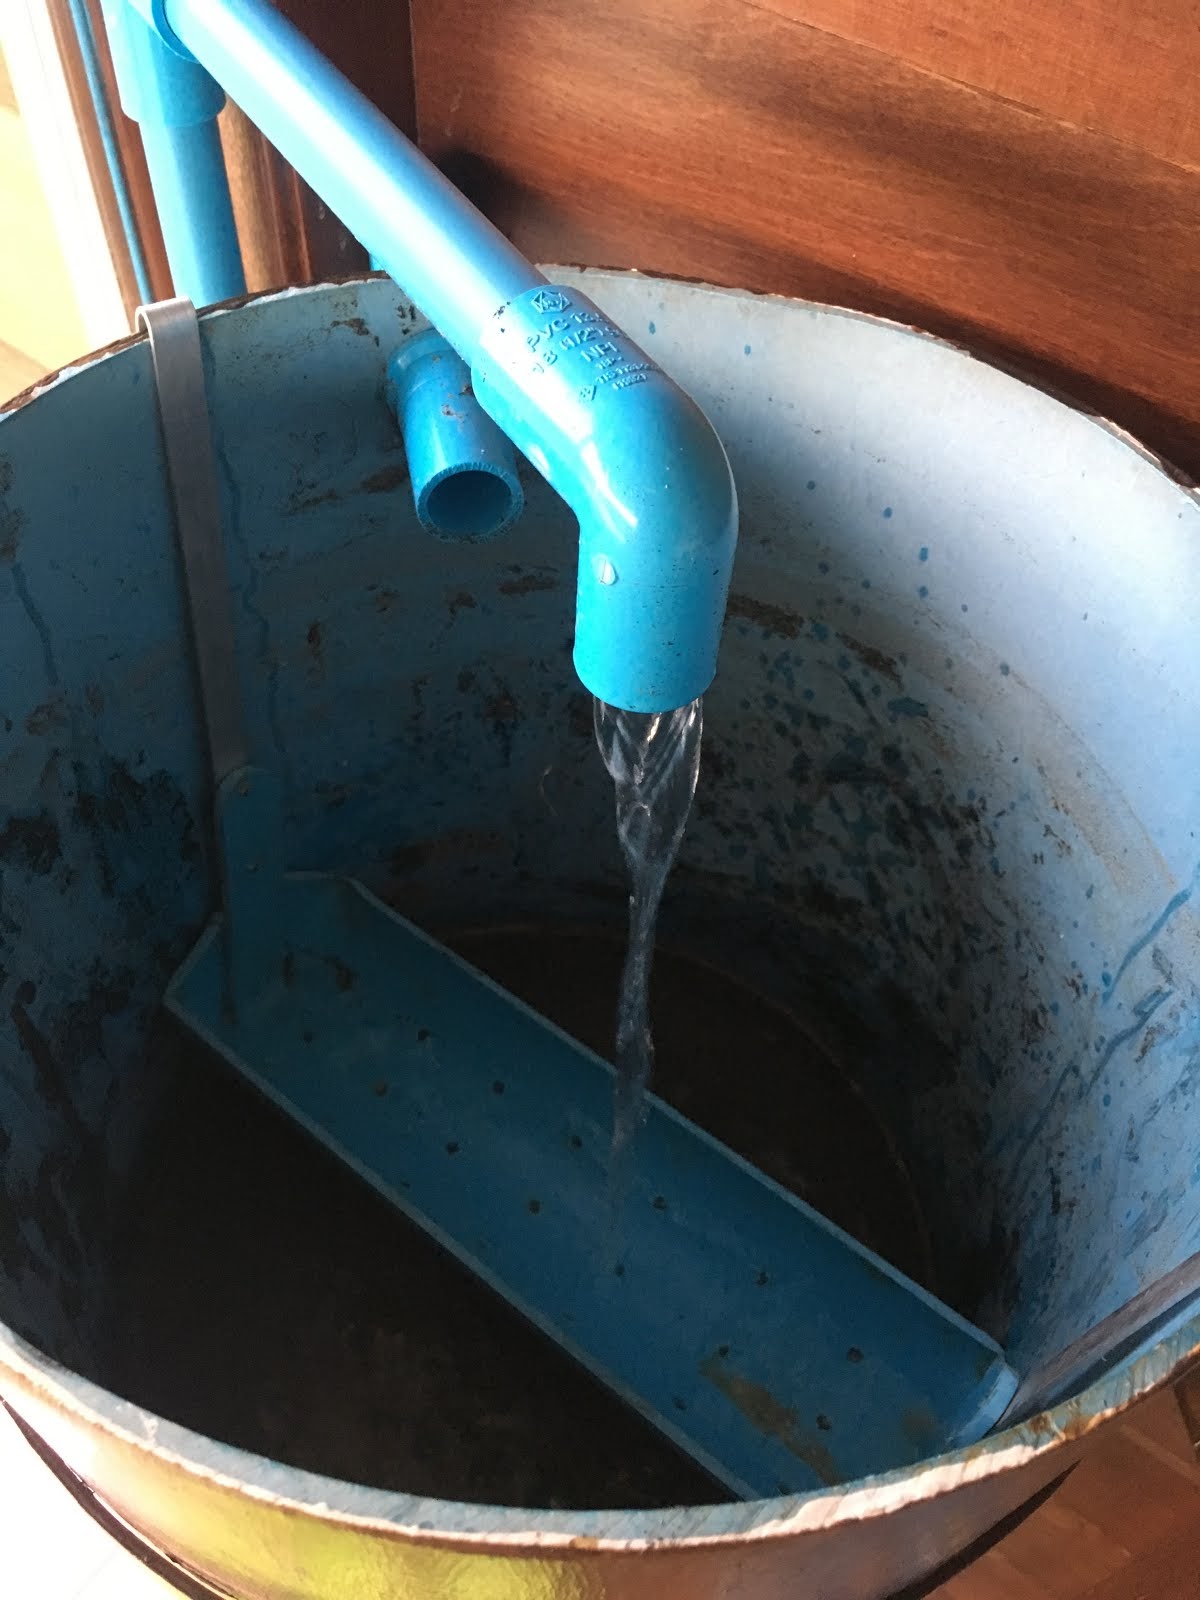
Here is a picture of the inside of the water storage tank after the SSF filled it up:
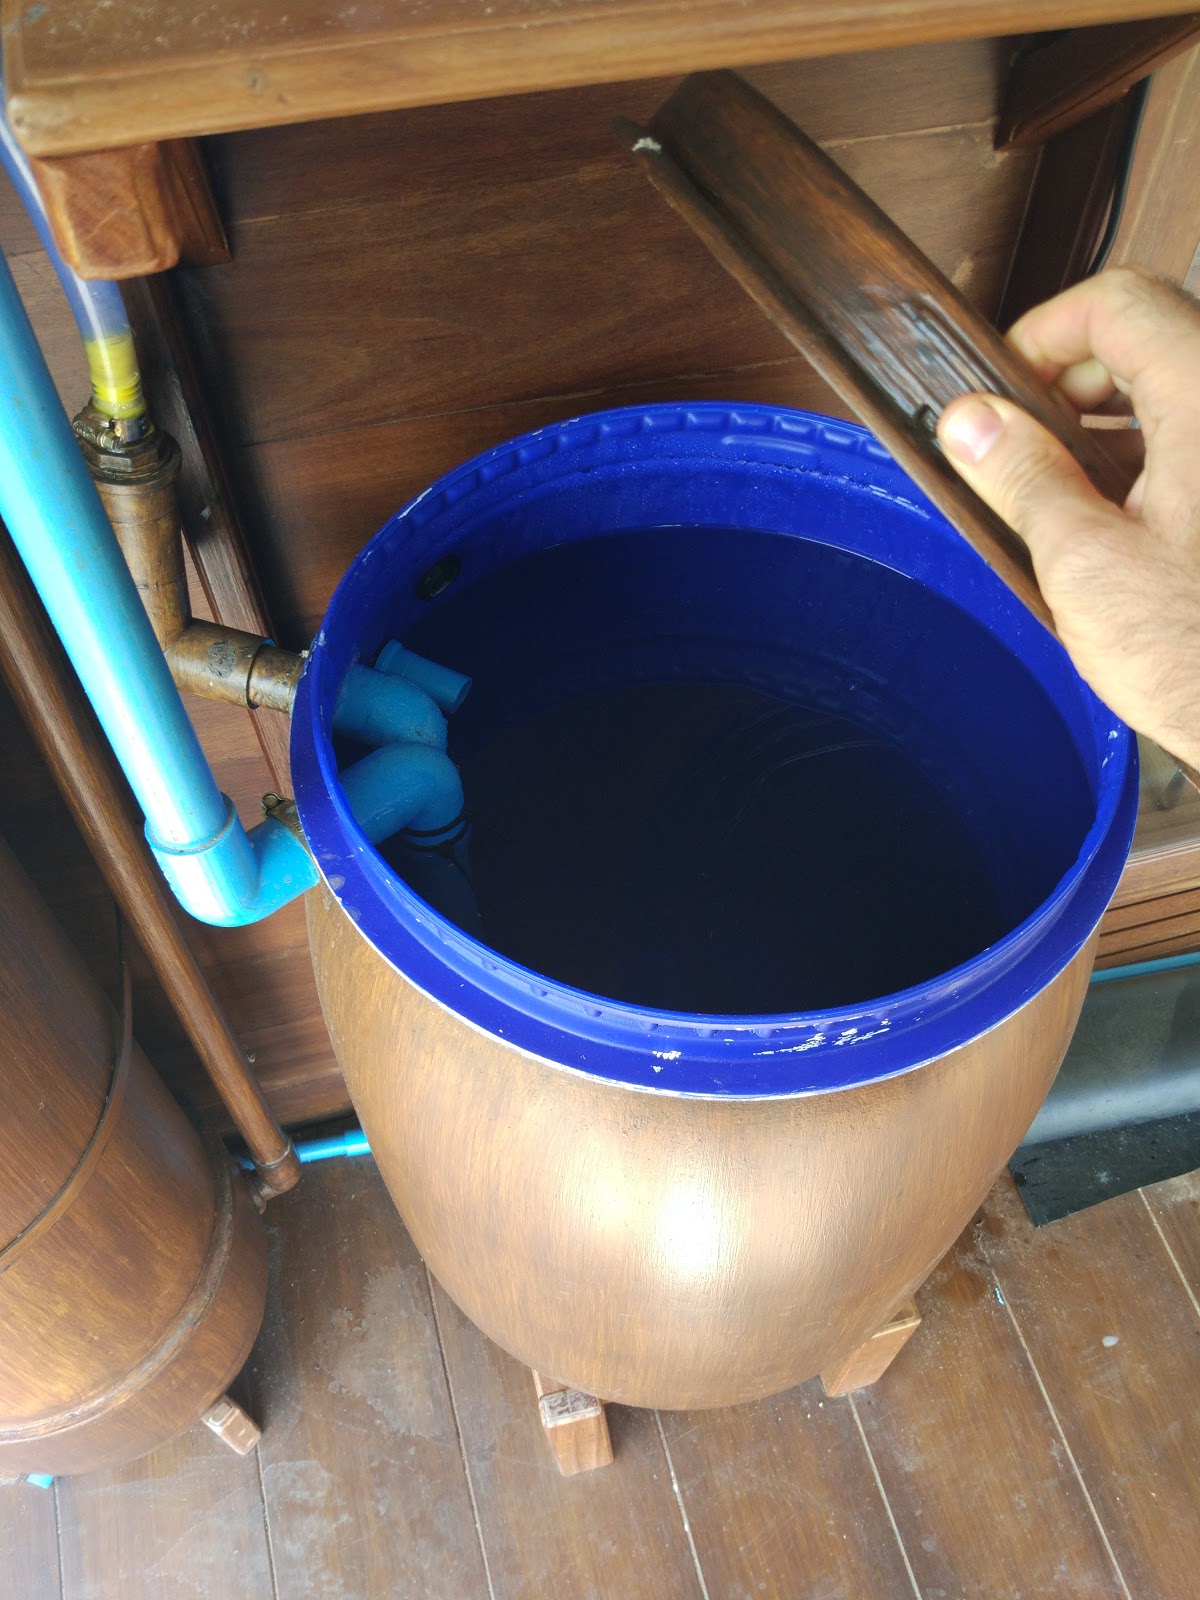
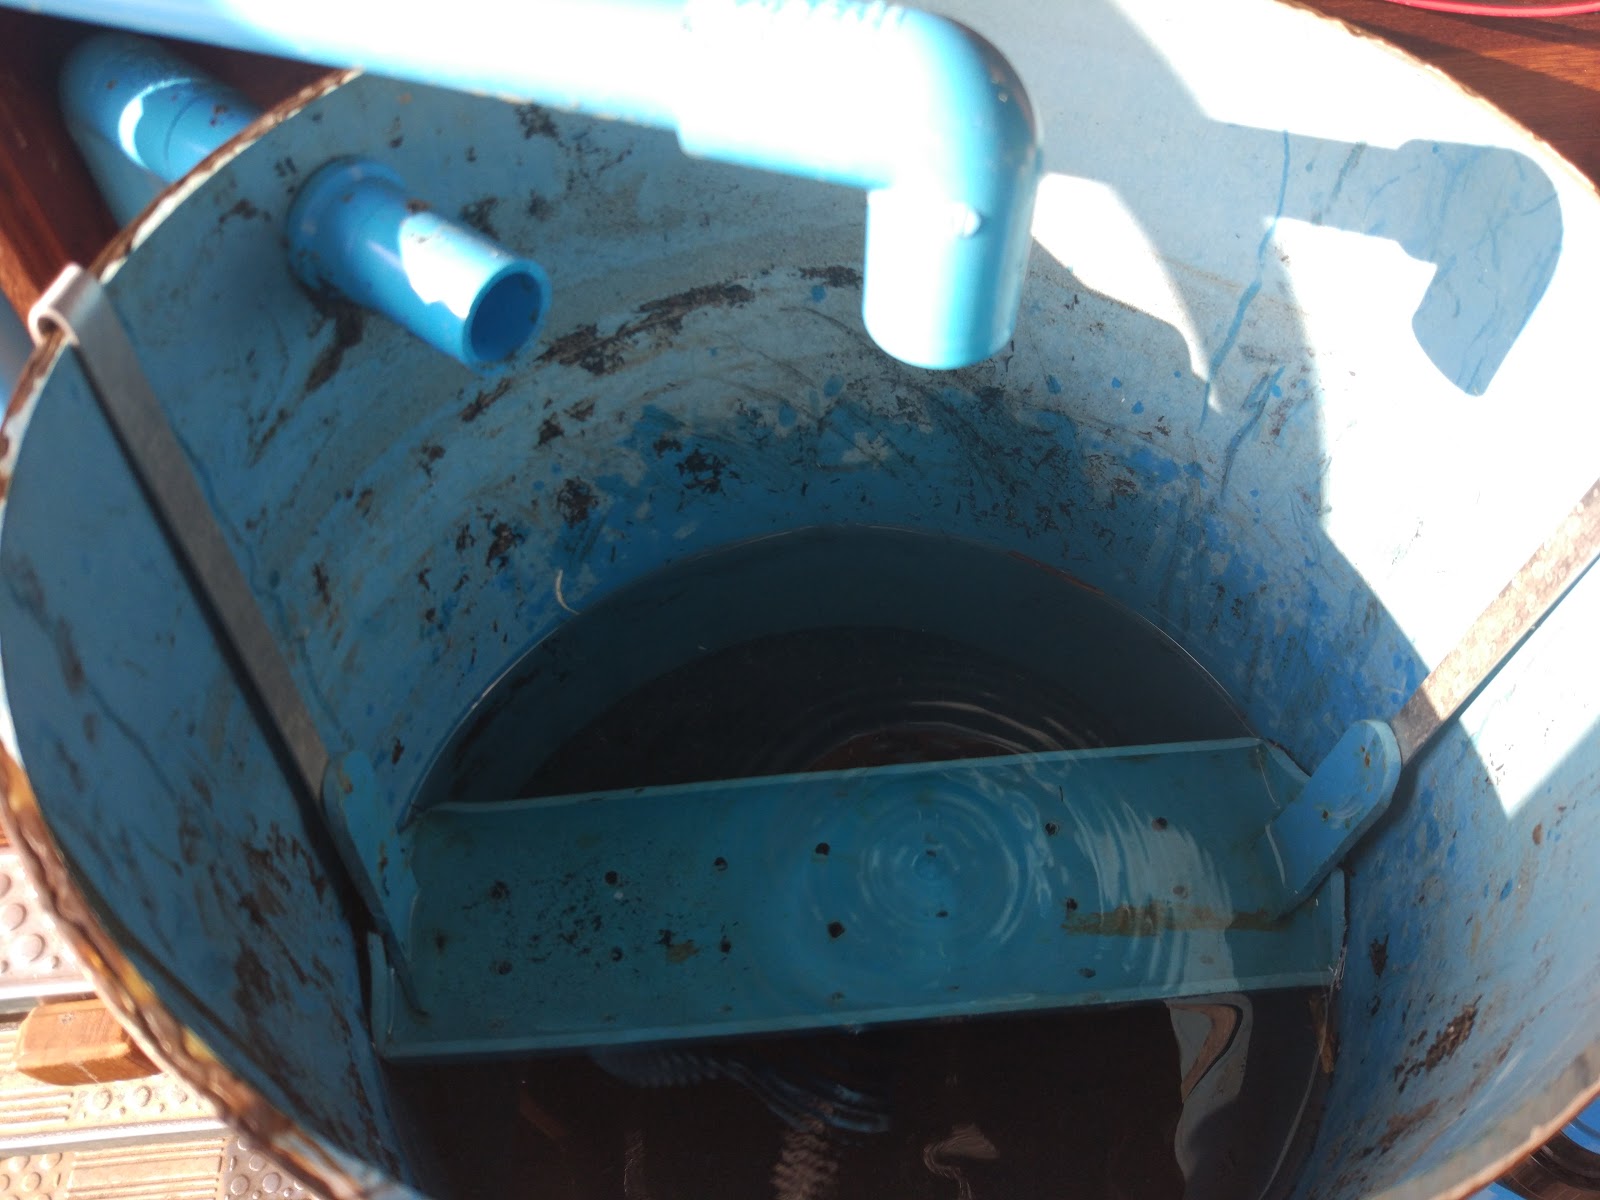
The blue PVC pipes inside listed counter-clockwise from top left are: overflow pipe, inlet from slow sand filter, and outlet to main AC pump. The outlet has a foot valve to keep the pump primed even when it is off. There is also a black cable gland in the side of this tank for allowing a UV sterilization light to be kept inside, but this will be a future addition if I determine it worthwhile.
Here is a closer view of the pipes:
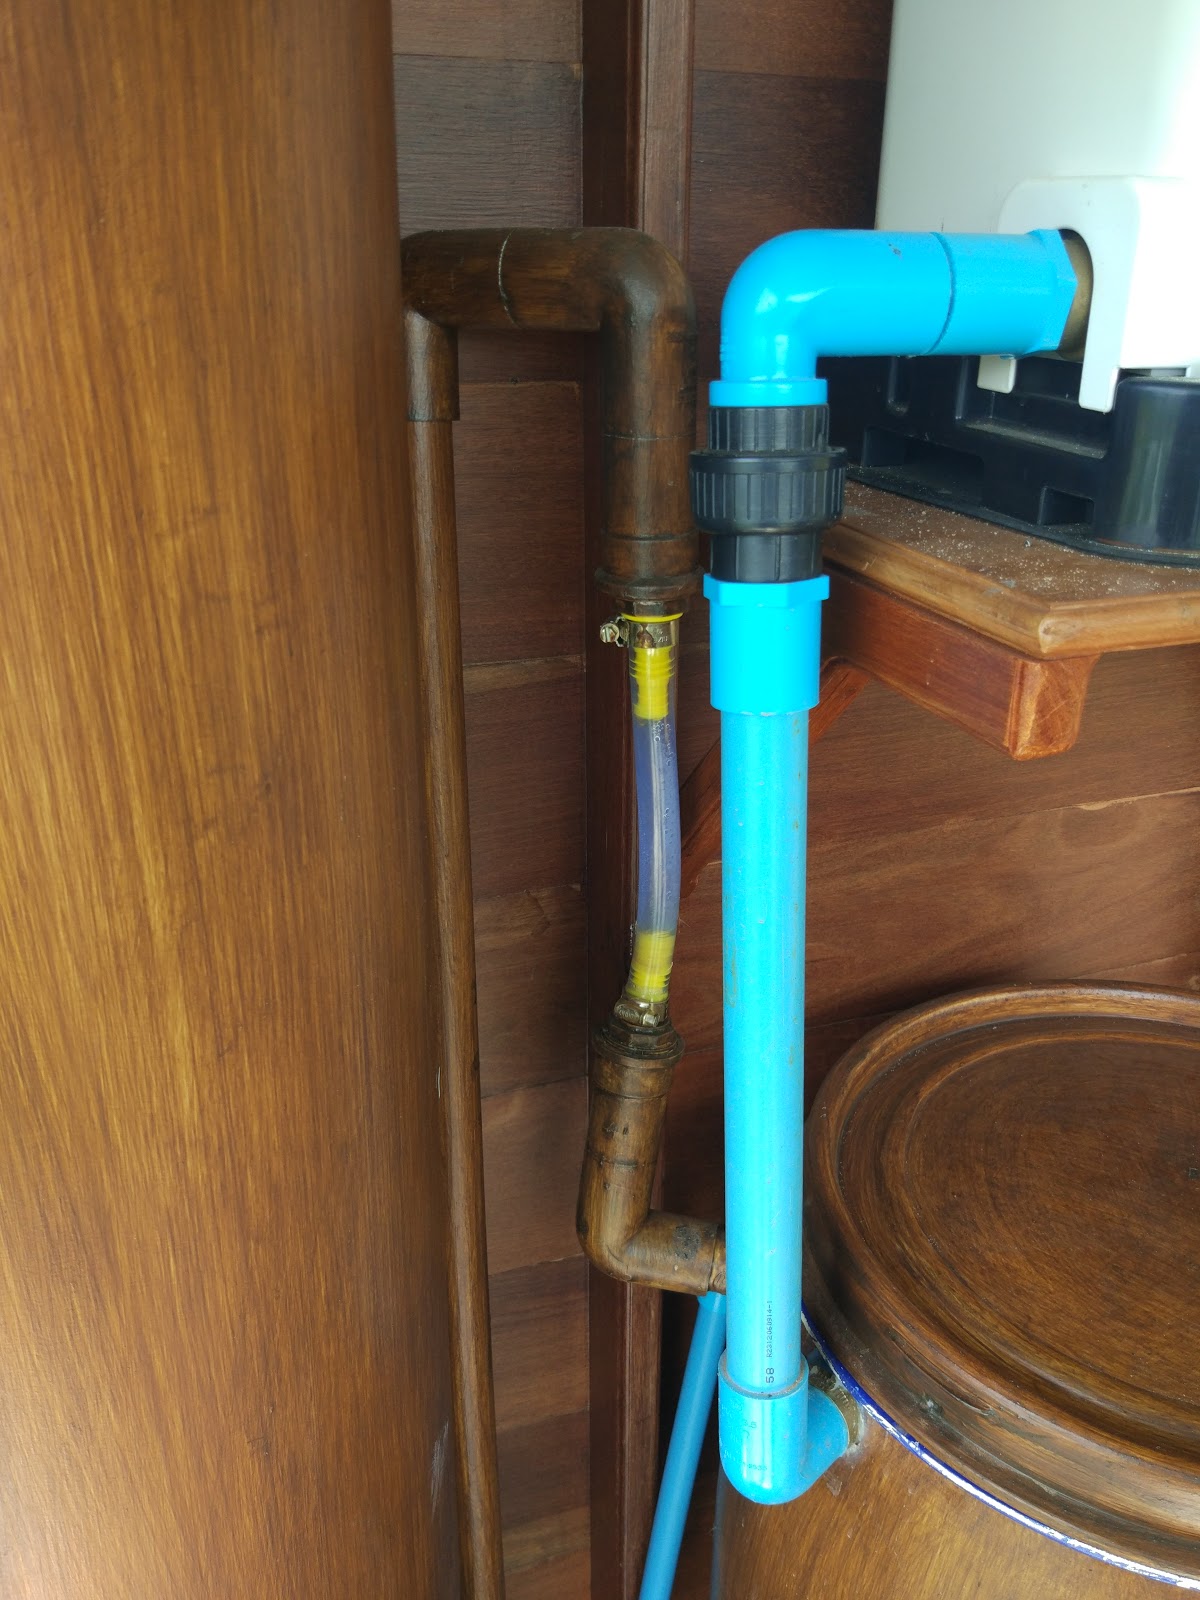
Note the short stretch of clear tubing on the SSF outlet. This allows me to see whether water is flowing or not when I pass by. Once I’m confident the system is working, this could be changed over to a union joint like the black one on the inlet to the main AC pump in the picture. (I find it is always useful to have some kind of detachable coupling on all PVC pipes in an experiment so that pieces can be removed for maintenance separately without cutting PVC pipes.)
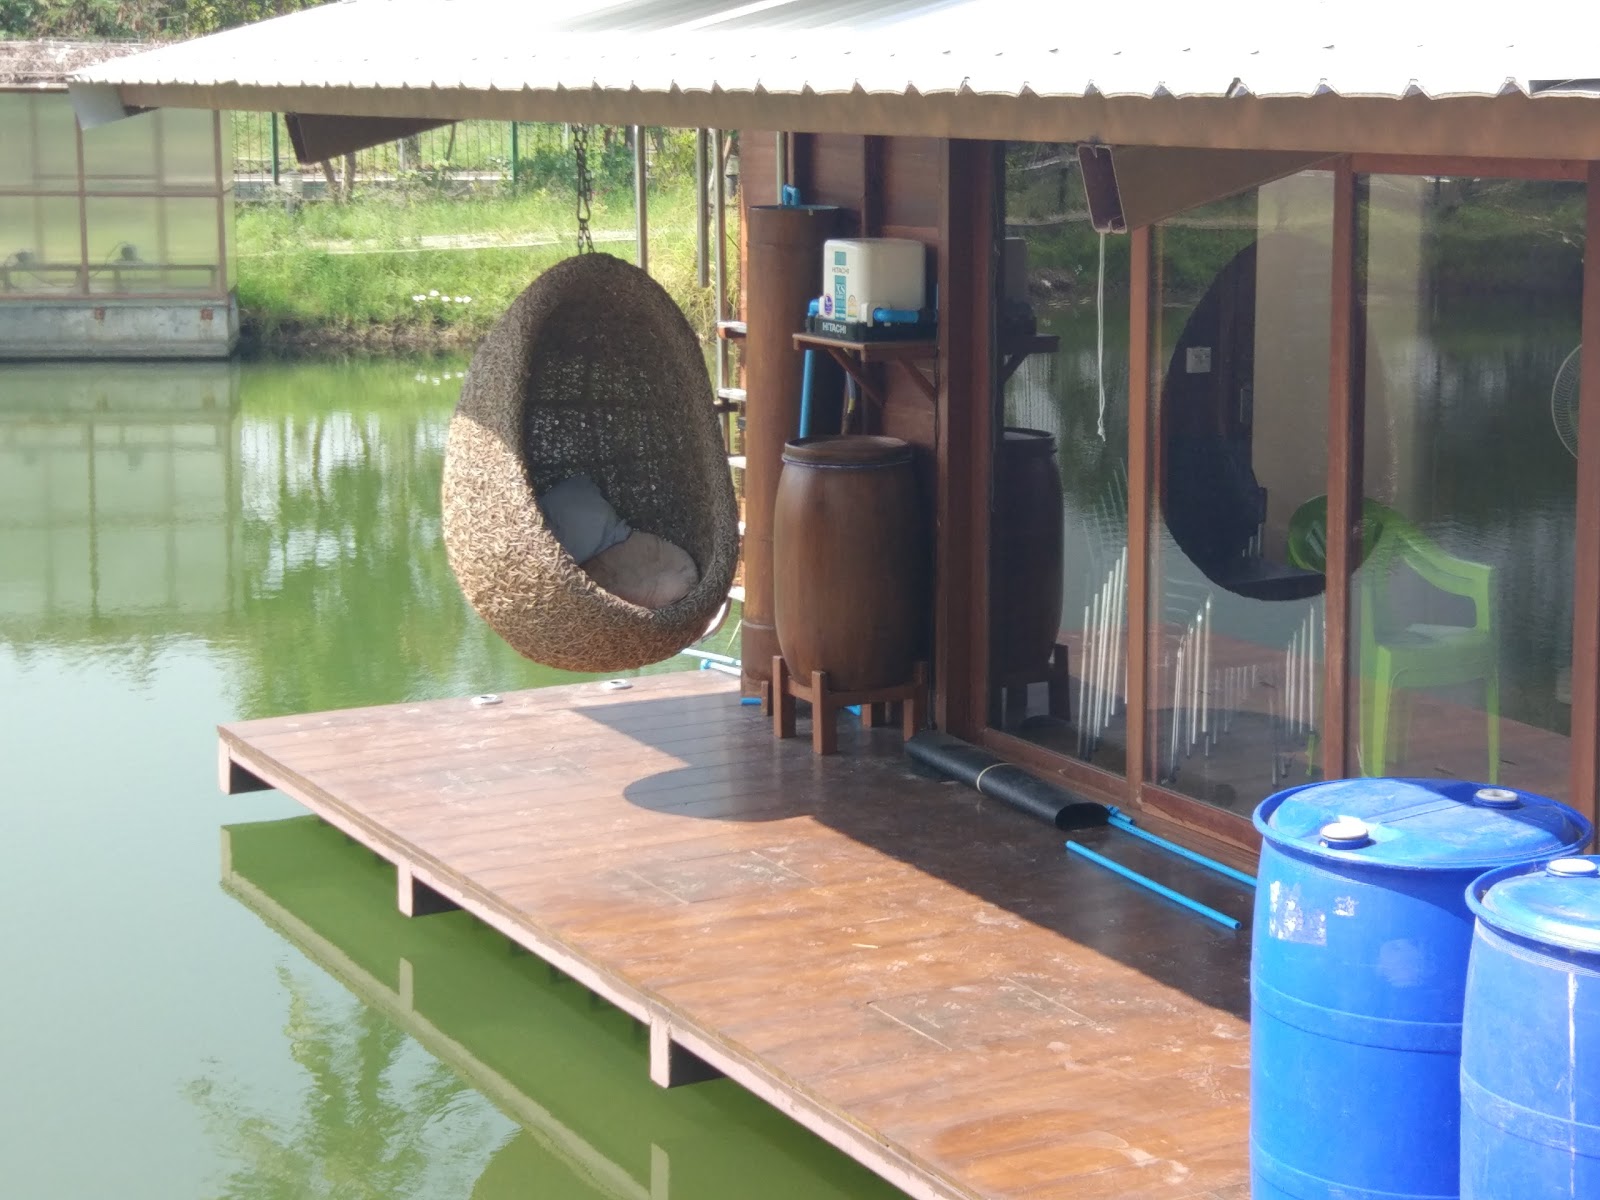
There is one more step to finish the system and that is to pump the water from the greywater holding tank below the shower into the root zone of the “green wall” in the bathroom (which acts as a sort of pre-filter), and then pump the water out from there into the slow sand filter.
Just a reminder from previous posts on the subject of slow sand filtration… don’t forget that a slow sand filter is very different from the more common rapid sand filter you might find used in an average swimming pool, which uses exclusively mechanical filtration. (I.e. the sand “catches” particles from the water passing through.) While a slow sand filter does have some mechanical filtration properties, its primary mode of operation is biological. The biological layer that forms on the surface of the sand (the “schmutzdecke”) actually metabolizes the chemicals, bacteria and other pollutants in the water and the sand layer works as a growth medium for the biological organisms.
But a slow sand filter needs time for the biological layer to grow before it is fully effective (about a month or two), so for this period, we temporarily hooked up a small DC pump which pumps water from the pond into the filter:
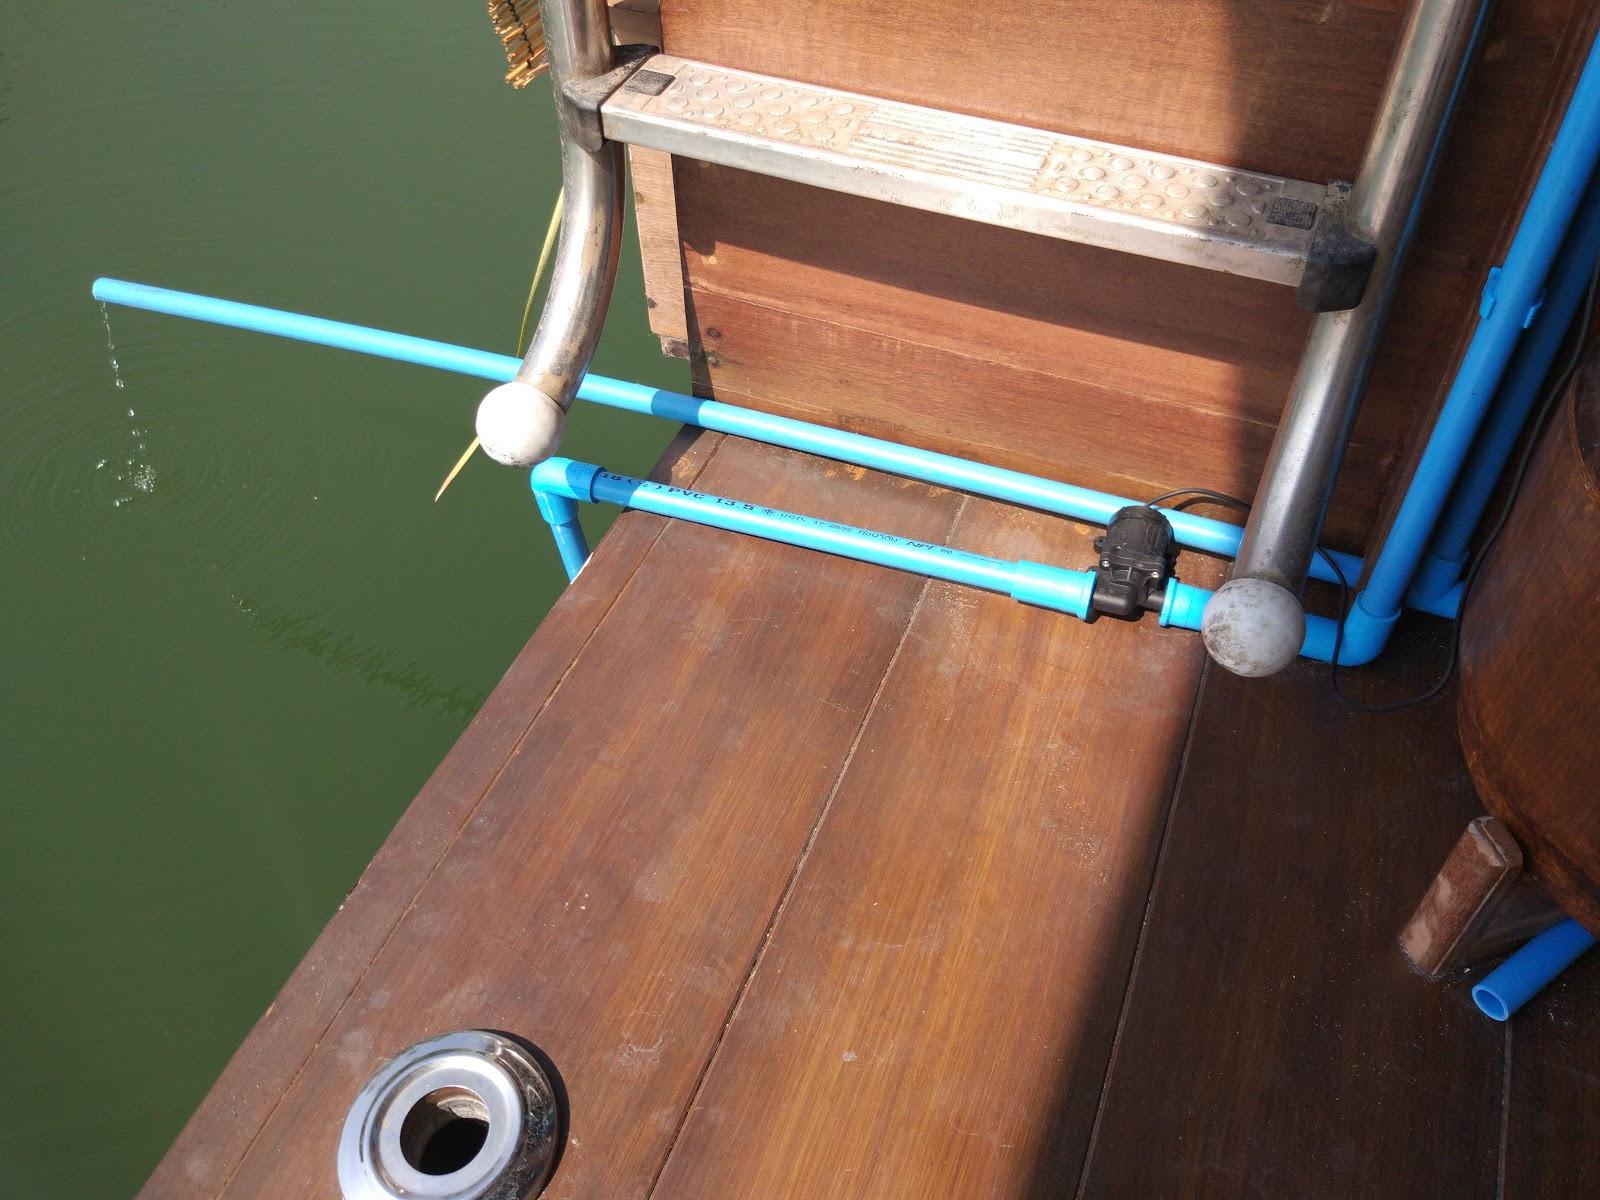
The lower pipe is the temporary inlet pipe with inline pump, and the upper pipe is the more permanent overflow pipe from the main water tank. (This pipe still needs to be cut down to size.)
In order for a slow sand filter to function, the water must pass through it quite slowly and with very little pressure in order to give the schmutzdecke a chance to grow and the water a chance to be purified by the schmutzdecke. As a result, I usually target between 5cm and 20cm per hour of flow rate down through the filter column. To convert this to volume of water per hour, you need only multiply by the surface area of the filter. In my case, the 12″ PVC pipe has a surface area of about 0.07 square meters, so since I targeted a flow rate of 5cm-10cm per hour, this results in an average flow rate of about 3.5-7 liters (~1-2 gallons) per hour.
This is very slow, and any pump slow enough to come near this rate will be too small and will too easily get clogged with the normal debris in the incoming water. So I went with a much larger pump (rated at 900 liters per hour), and then connect it to our standard microcontroller board (the one running all of the various lights and pumps around the land) and turn it on for 5 seconds every 125 seconds. Then we tuned the voltage on the pump so that it pumps 150ml in those 5 seconds at the height of the top of the sand filter (this is important since flow rate will be different at different heights), resulting in about 4 liters per hour of flow.
If you look at the picture above, you can see the water trickling out of the overflow pipe at a constant rate. Since the water tank has been filled by the SSF, all of the water coming out of the SSF is overflowing back into the pond at this 4 liters per hour rate.
Just for the record, if we assume the filter’s maximum flow rate is about 20cm per hour, this gives about 14 liters per hour by volume, which comes out to about 300 liters per day. This becomes our maximum amount of sink or shower water we can use on the floating house per day and still process the greywater within that day.
For the rest of this post, I will describe how we made the slow sand filter…
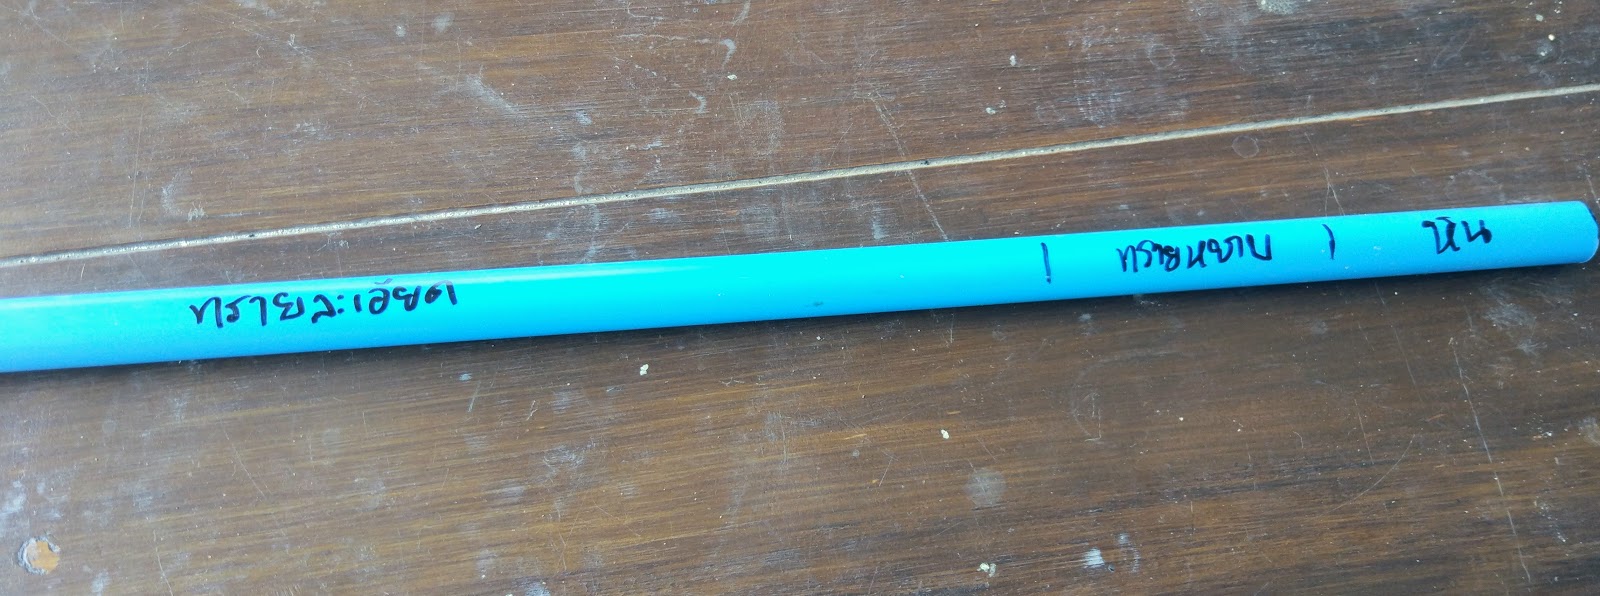
First, we marked off the levels of the different strata within the SSF on a PVC pipe just for measurement:
- About 10cm of pebbles to allow free flow of water at the bottom into the outlet pipe. The outlet pipe has holes cut on the bottom as we’ve done in other projects so that any sand or rocks that do get down to the bottom will be less likely to move upwards and into the holes.

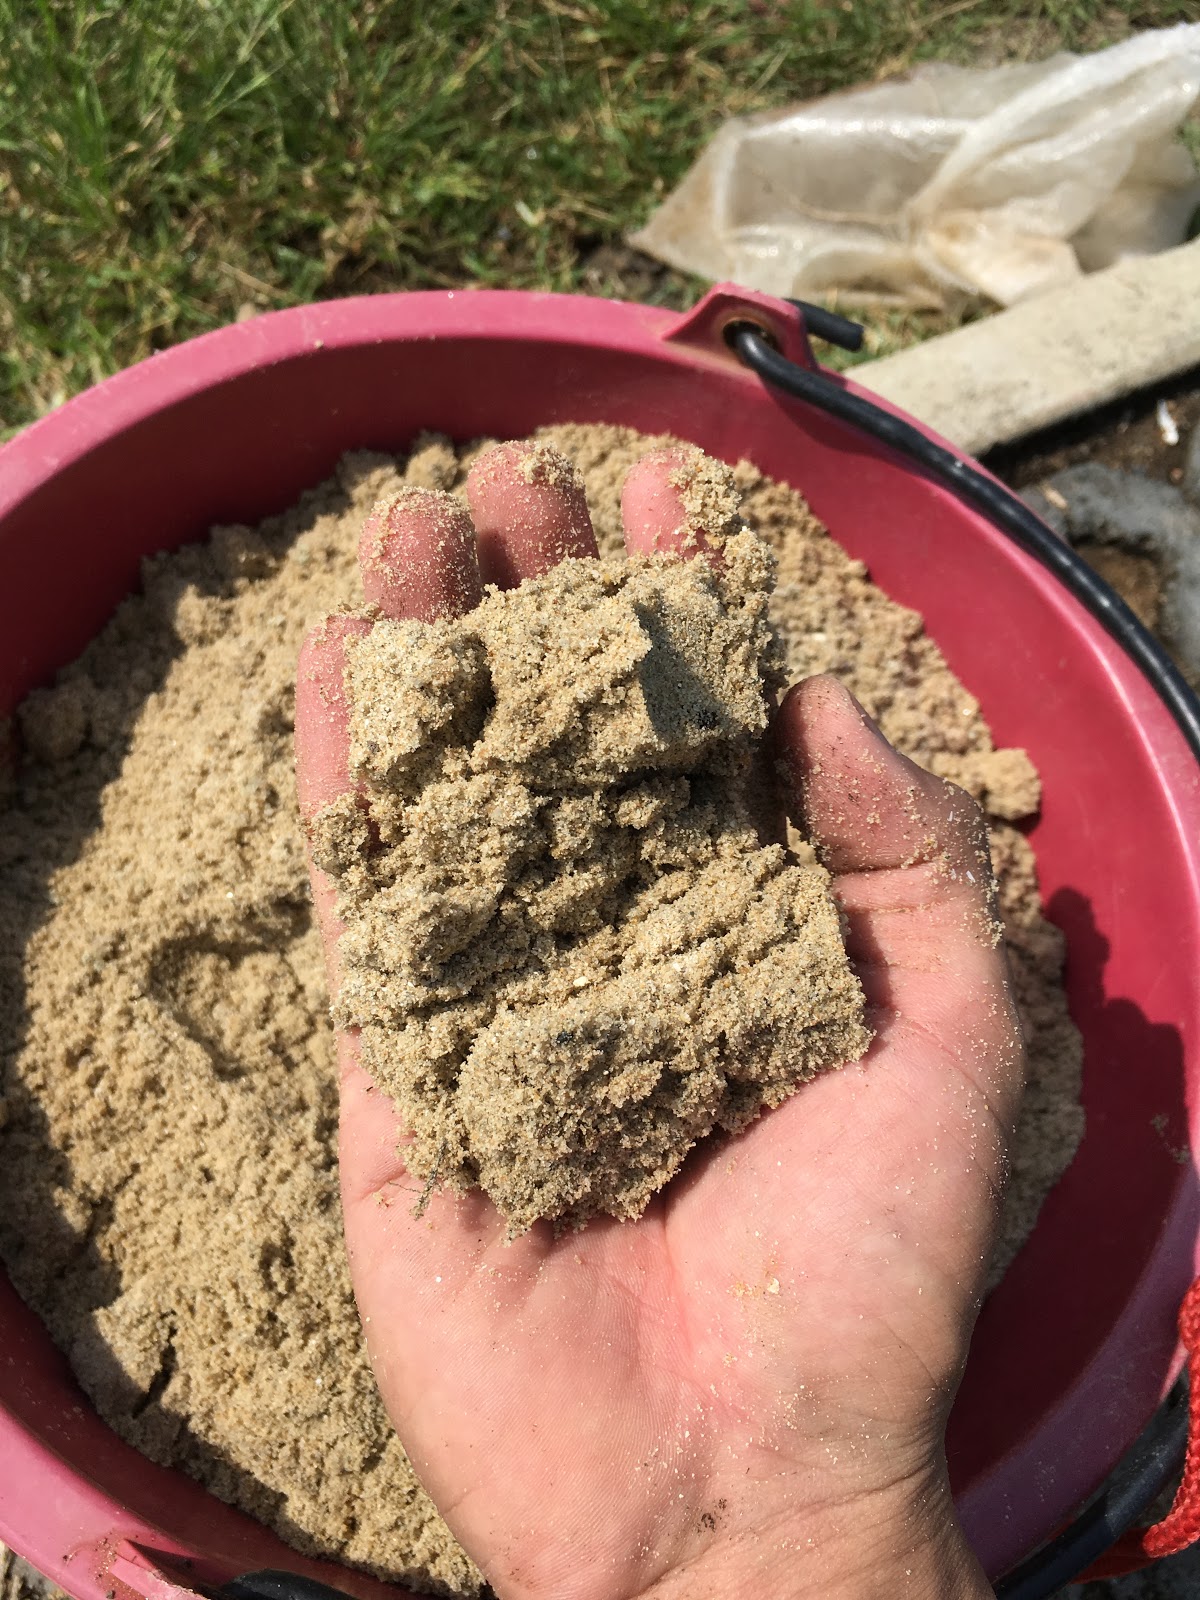
- About 10cm of coarse sand. This should be coarse enough that it doesn’t fall down through and mix with the pebbles, but fine enough that the fine sand above it doesn’t fall down and mix with it.
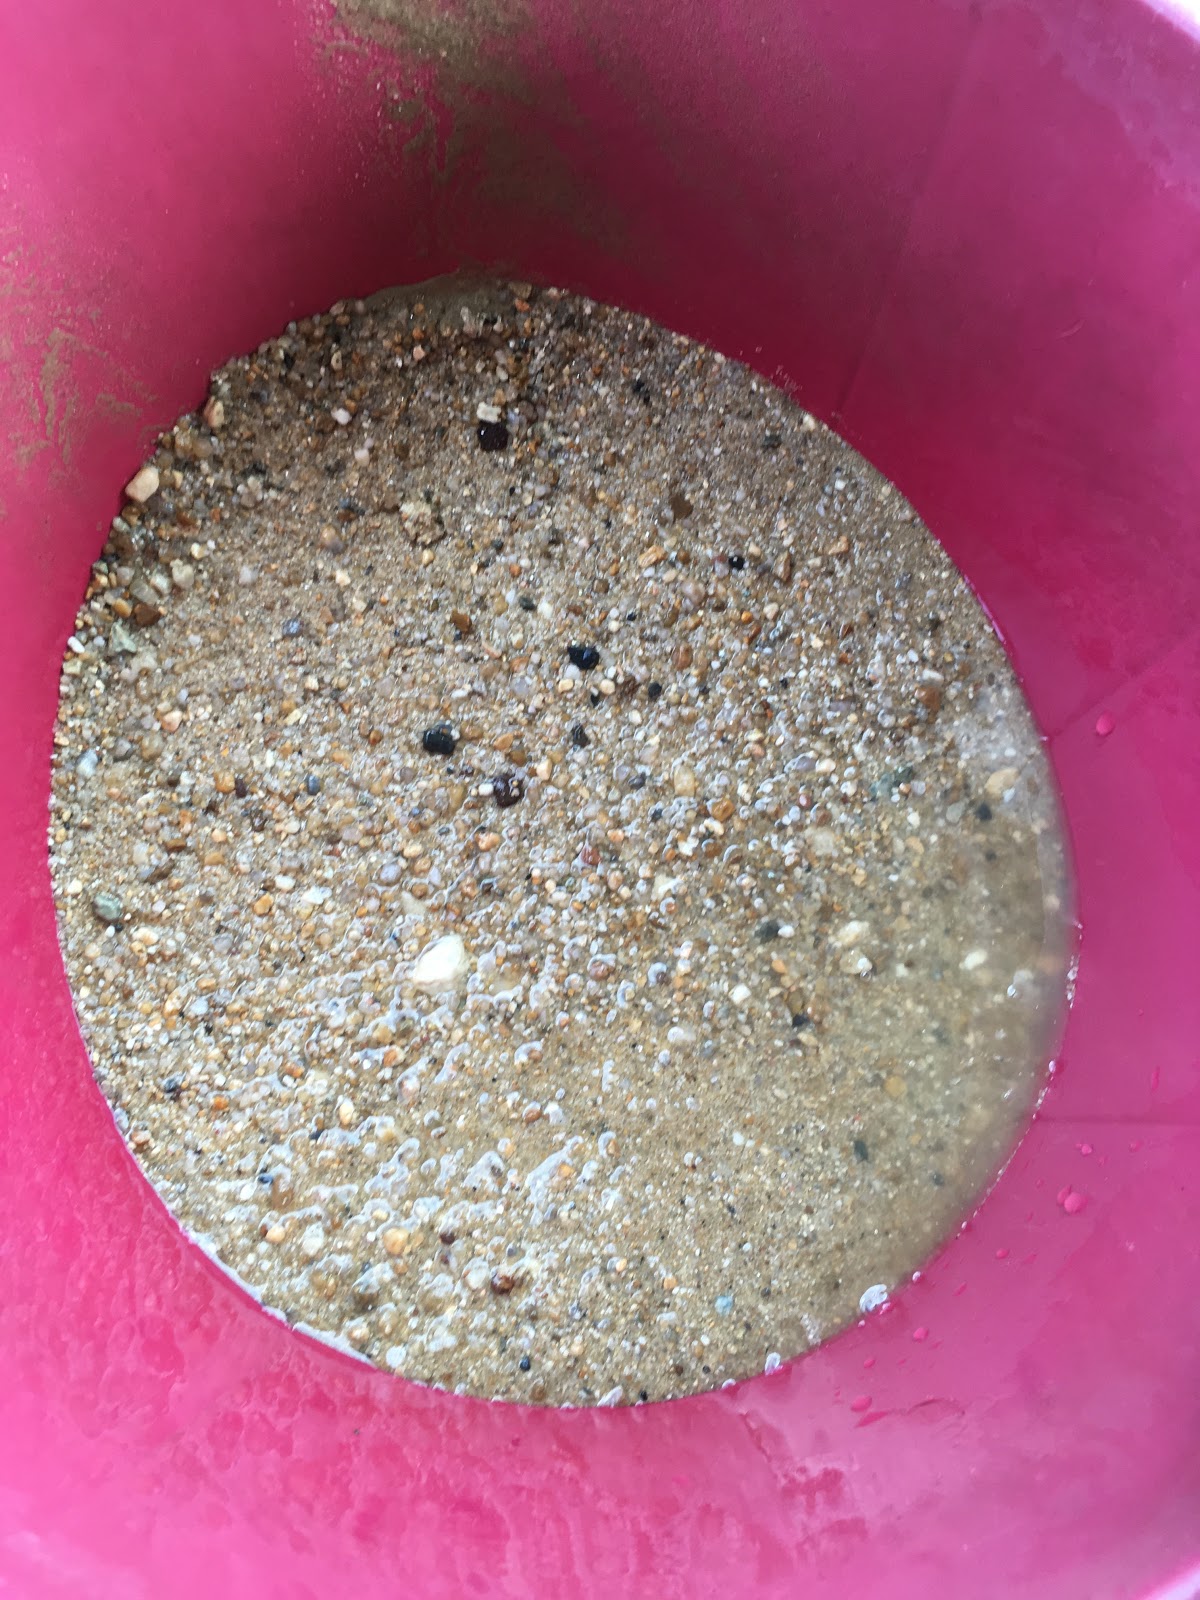
- About 50cm of fine sand. This should have uniform grains of about 0.15 – 0.35 mm in order to most effective. This is normally the growth medium for the biological layer or schmutzdecke. But I decided to experiment with rice husk ash.
- About 50cm of rice husk ash. Rice husk ash has been found to be even better than sand in certain ways and is much easier to source in Thailand.
(Hmm. Sorry. Not sure what happened to my pictures of the rice husk ash. I’ll come back to add it later.)
When it came time to fill them in, the labeled PVC pipe was used to know when the correct level was reached:

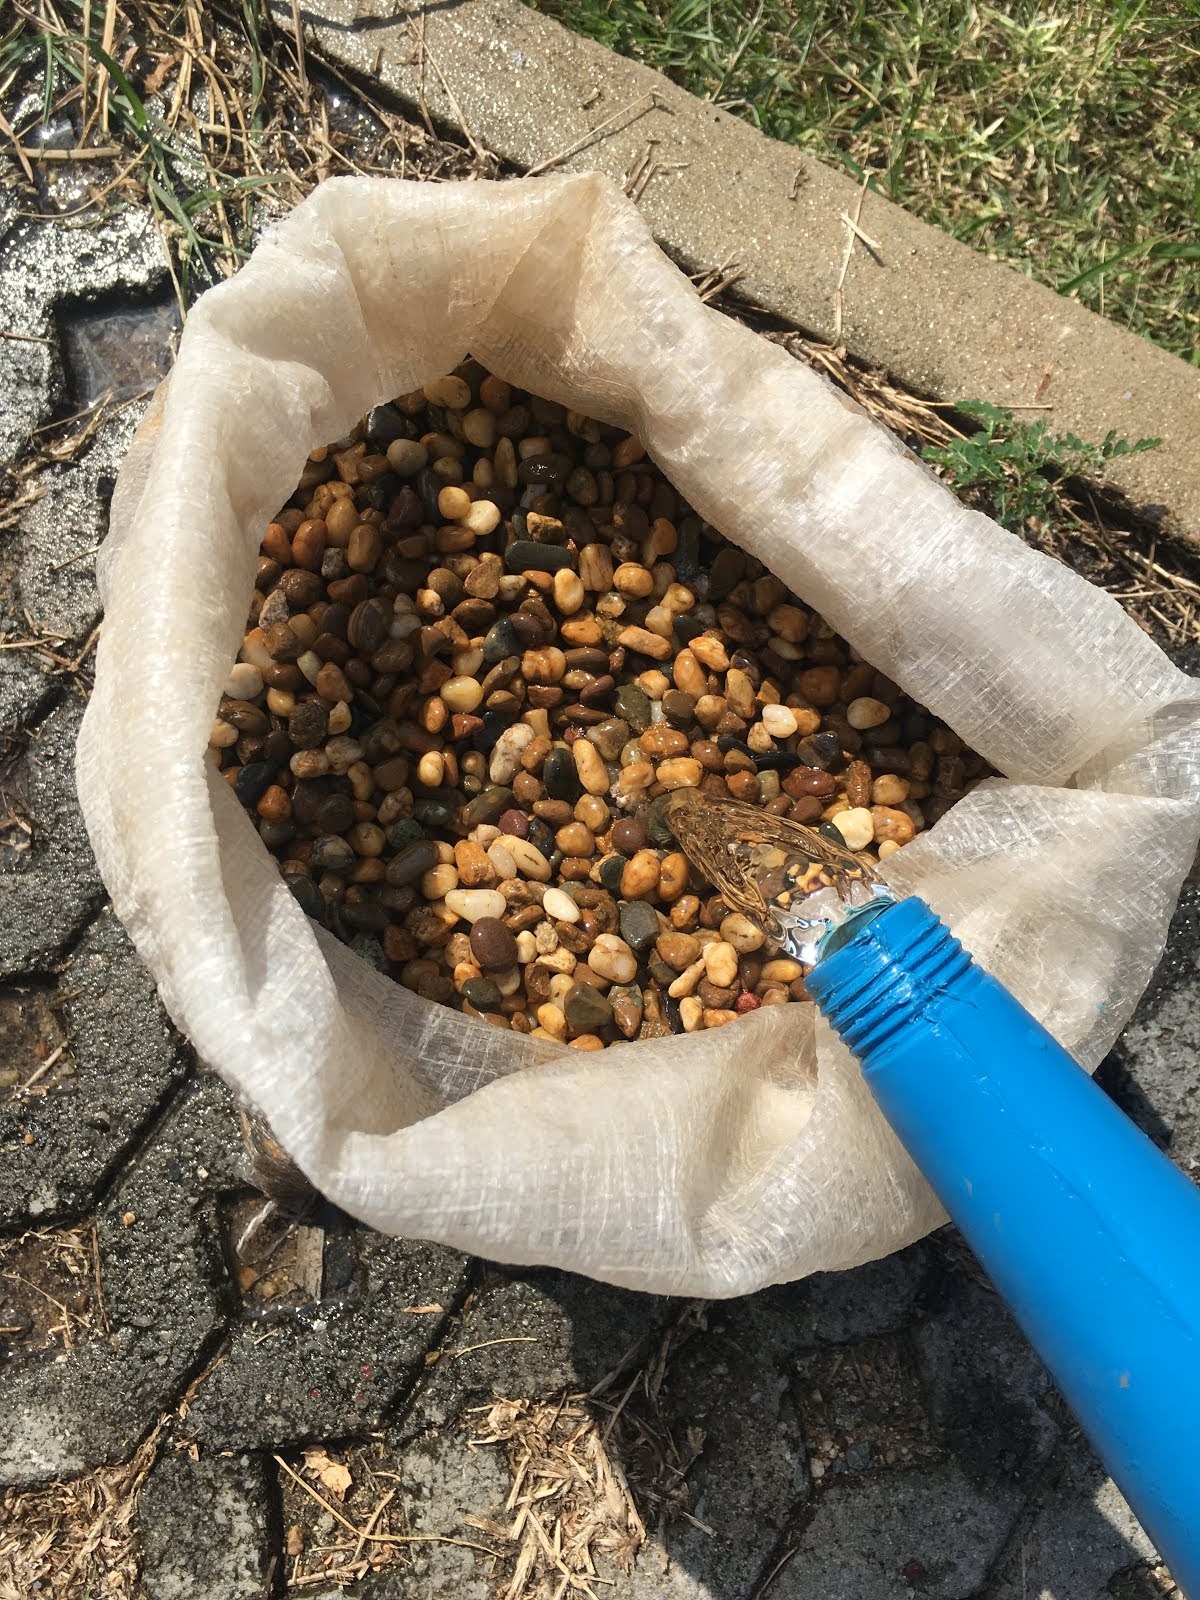
Note that when adding pebbles, sand, etc. it is important to add in water first before dropping the materials in. This reduces the chance that air bubbles will form inside the sand filter, which can then go septic after a while.
Once it is all filled in, we added a diffuser plate hooked onto the inside of the top of the filter:
This was made out of a 3″ PVC pipe cut in half with holes drilled in it, and acts to reduce the velocity of water dropping in from the inlet pipe so it doesn’t disturb the biological layer too much.
Once the schmutzdecke is fully developed, I will be interested to run some samples of the water to a lab for testing along with the pond water I’m pumping in to see the effectiveness of this filter. More to come on that in a month or two.