I’ve been designing and 3D printing parts for a few years now, and one of the limitations that I’ve been working around is in regards to support materials. While it is true that these kinds of extrusion printers can “print in 3D”, the head does need something to push the material down onto.
For about 80% of what I want to do, this really isn’t an issue. As long as your piece is convex, or at least there is some axis along which upper layers rest nicely on top of lower layers, then there is nothing to worry about. For cups, and spacers, and door handles, etc., there is usually a way to do this, possibly by modifying your design slightly.
For the remaining 20%, I’ve used the default method of printing “support material” using the same material that the part is printed from (usually PLA). This support material is intentionally flimsy and not too well attached to the part so that you can easily pull it off after it is done. This has three problems though. First, the “not too well attached” side of it means that it doesn’t hold the plastic down too well as it cools and it can easily curl upwards. Second, when you do pull off the support material, it does leave the part quite messy and in need of a lot of filing to clean it up. And third, for more complex support cases where you need to support a floating layer of your part a little bit above other layers of your part, you can end up with support material wedged into small gaps in your print and very difficult to get out without breaking your part.
This is where dual head printers with a second water soluble support material come in. We bought a dual head printer for our most recent printer about a year back, but i haven’t had a chance to play with this until yesterday. For the support material, we used PVA, which is the same stuff as in children’s white glue and glue sticks. It comes in a spool of 1.75mm plastic filament just like the PLA and ABS and nylon we use as our printing materials, but it is water soluble and non-toxic.
So I finally got around to designing and printing a belt clip holder for my Withings Pulse. Since the belt clip part is on the bottom, it ends up having all three of the issues mentioned above with support materials. 
The belt clip bottom part is slightly angled so it will tend to curl upwards at the thin part at the edge of each layer if it isn’t more firmly attached to the support material. The water soluble support material comes off by dissolving, so you can print the PLA more solidly attached to it. 
And the gradually sloping bottom part is exactly the kind of surface that support material sticks to leaving a rough face that needs a bunch of clean-up. But the water soluble support should dissolve off more cleanly.
Finally, the space inside of the belt clip part is just one of those tight spots that need support material that will be hard to pull out without breaking the clip. So I was most curious if the dissolve process works easily here or whether it needs a lot of scrubbing or something.
Here are a few pictures of the print in progress. The PLA for the part is black, and the PVA support material is white.

In this picture, you can see that there is only the very slightest hint of curling upwards at the left edge. I will try to tweak the settings on future prints to improve this further, but this is really an acceptable amount of curling during the print. The hot print head pushes this back down on each new layer so it doesn’t cause any problems.

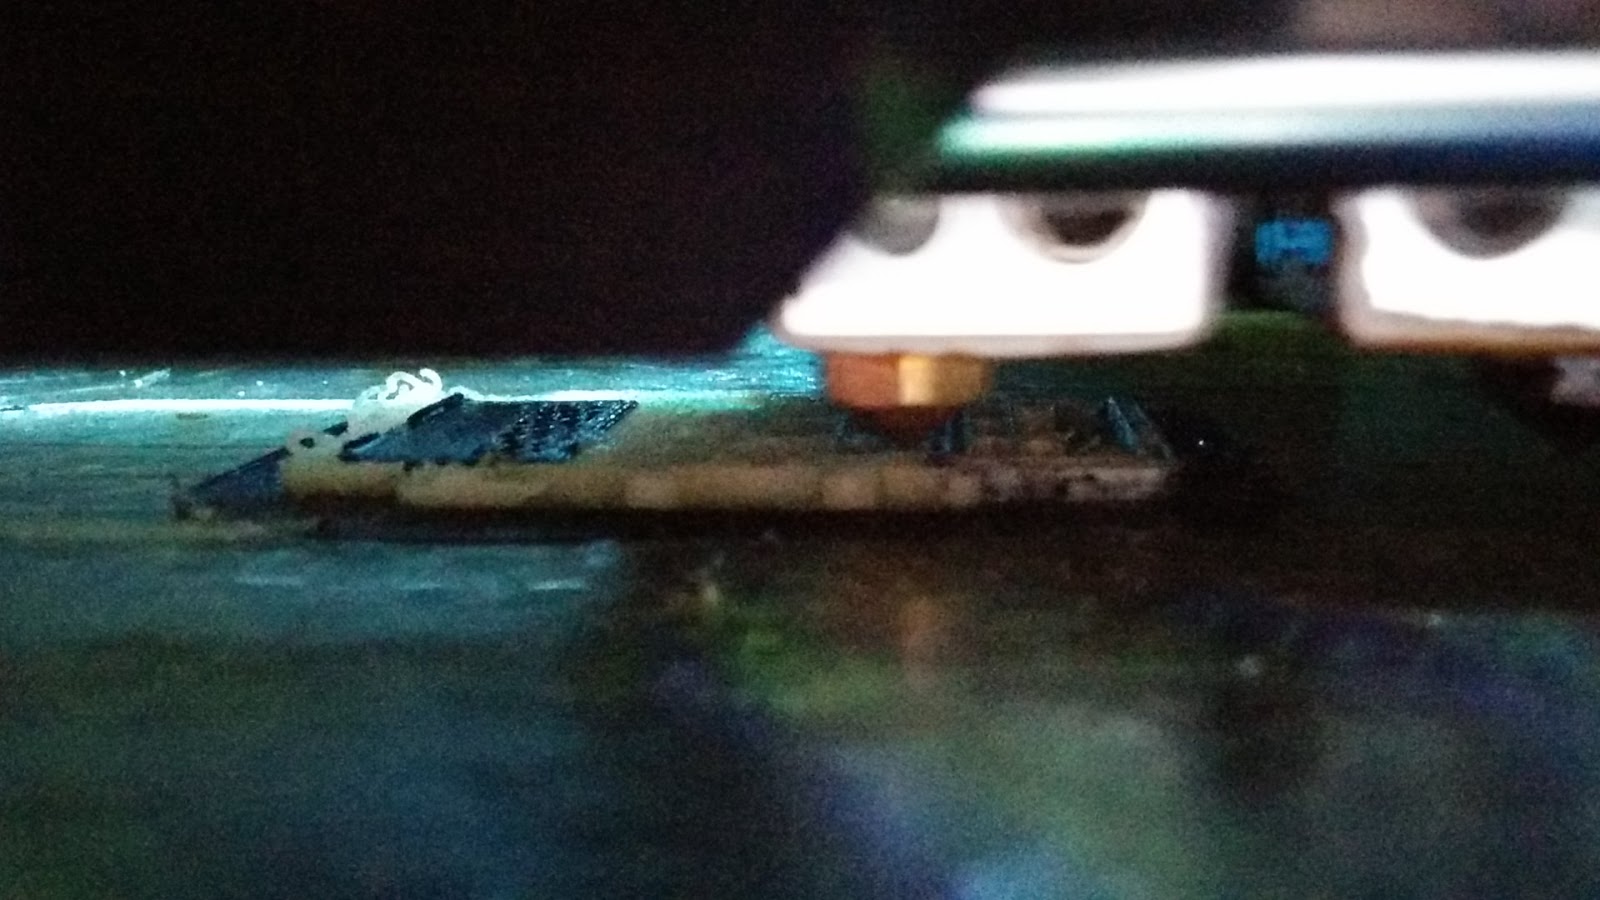
Here you can see the curved bottom of the belt clip in black (on the left side) printing on a nice bed of PVA support.

The PVA support material is built up in columns that flair out at the top to support the upper layers of the part. You can see that the bottom of the belt clip part angles upwards to the right and the columns are in place here to support the first layer of the Withings Pulse holder itself. The image is a bit dark, but the first layer of black PLA is being printed here on the left side on top of the PVA pillars.

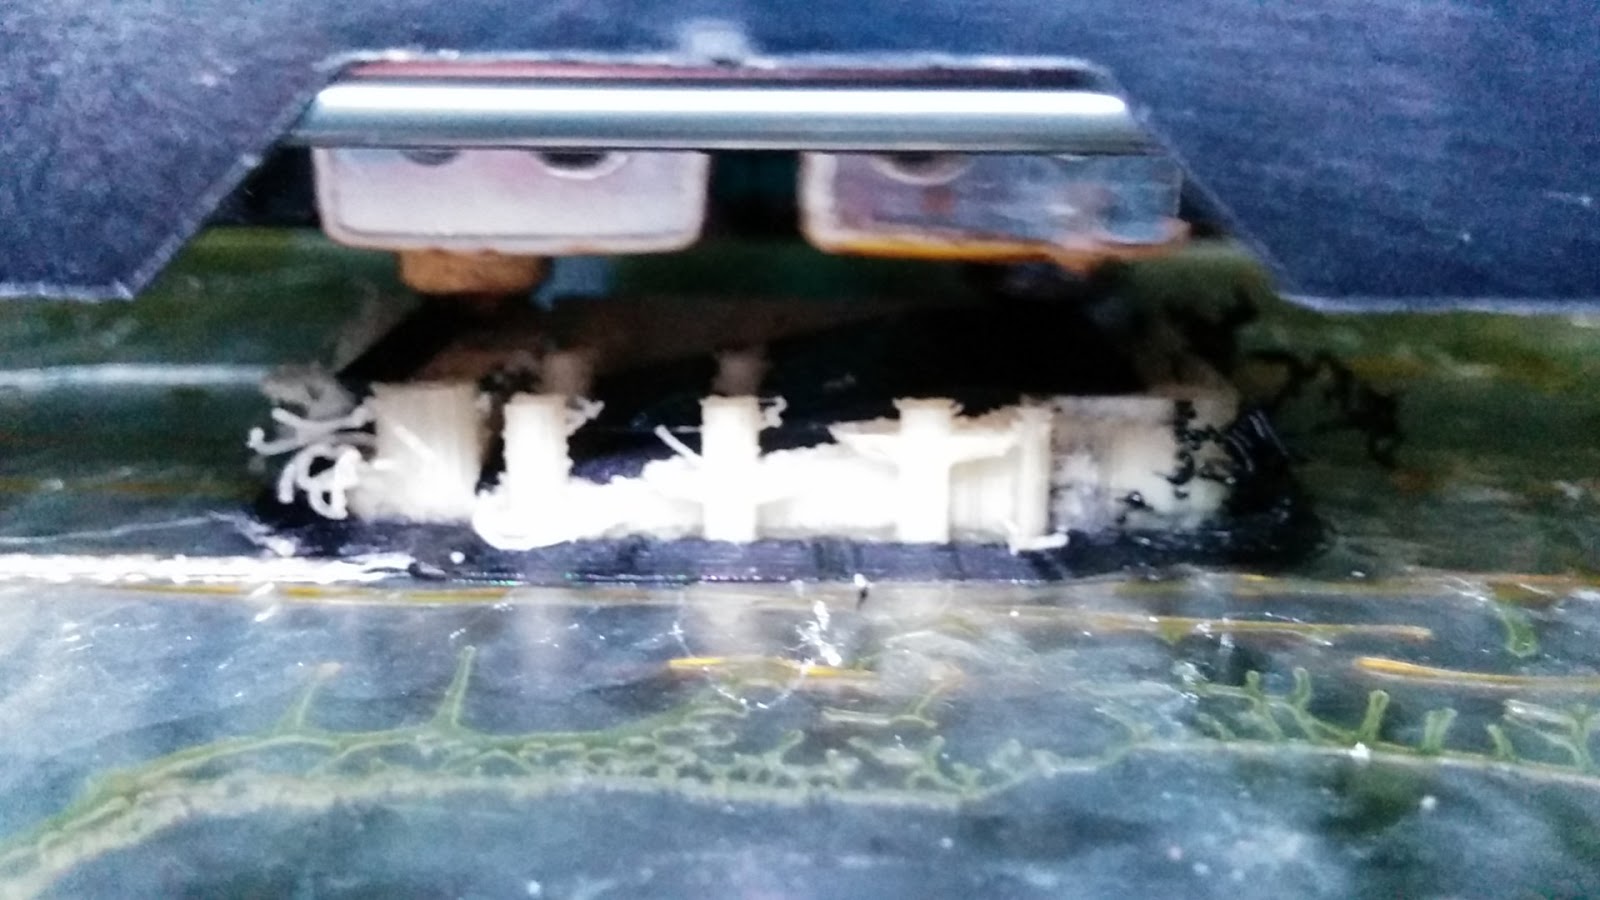
This is the whole piece just after completion of the print. Notice the hairy PVA sticking out of the left side. This was PVA that oozed out while it was busy printing with the PLA. I used 200C as a print temperature for the PVA, but I think now that maybe a lower temperature might have worked with less oozing. I also should probably test the extruder calibration to see if maybe I am extruding too much PVA and it is building up pressure inside the print head causing more to ooze out later.

After the print finished, I dropped it in a bowl of warm water:

After about 1-2 hours, the PVA was 90% dissolved off. Other than a few spots in the nooks and crannies inside the belt clip part, it was basically clean. No work required.

I went ahead and changed the water and then left it overnight, and sure enough, even the nooks and crannies had dissolved off by morning. The point where the belt clip almost touches the rest of the holder (the “mouth” of the clip) still had a bit of gooey PVA in a .5mm gap, but I bent it open and ran some water from the faucet over it and it washed away immediately. So that worked better and easier than I expected.

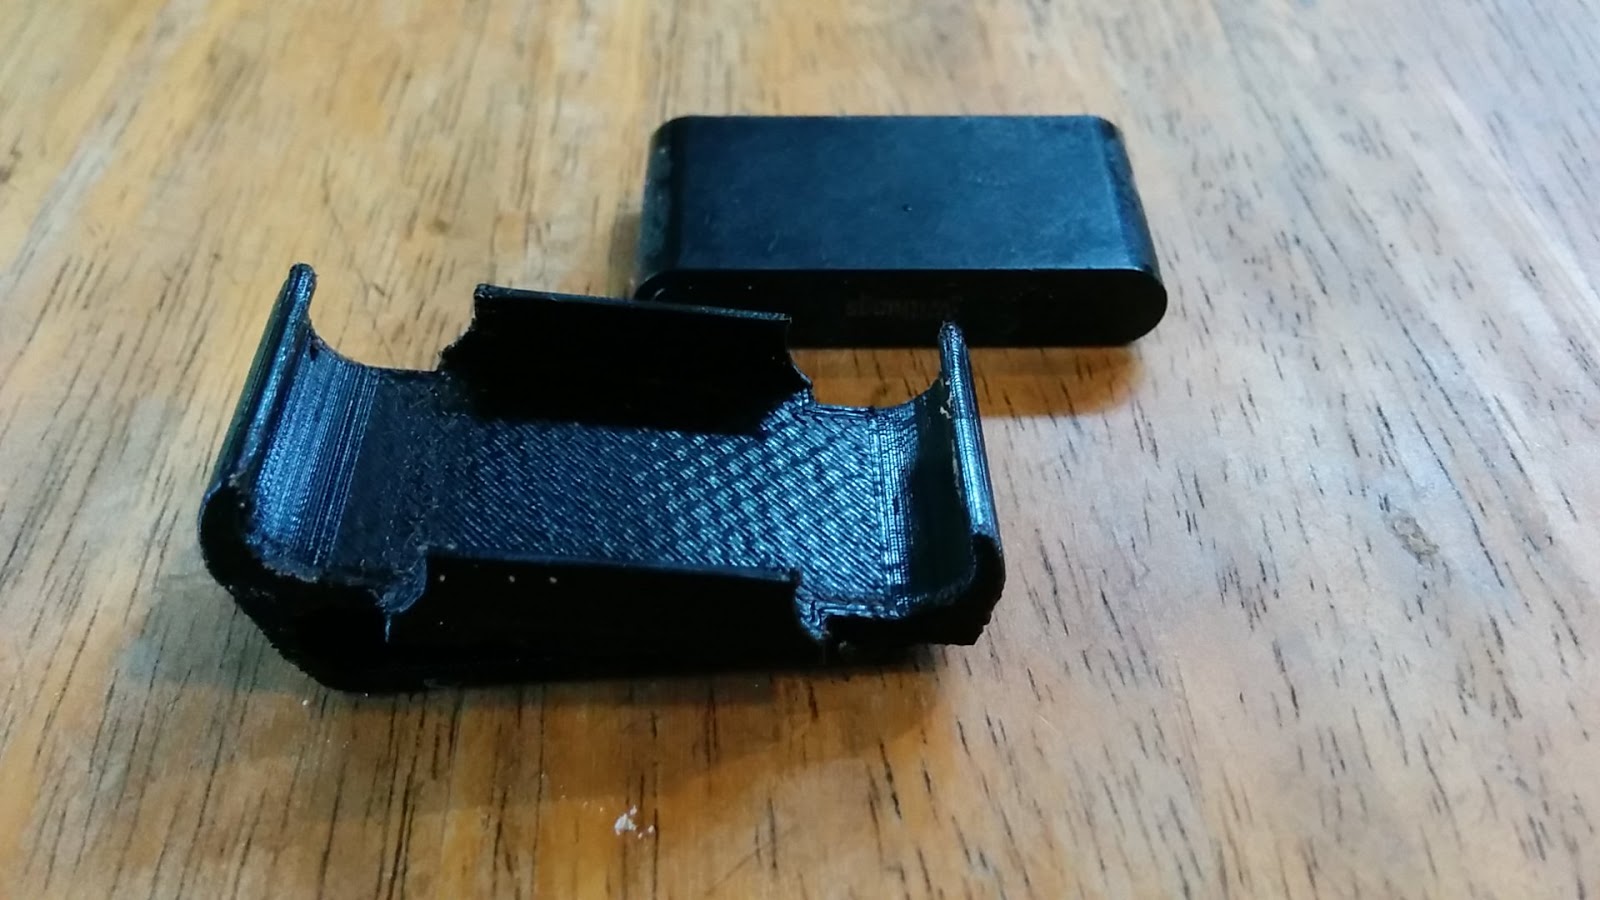
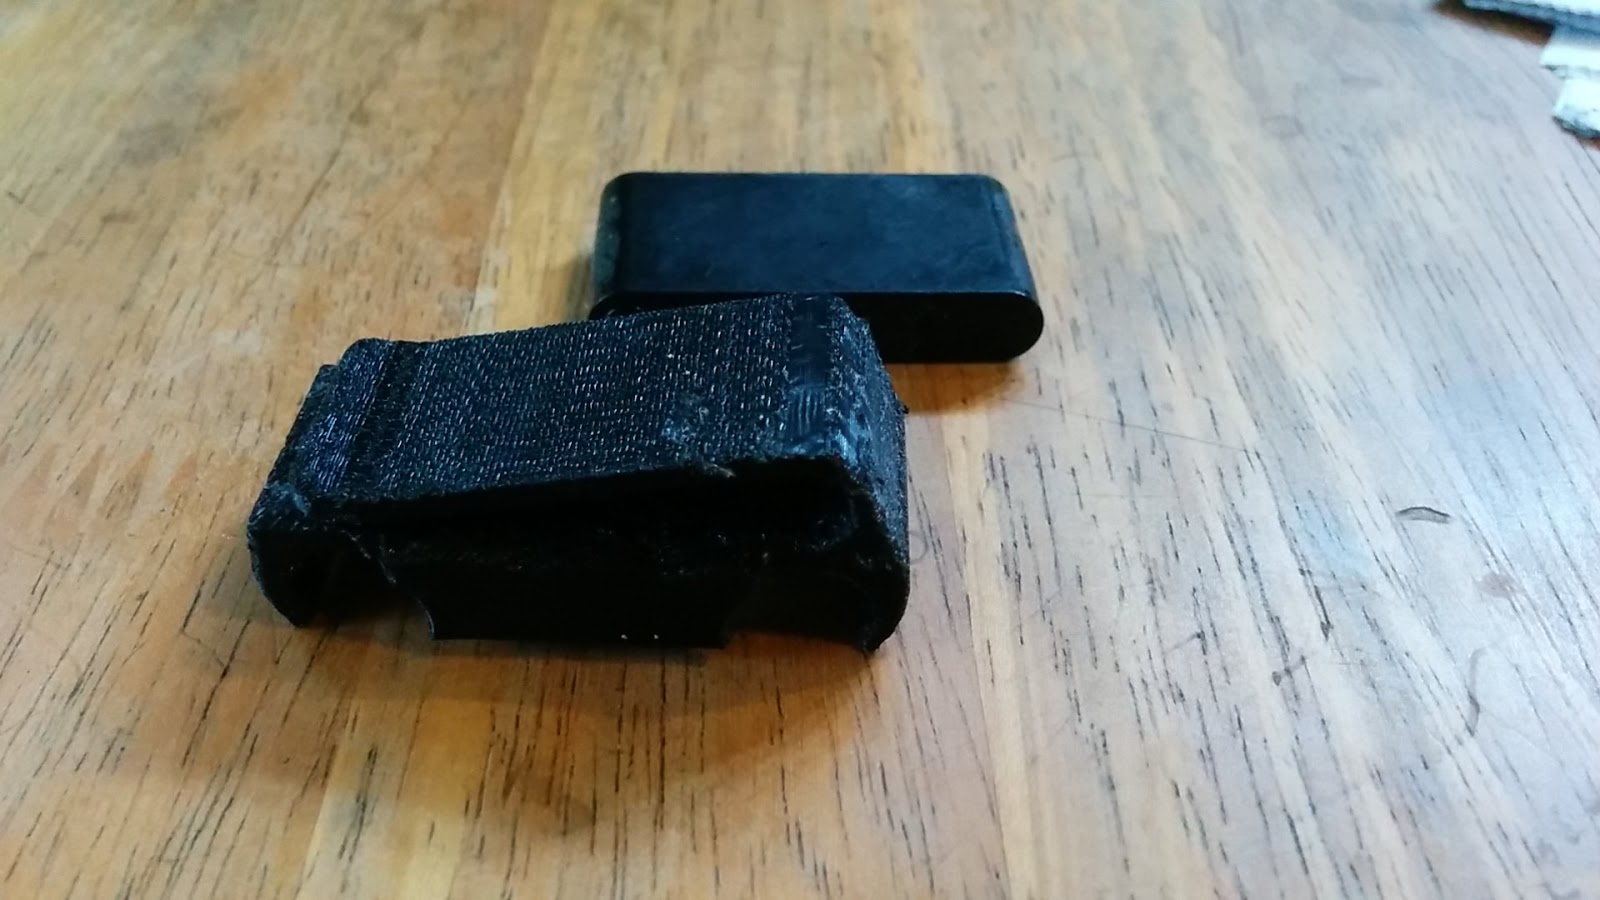
Here is a picture of the part in the foreground with the belt clip part down. The Withings Pulse itself is in the background.

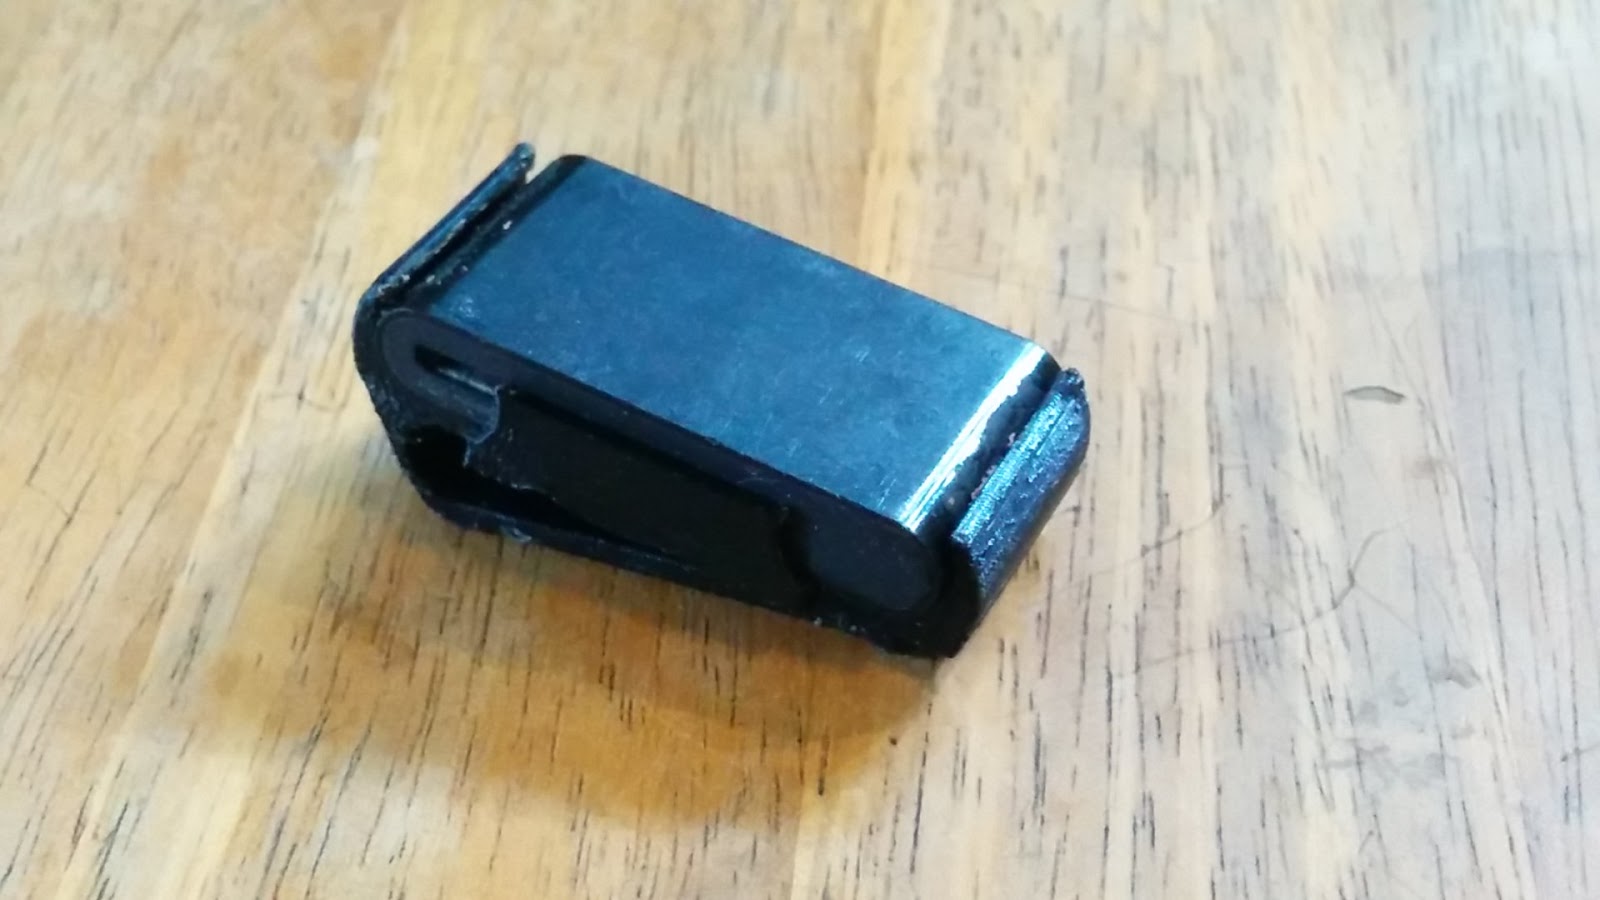
Here, I’ve turned the part over so the belt clip part is up. The bottom isn’t 100% smooth, but it is 10x cleaner than anything I’ve ever gotten with PLA support material. It is slightly rough to the touch, but no sharp pieces sticking out at all. I figure I could sand it a bit to clean it up a bit more, but it is fine for my purposes as is.

And just for completeness, here is the Withings Pulse inside the clip: